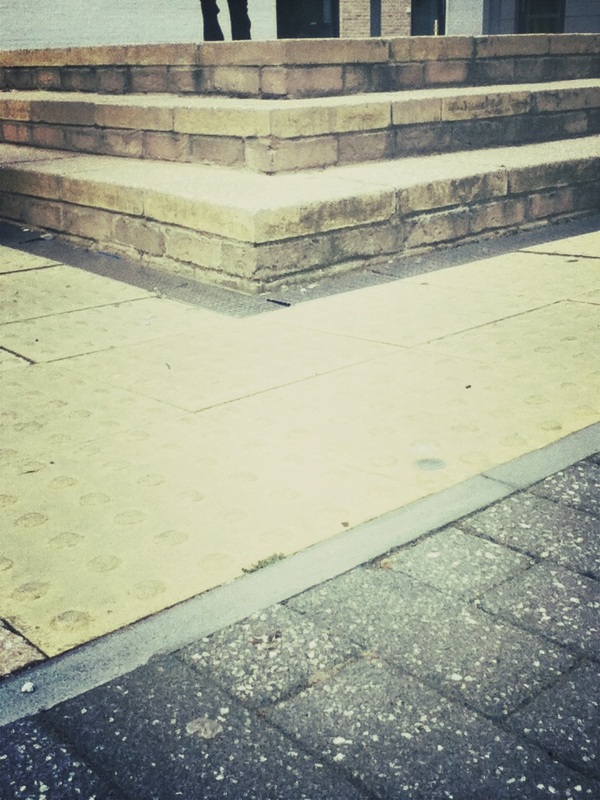
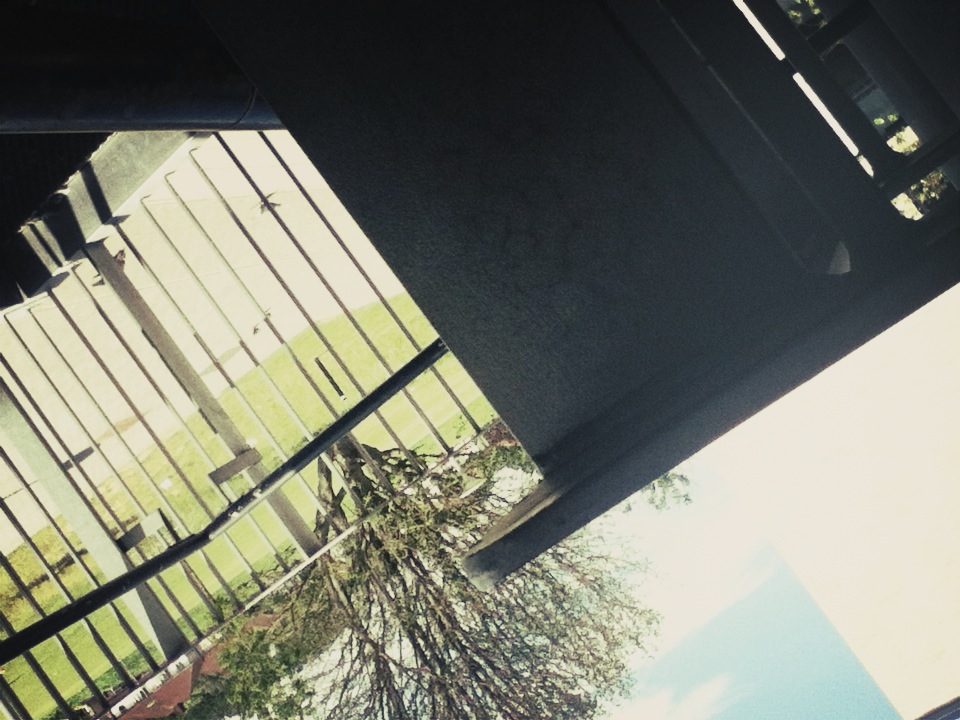
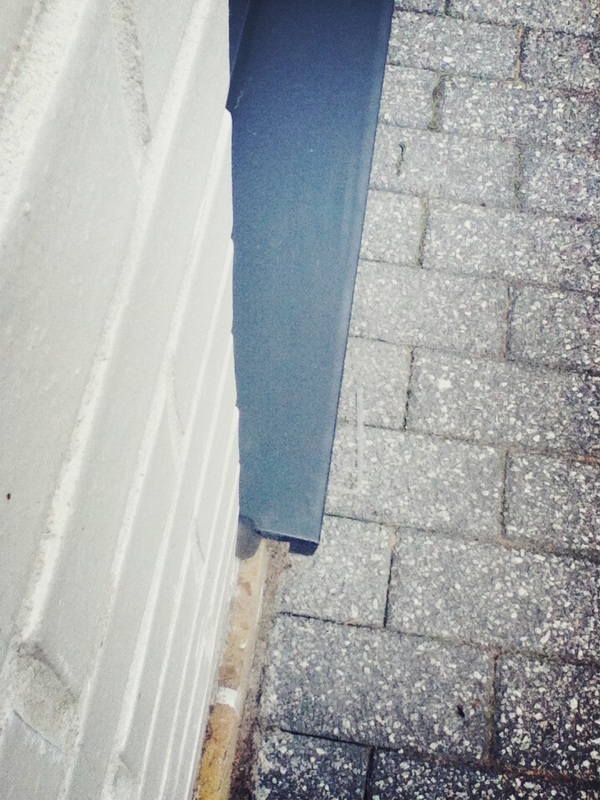
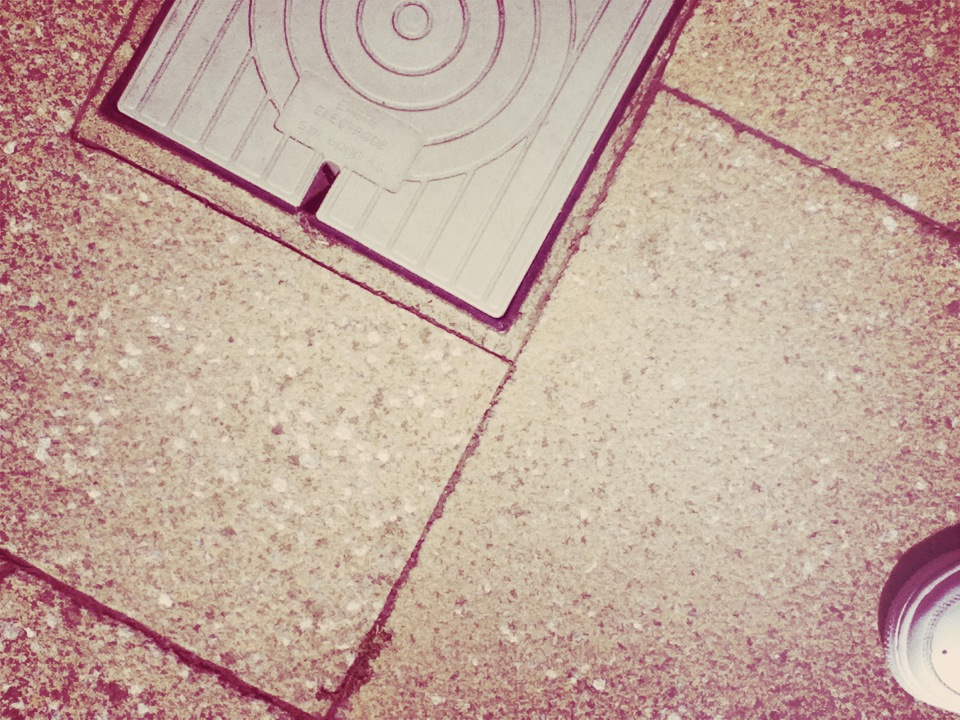
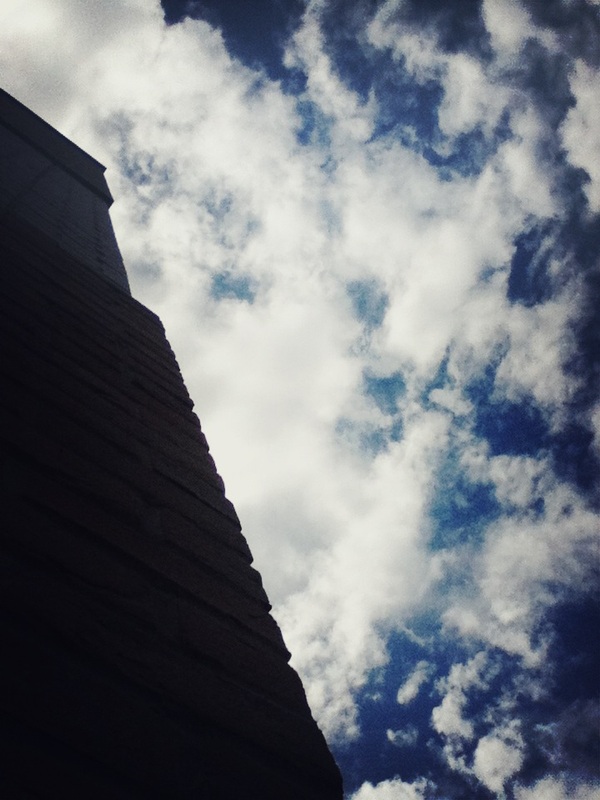
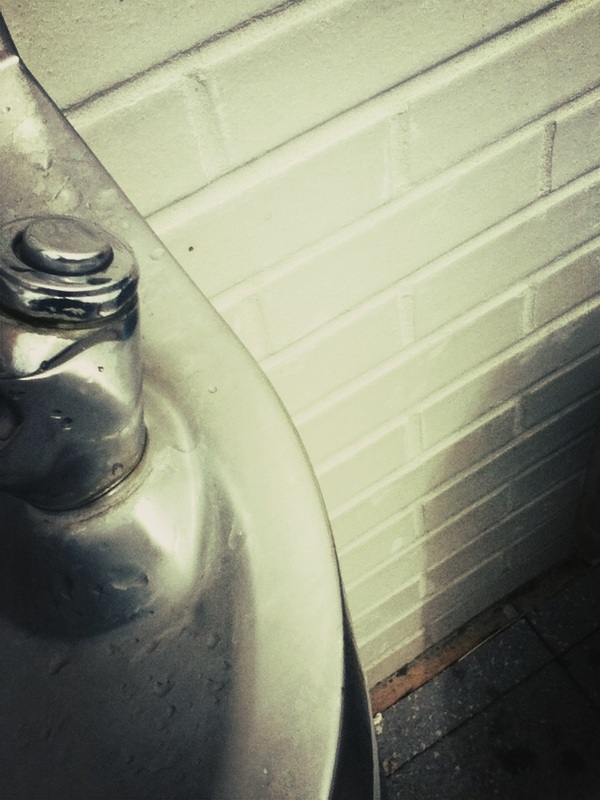
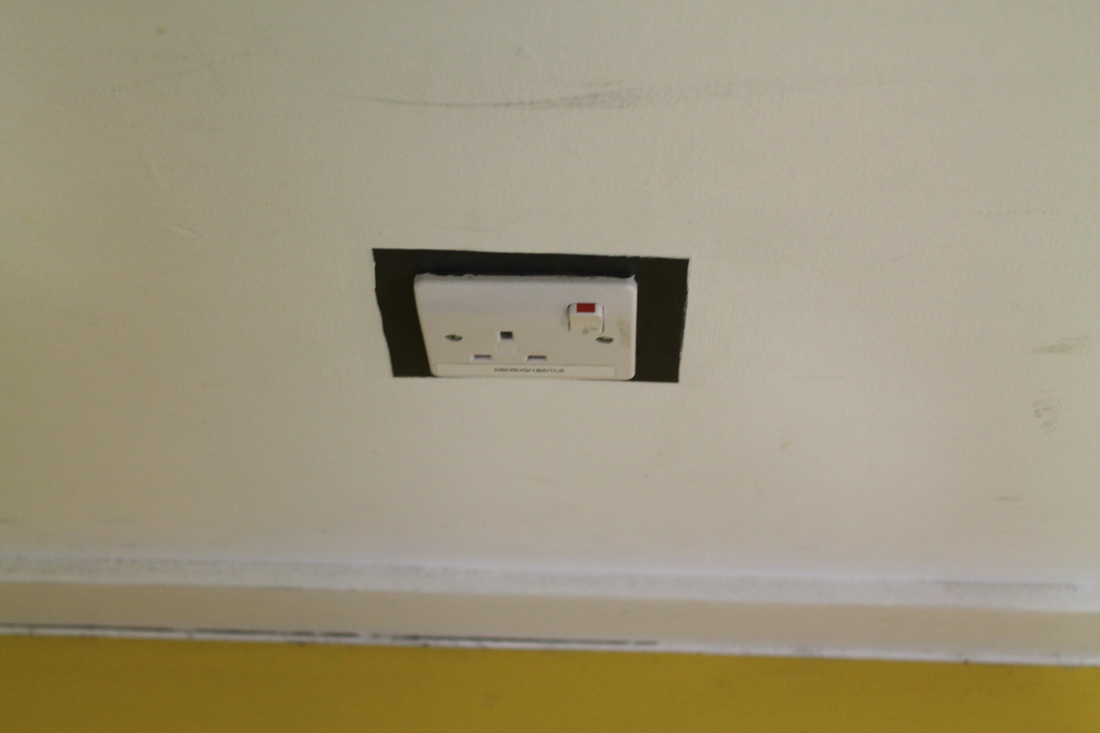
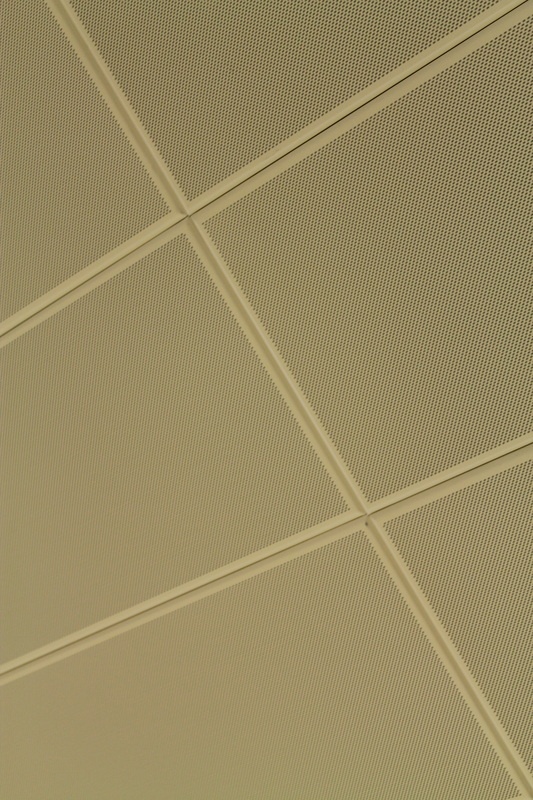
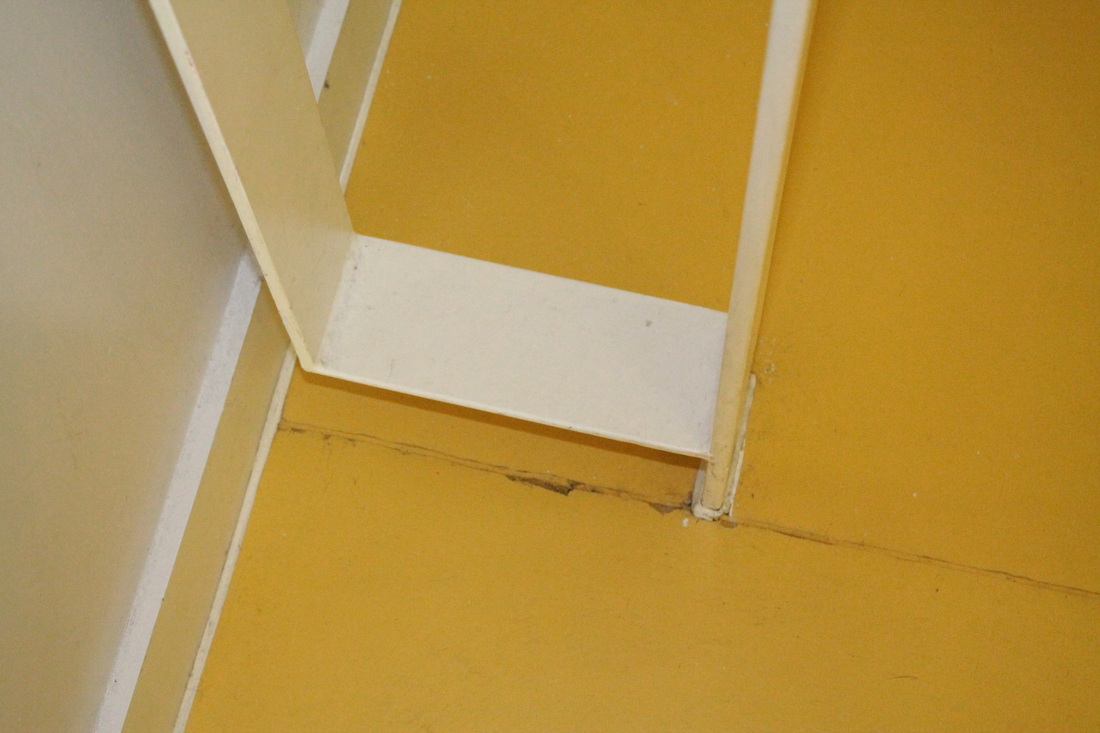
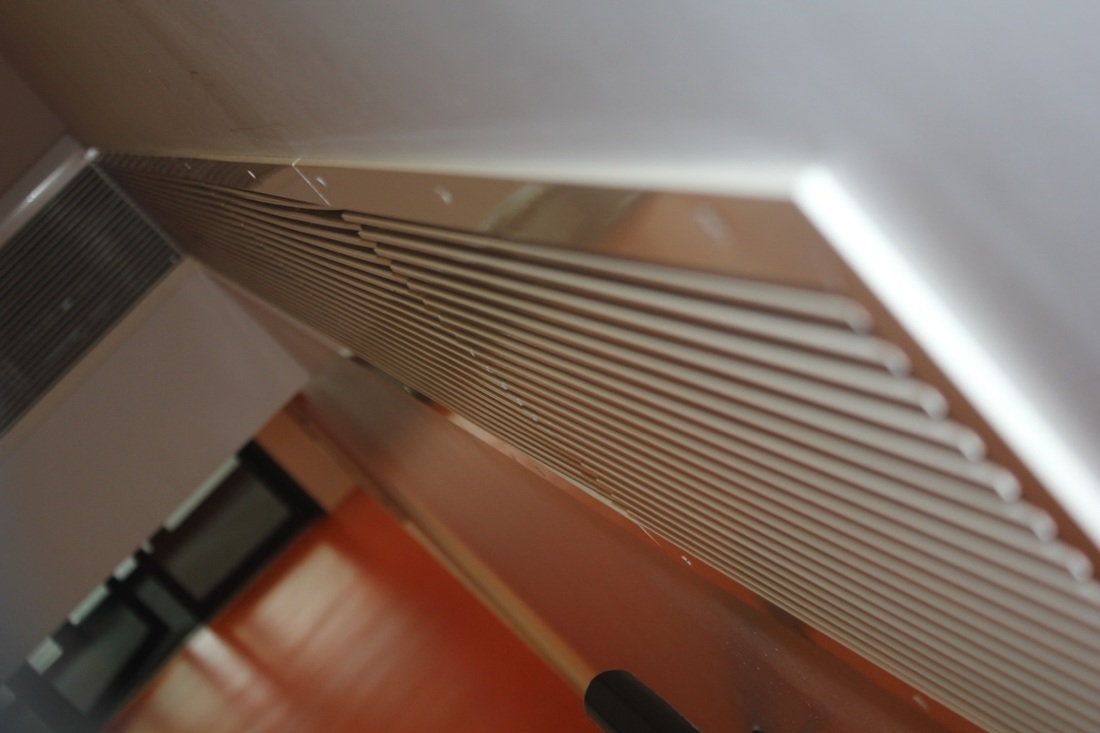
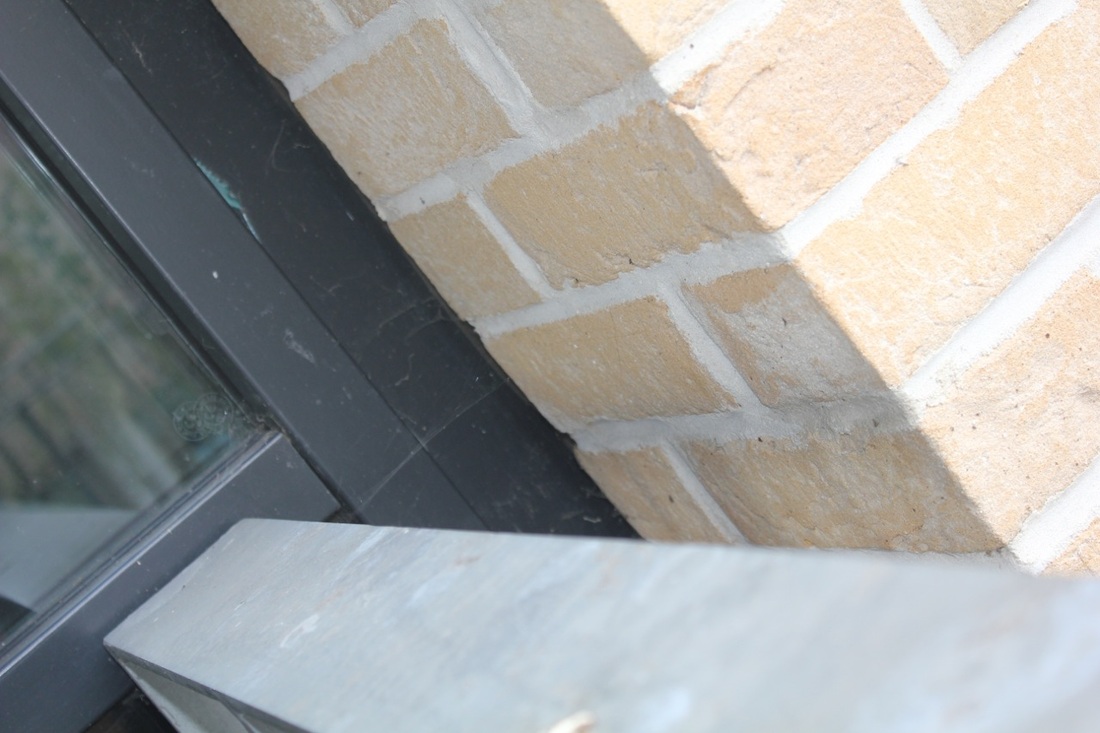
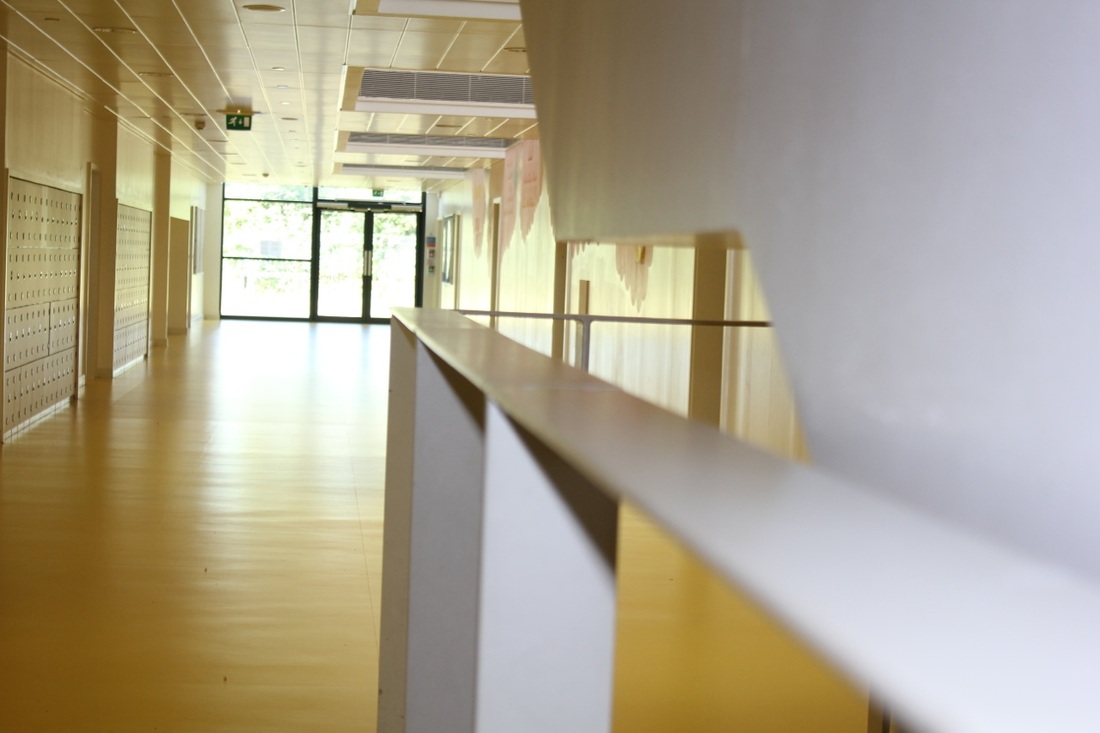
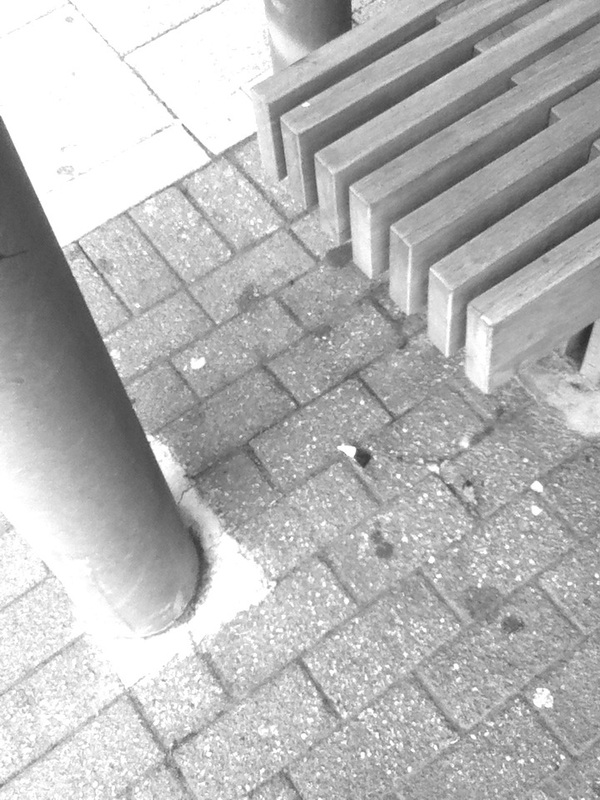
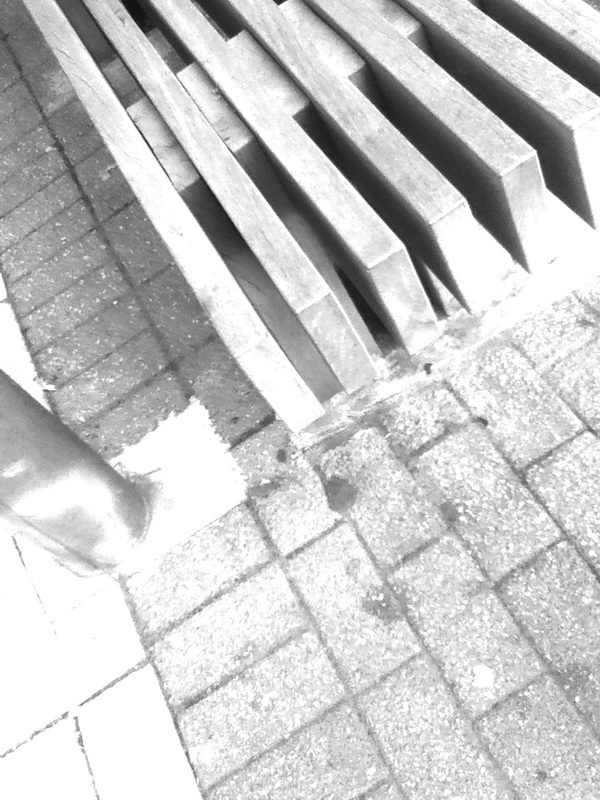
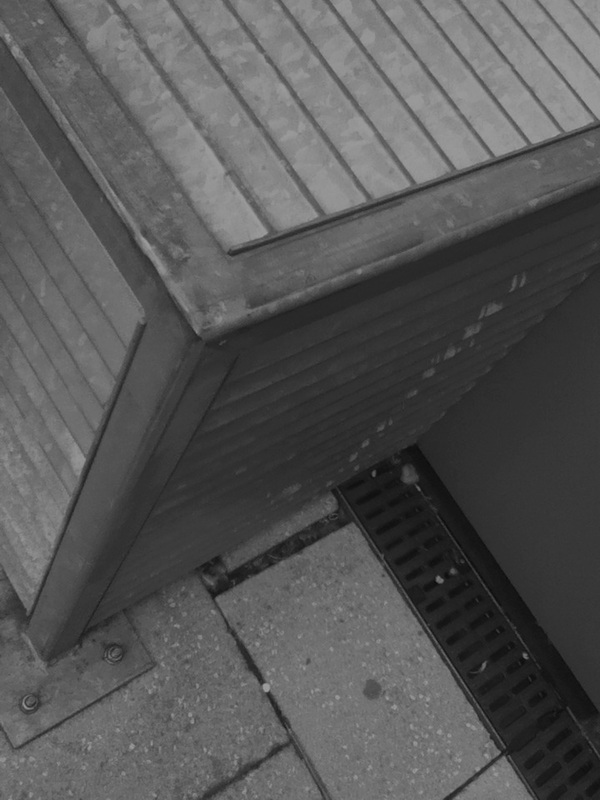
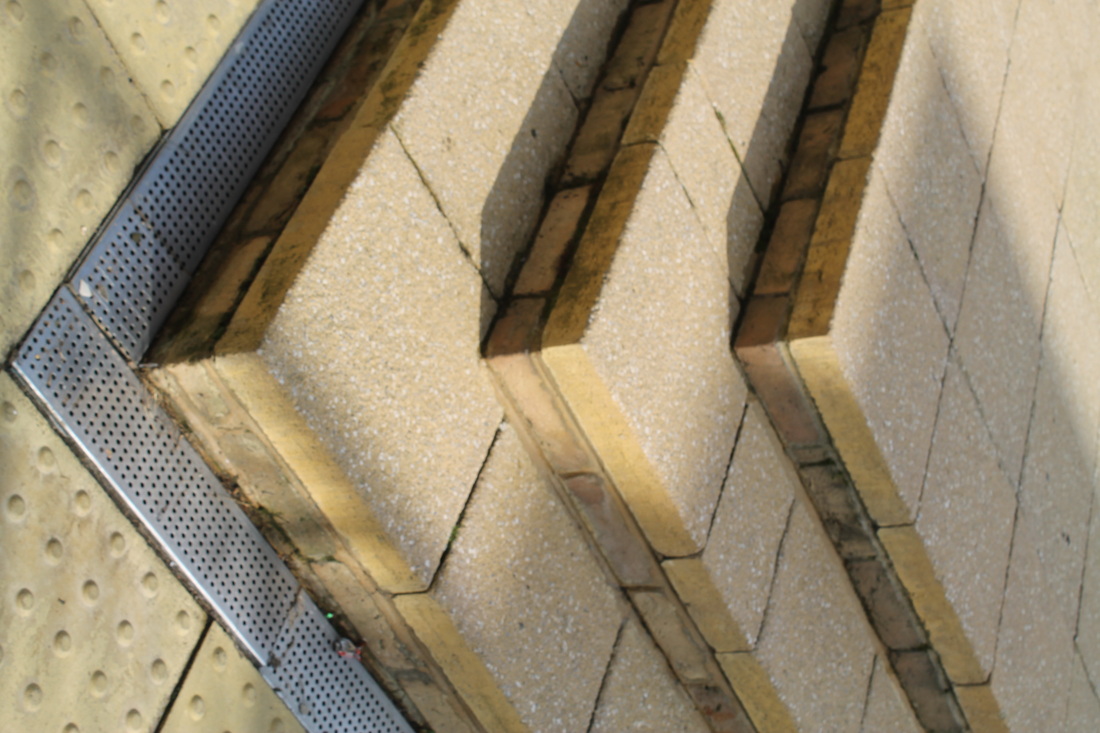
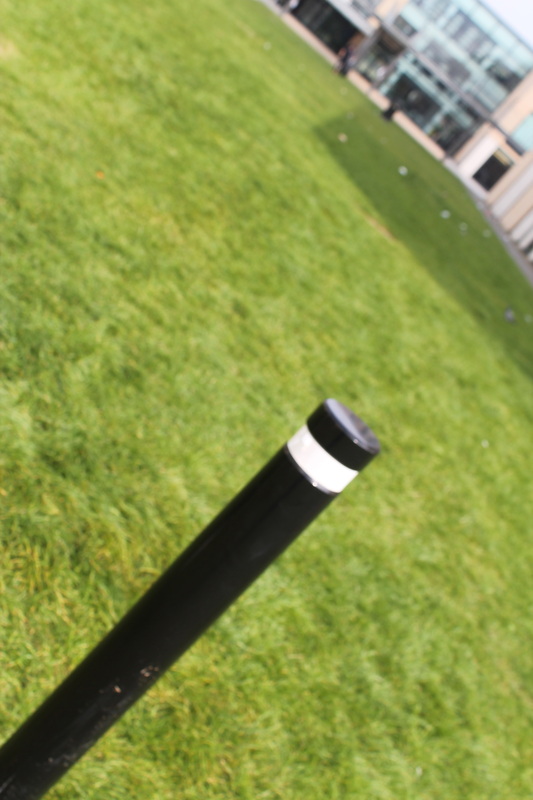
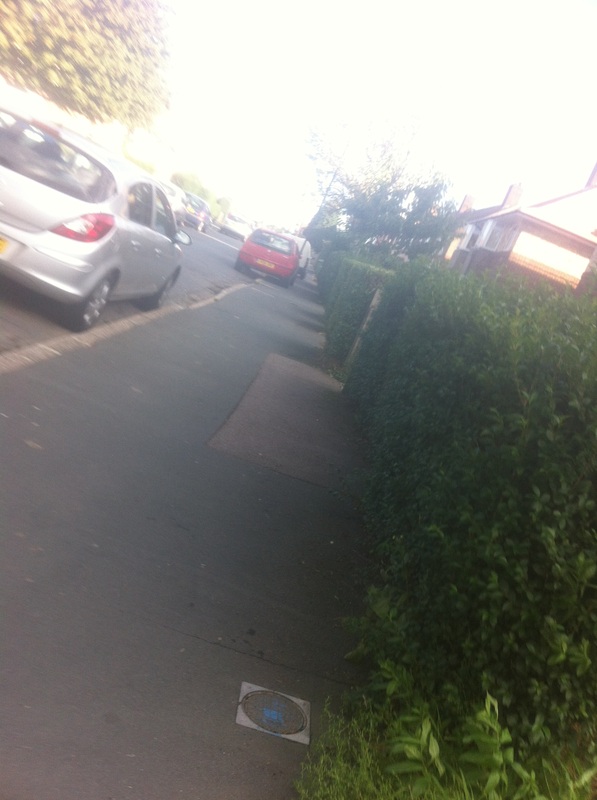
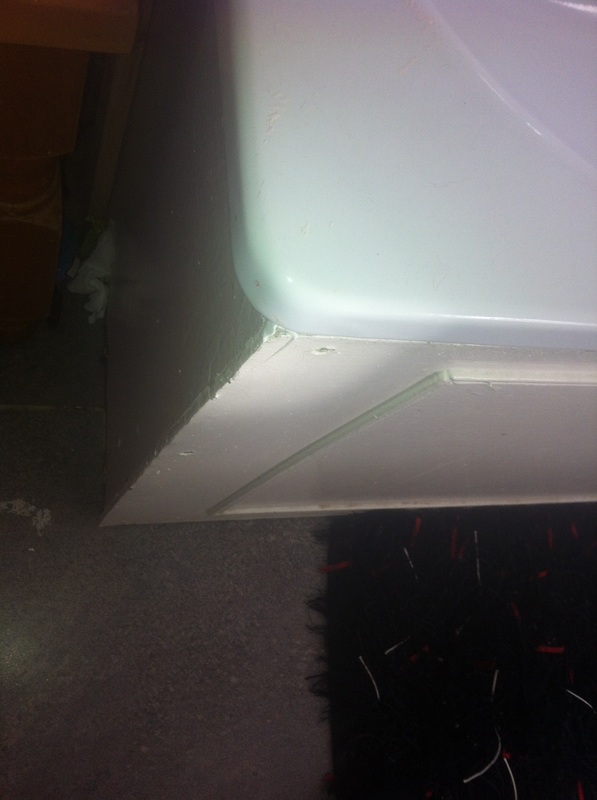
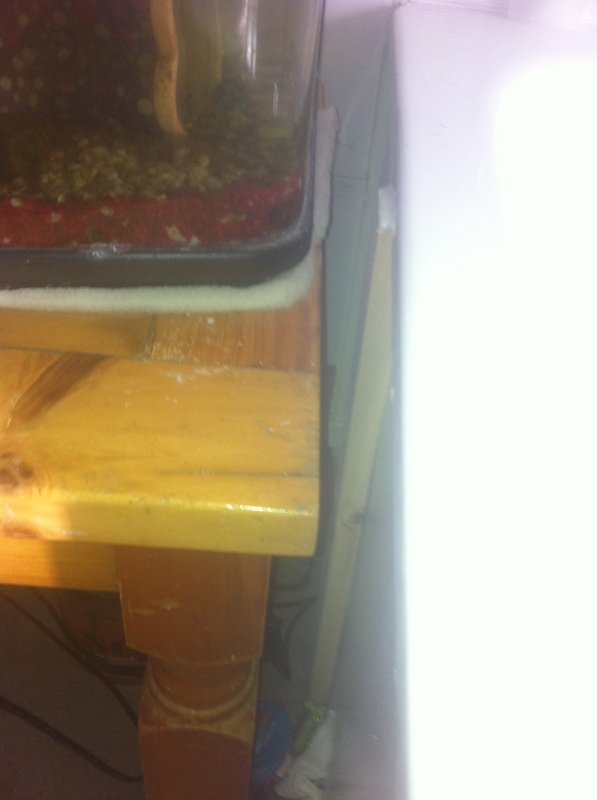
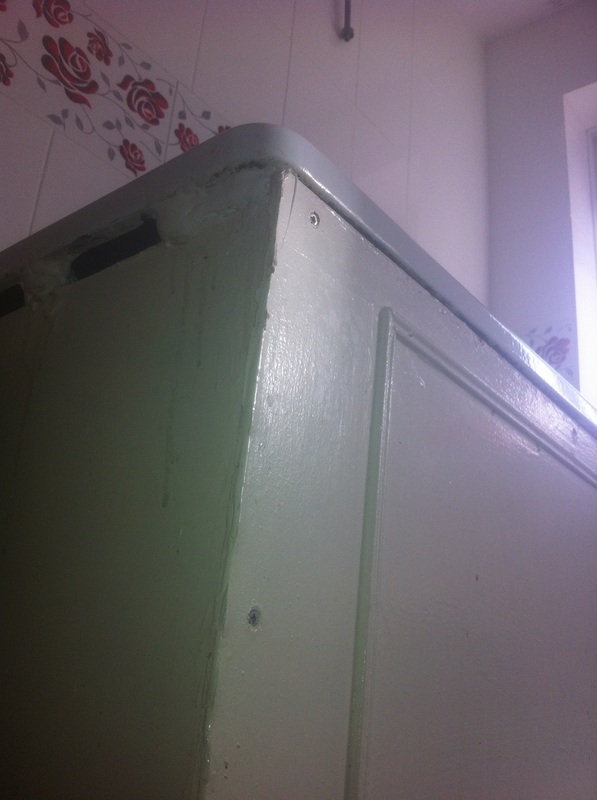
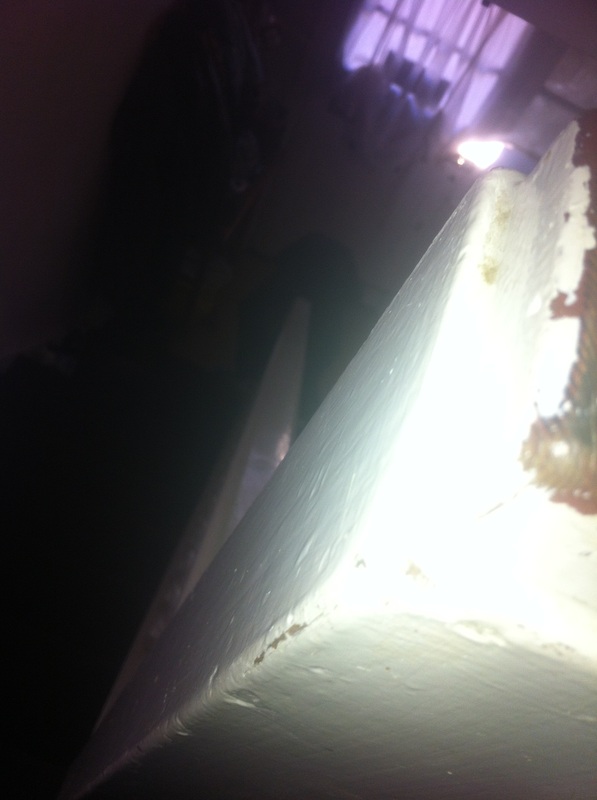
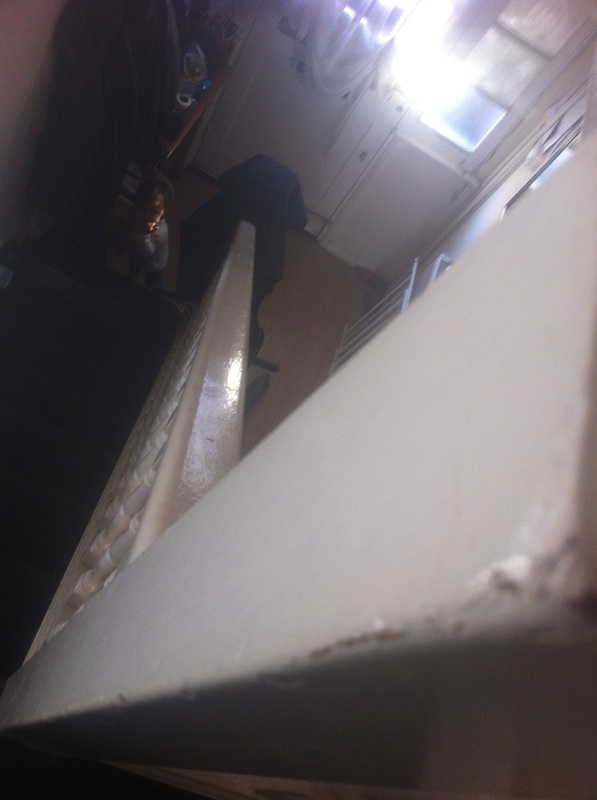
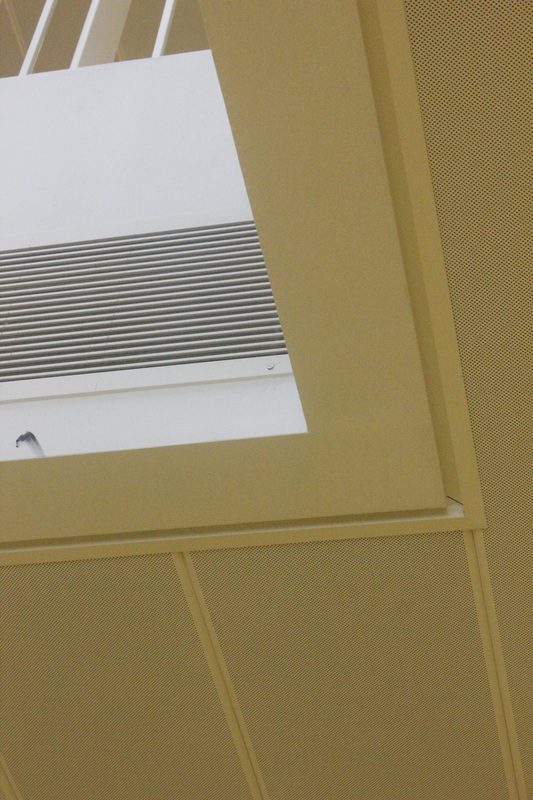
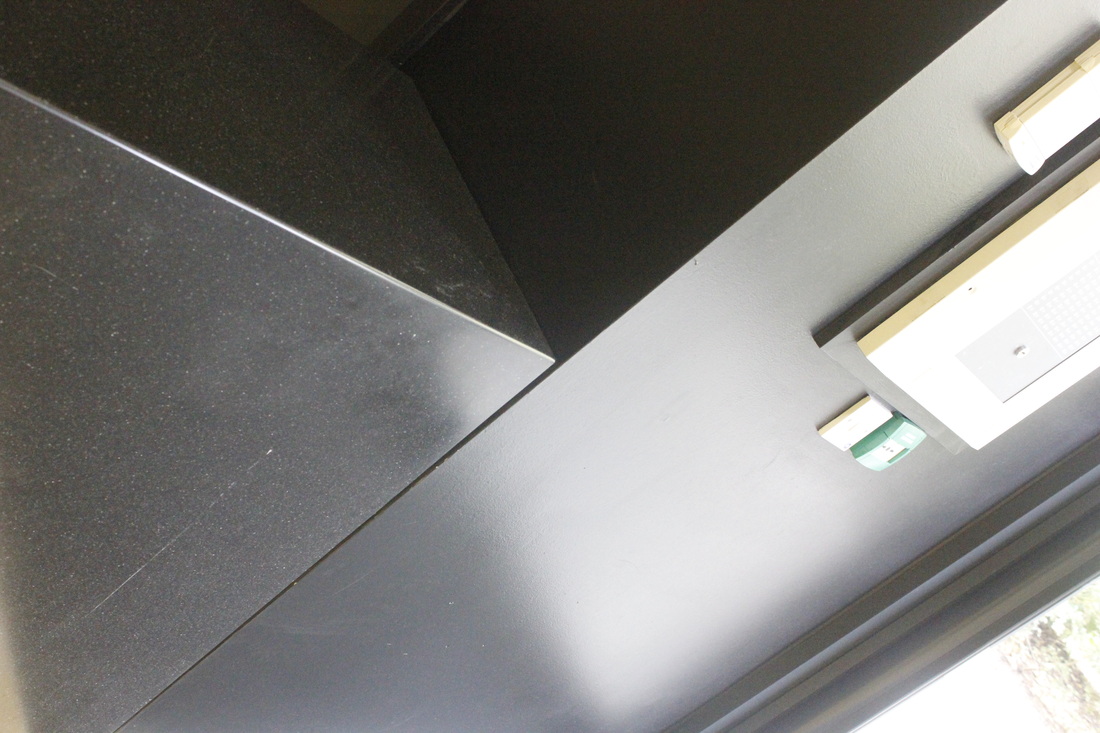
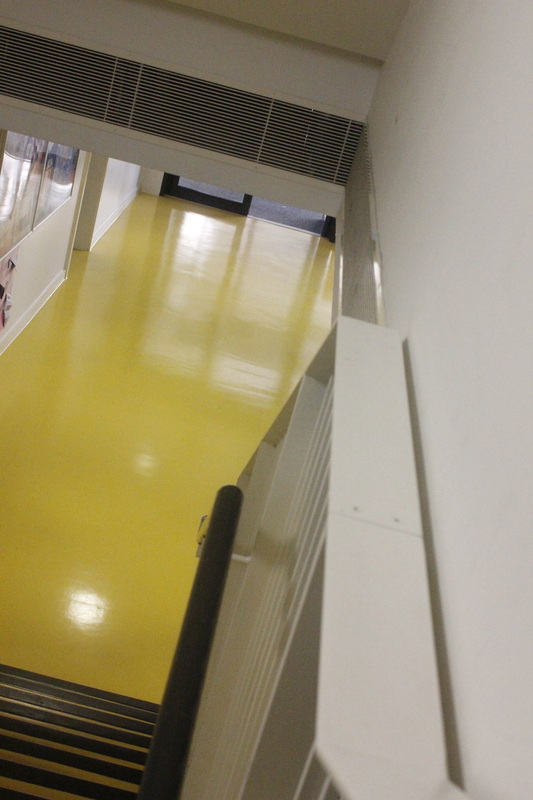
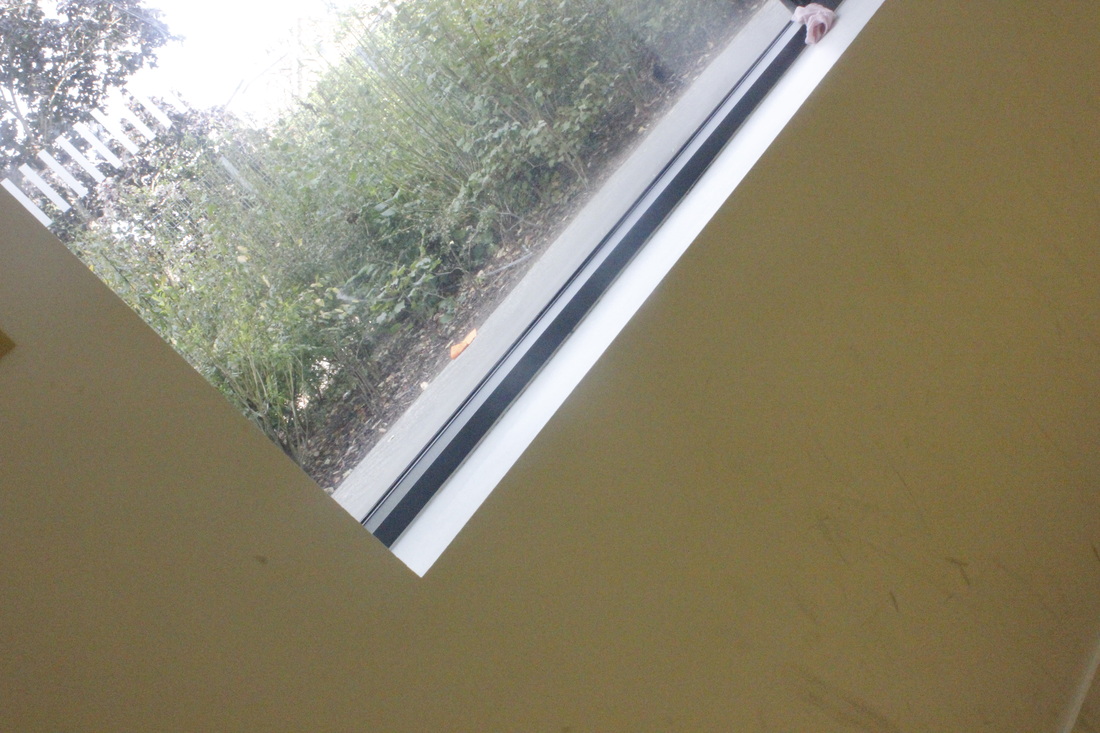
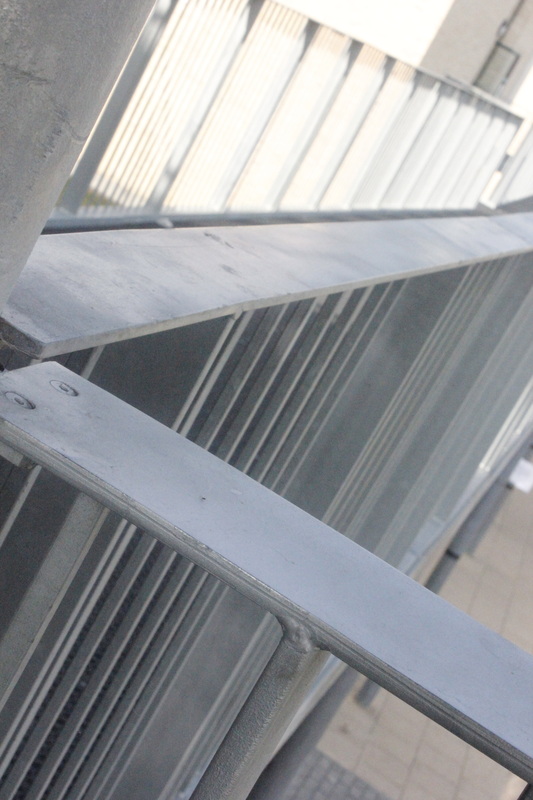
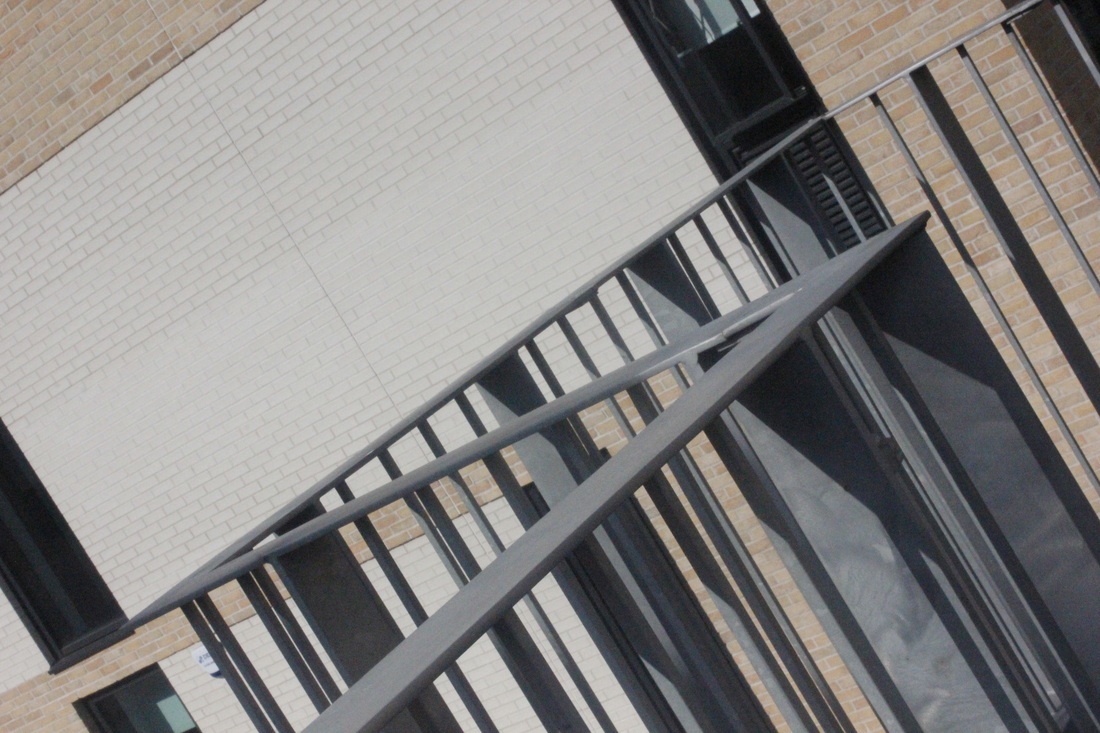
Edges.
Set 1.
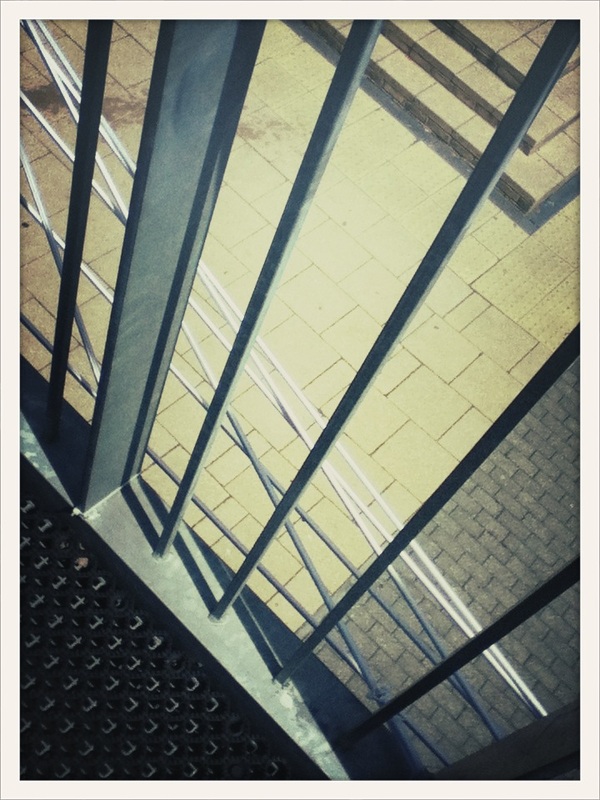
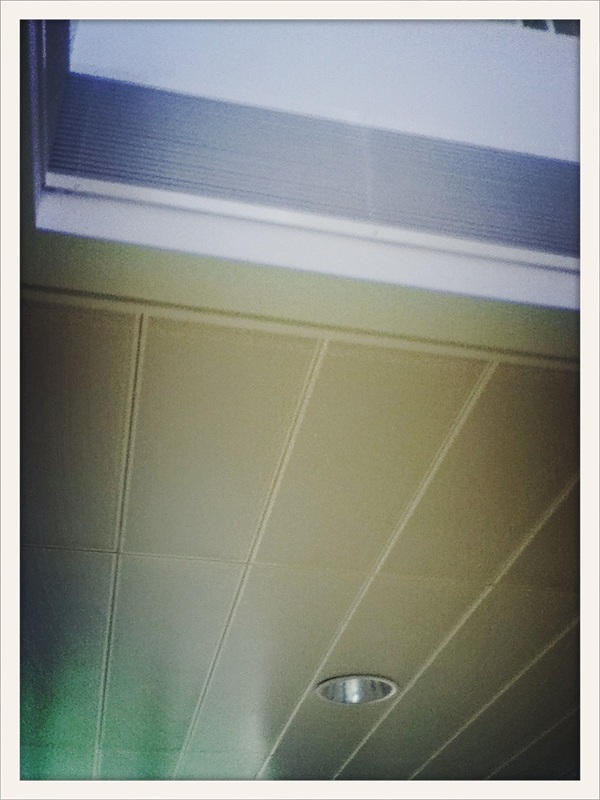

This was my first attempt of pictures , these could of came out better but I still put them on here. Most of these pictures we're took on an ipod using the app 'cross process.' I think they would of been better if I thought them through first instead of happy snapping.
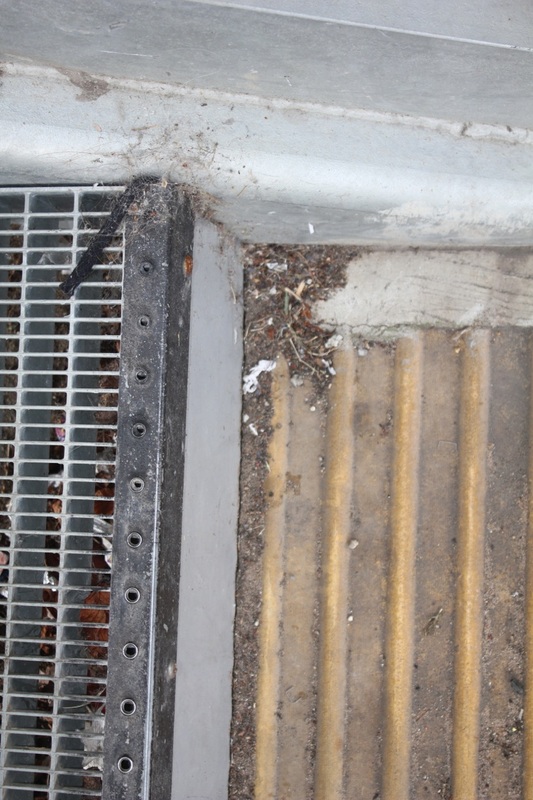
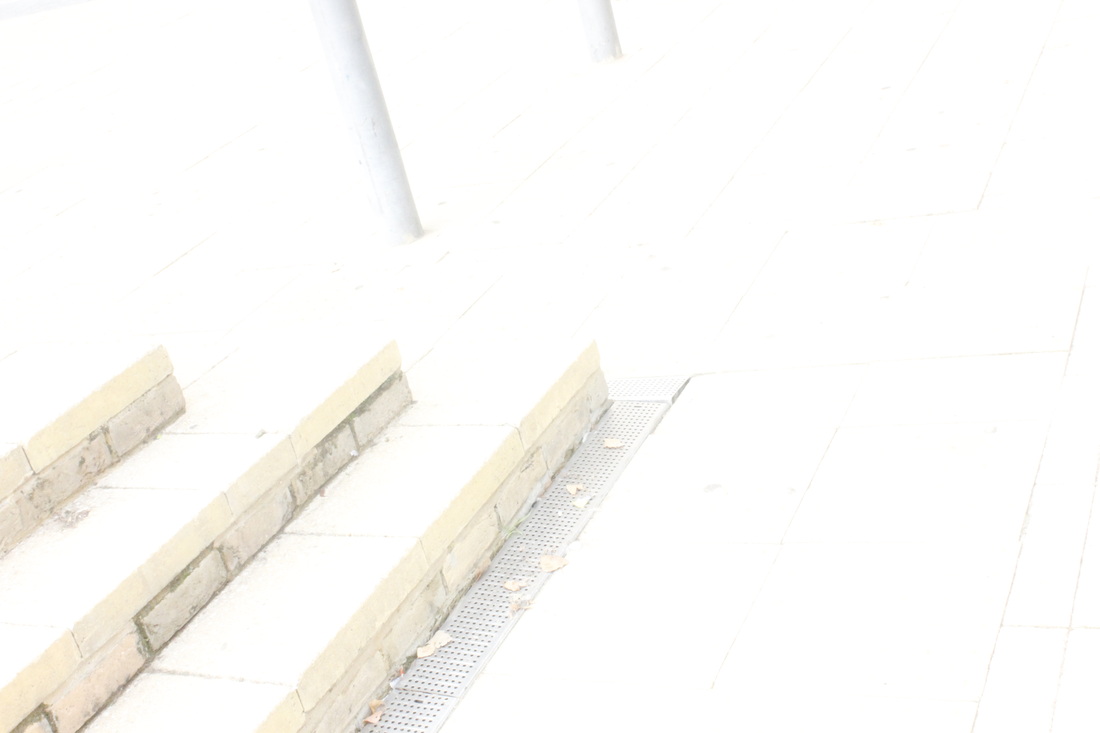
Set 2.

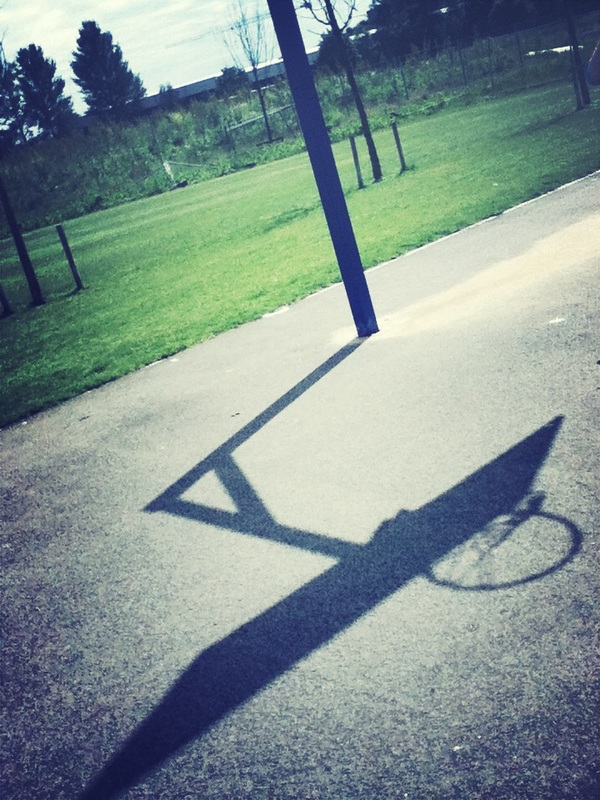
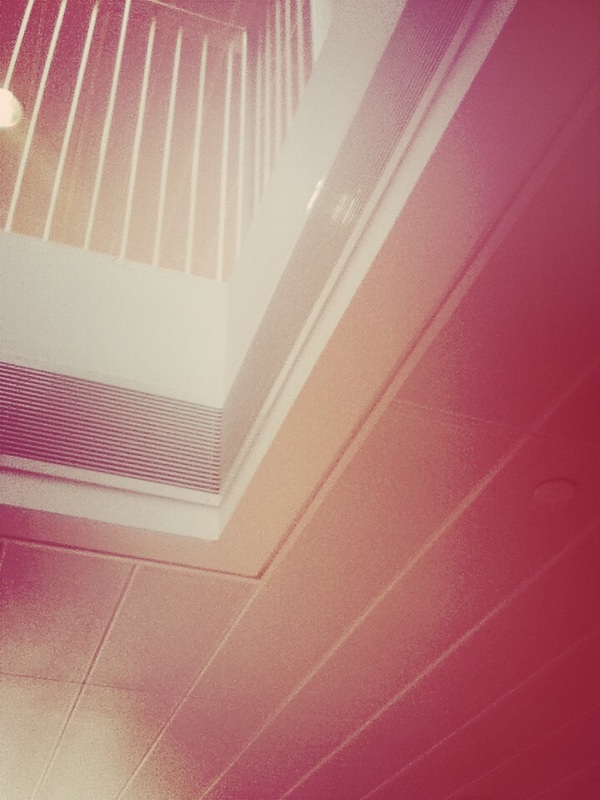
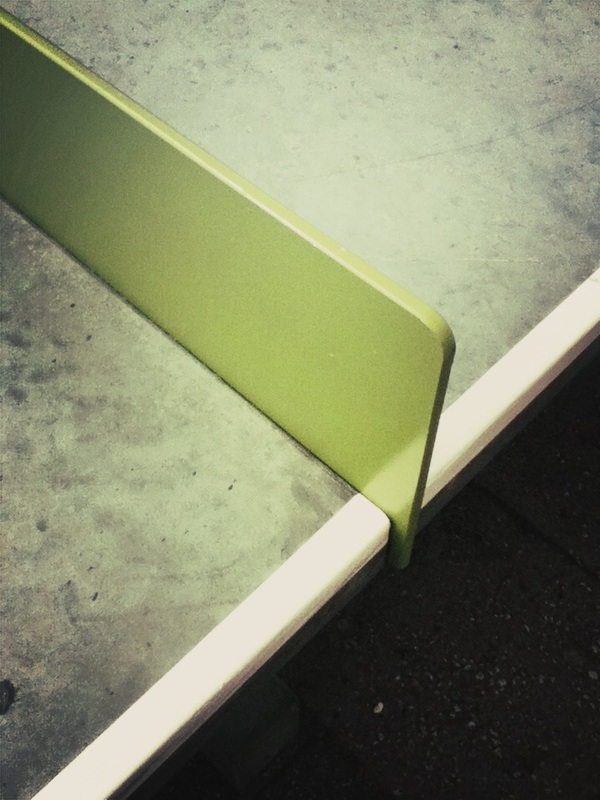


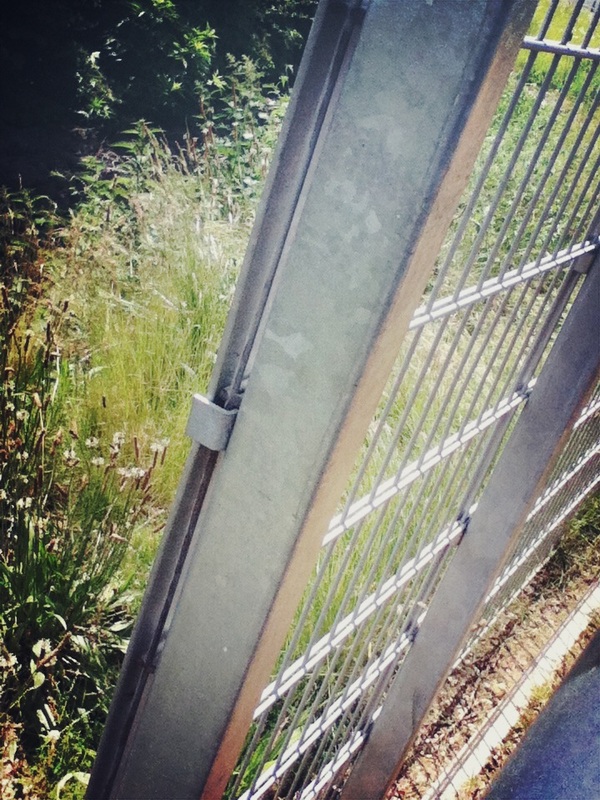

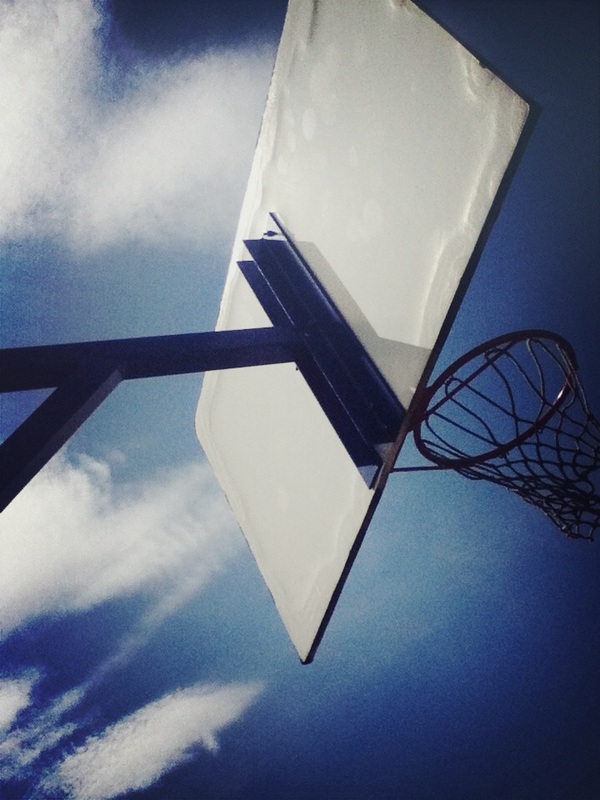
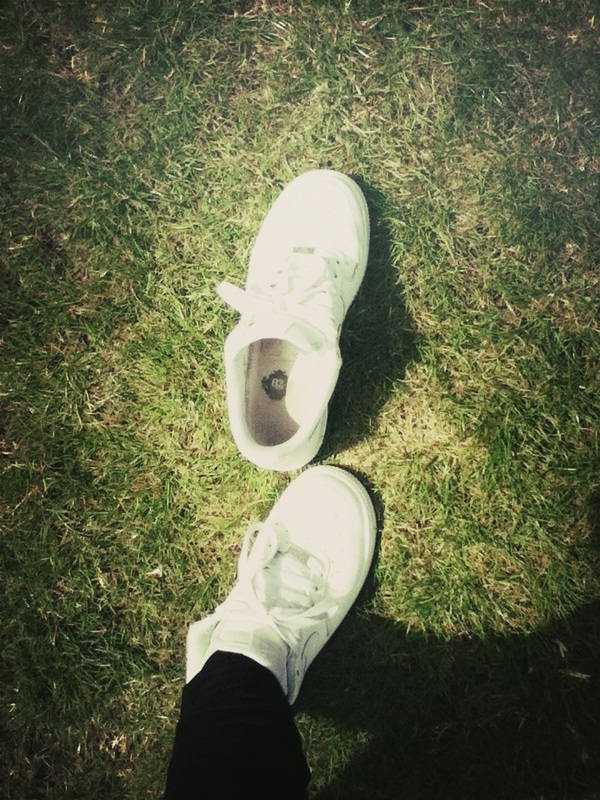
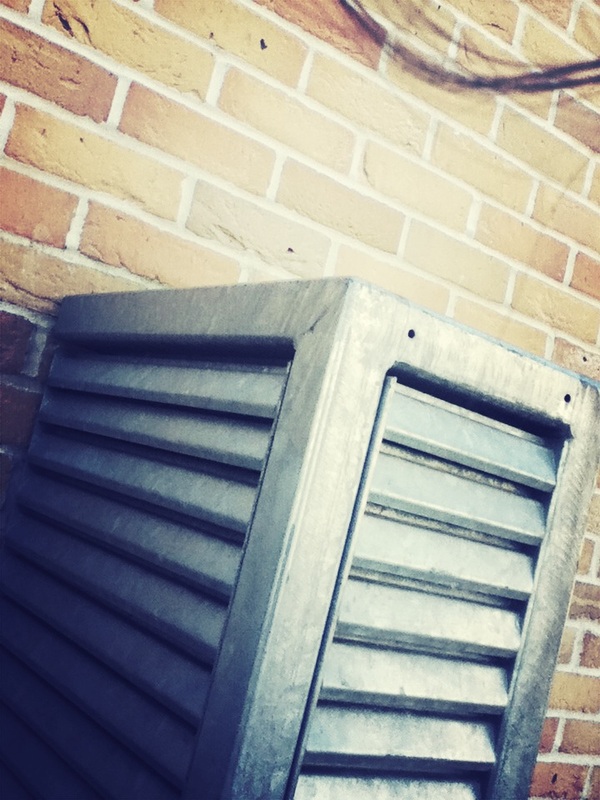

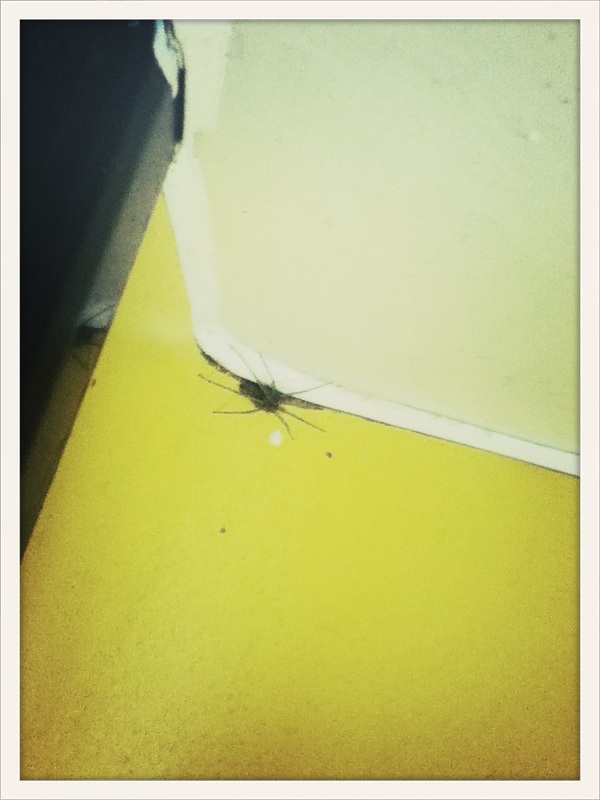
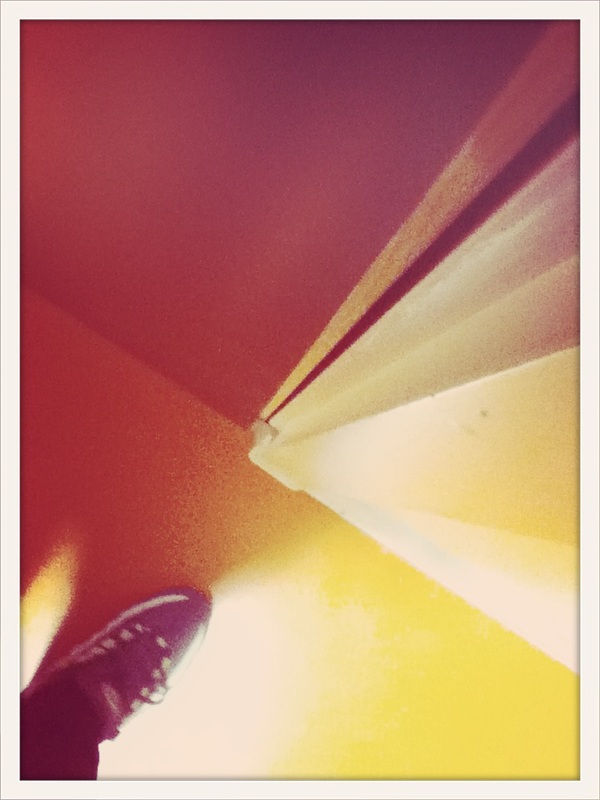
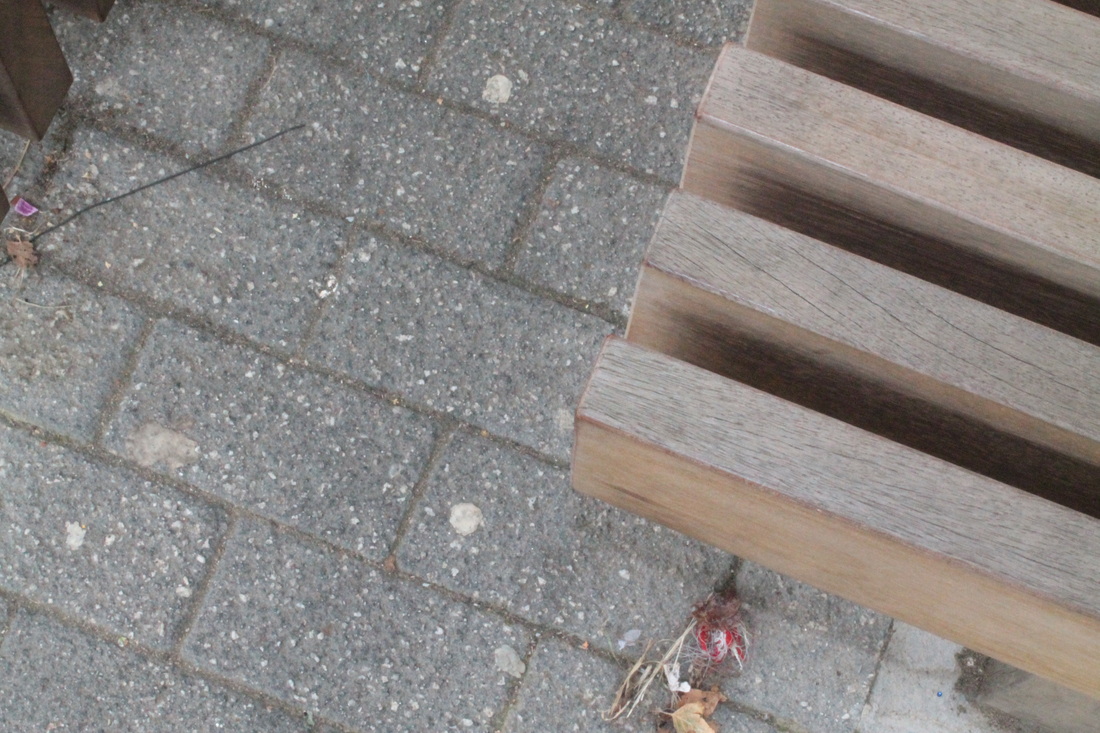
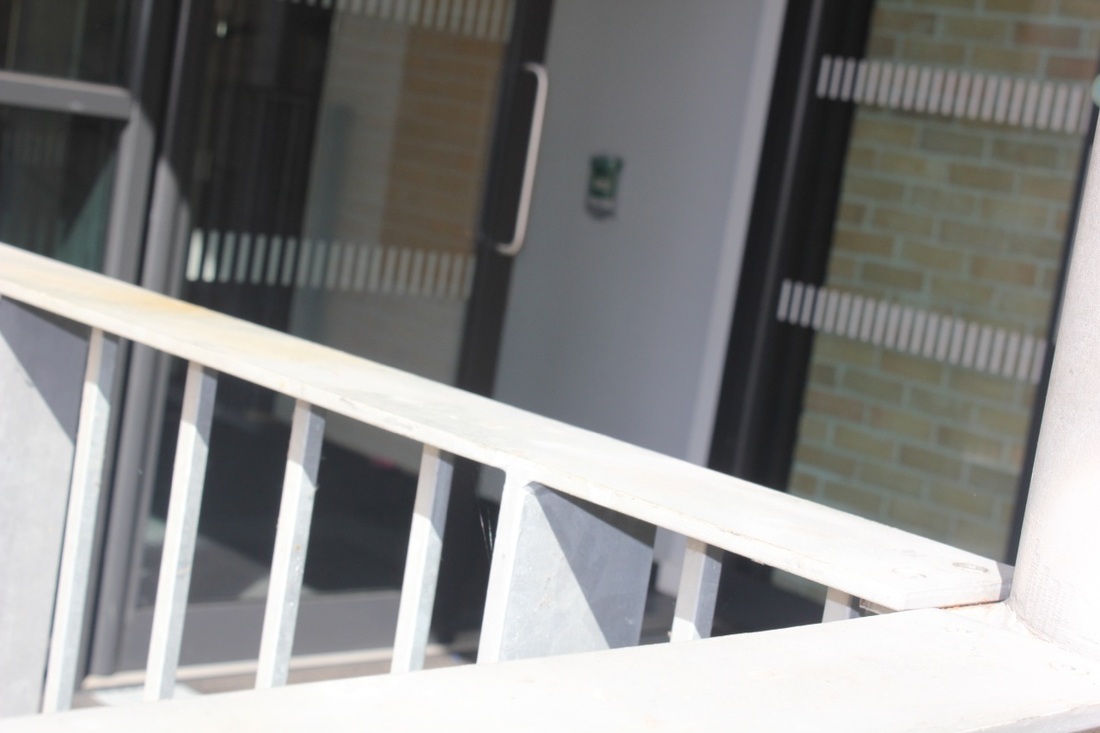
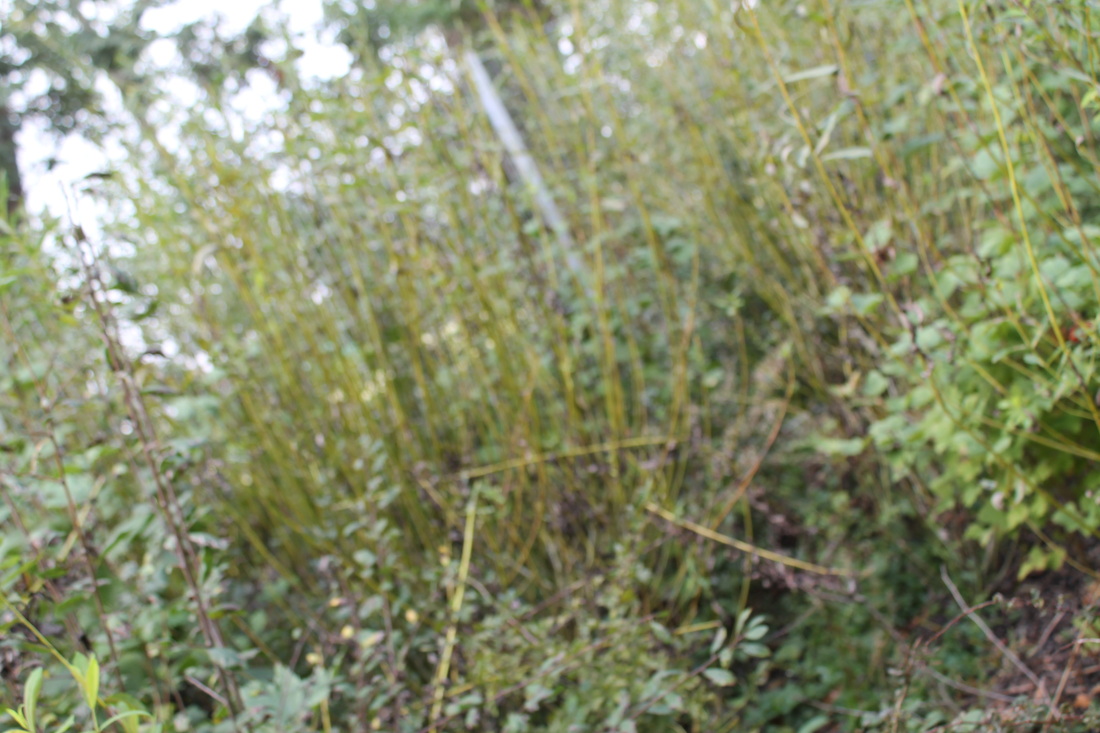
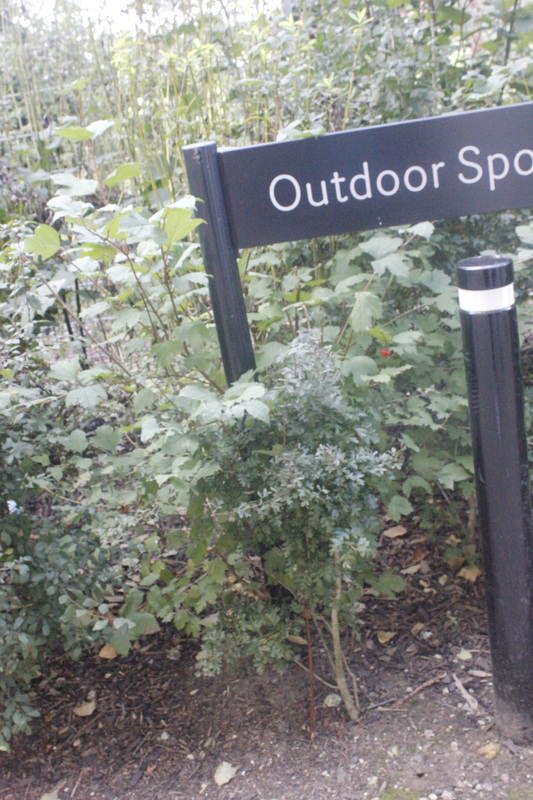
This was my 2nd set of photos , using the theme edges. They came out pretty good , it was a sunny day so it was a good idea to go out and take pictures. Some are random but I thought them through before taking them. e.g. the one of my trainers , I looked down & thought there are many edges on my shoes & the front is rounded. These photos we're also taken on a ipod on 'cross process.' (same as set 1)
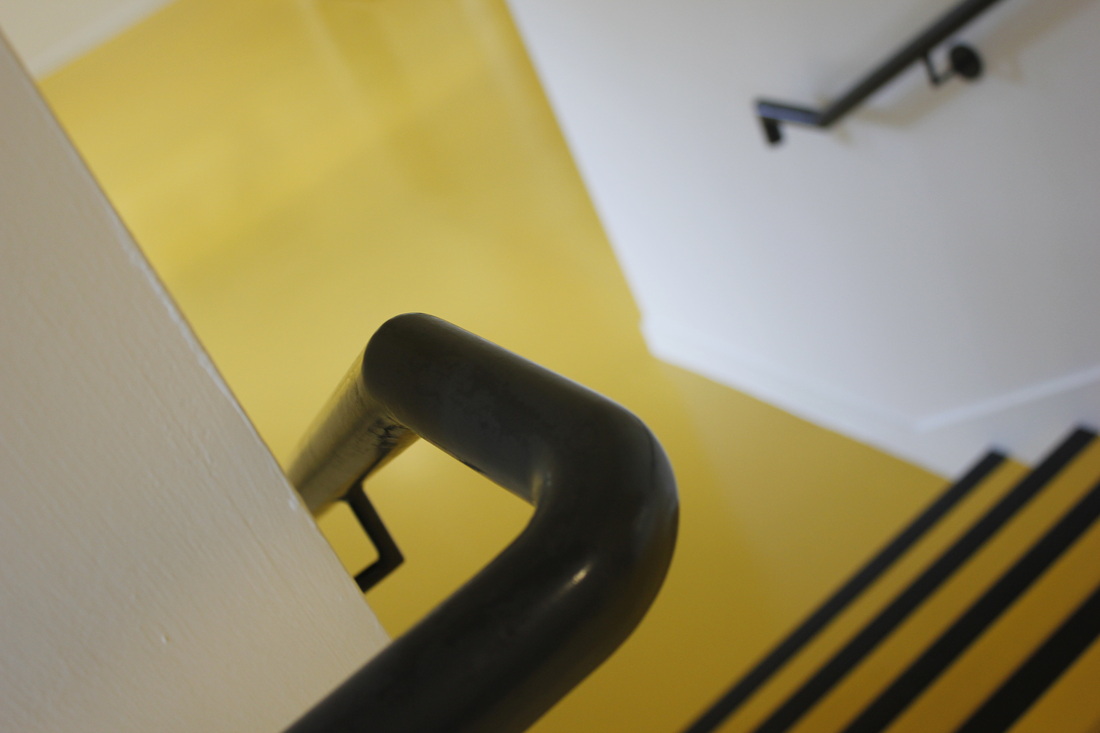
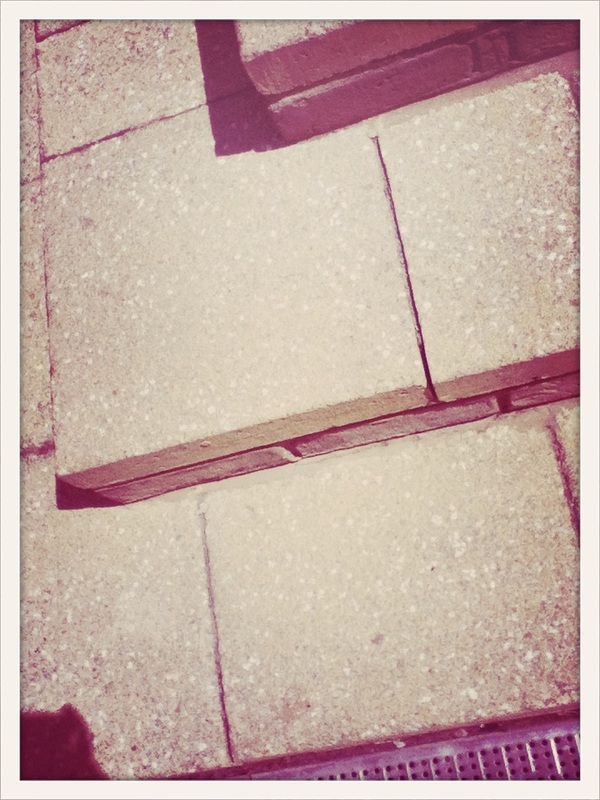
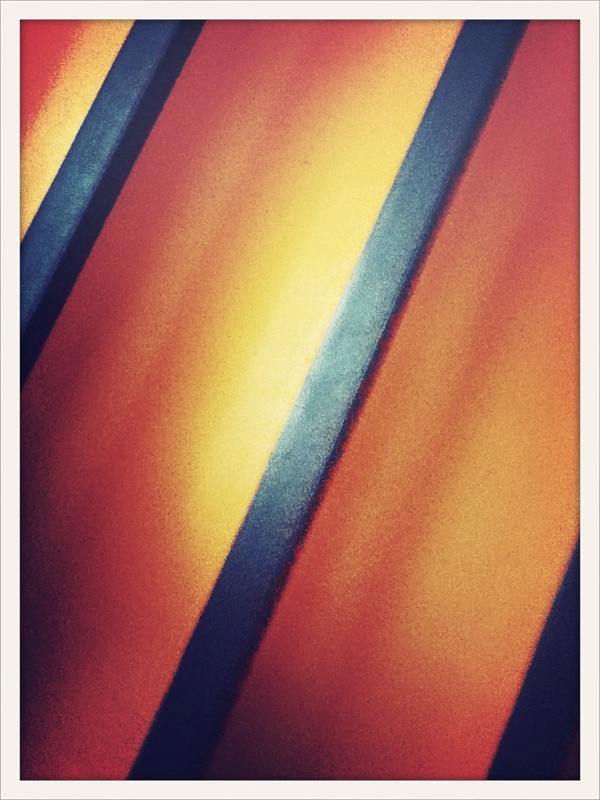
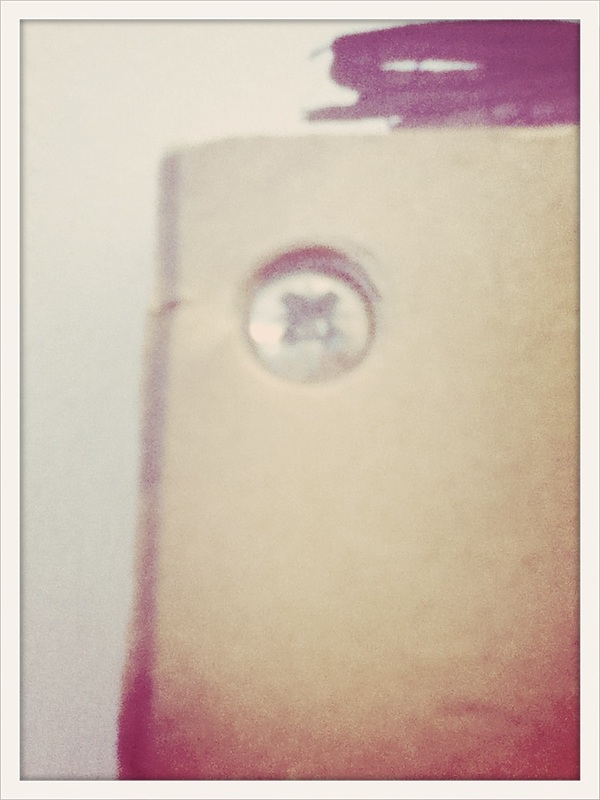
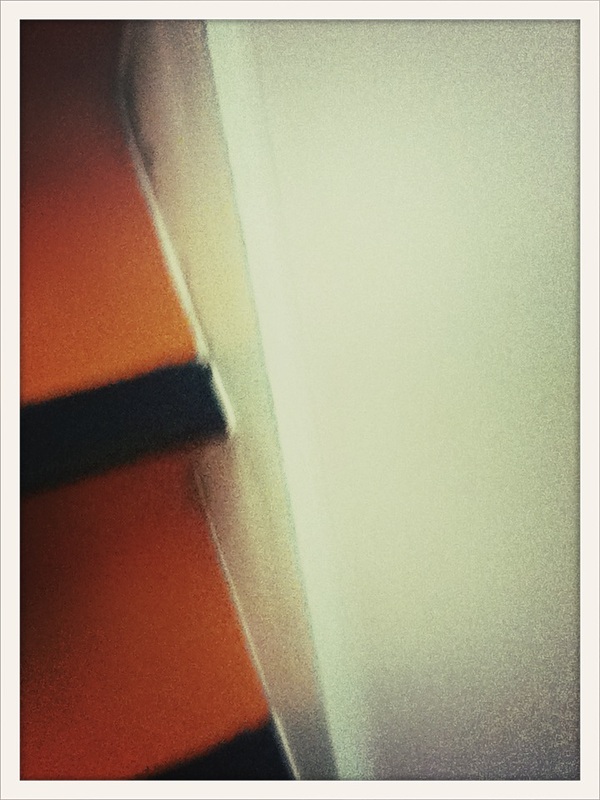
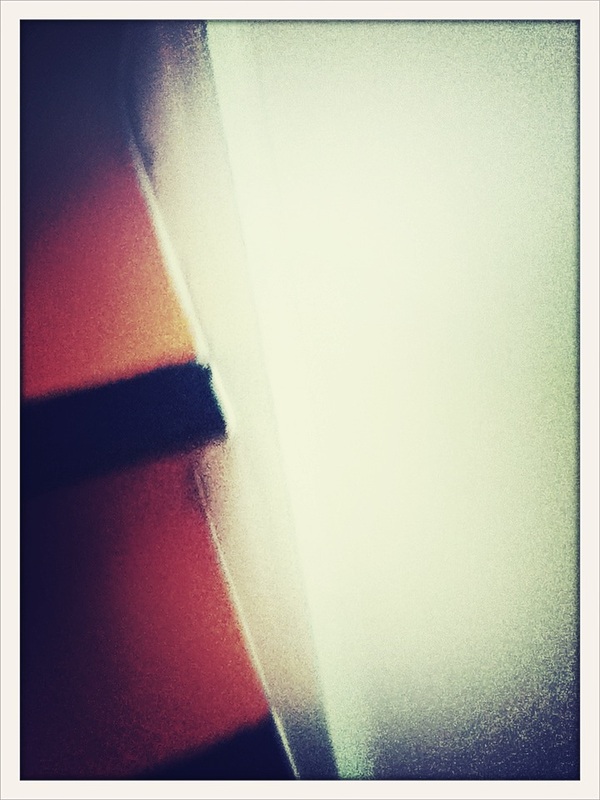
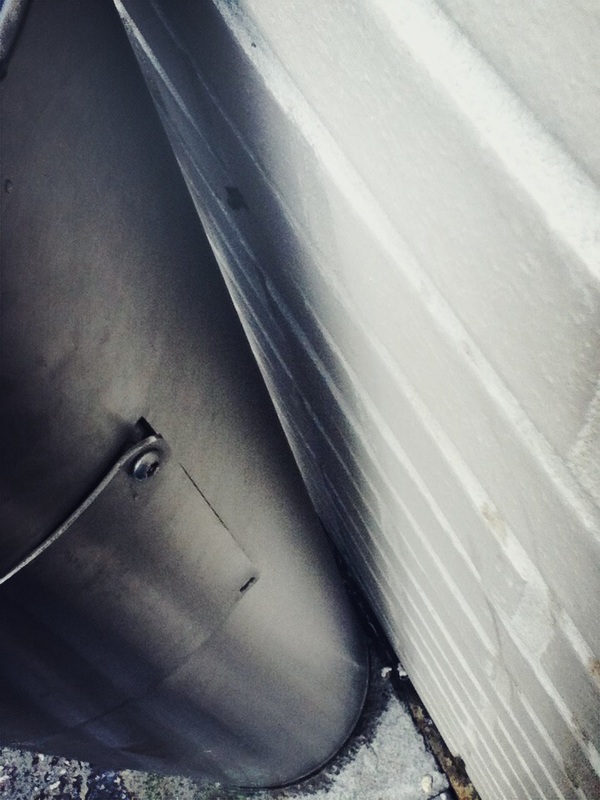
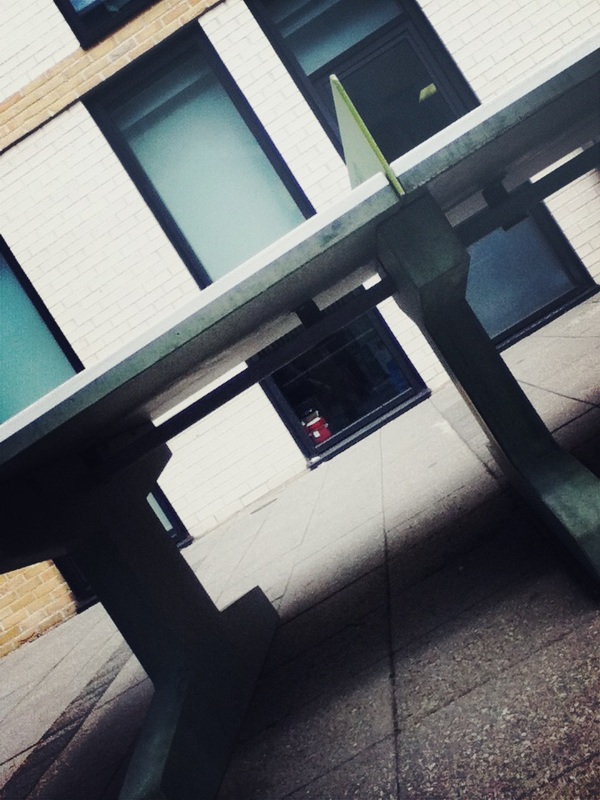
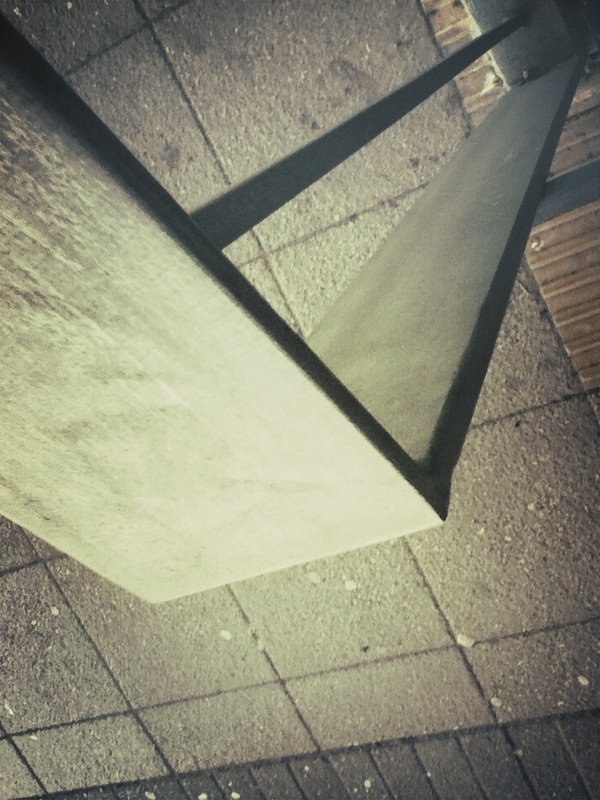
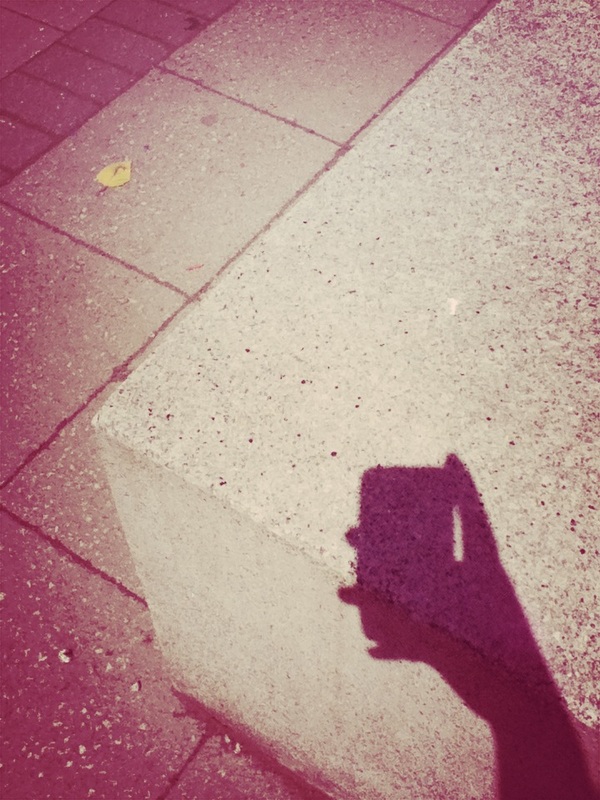
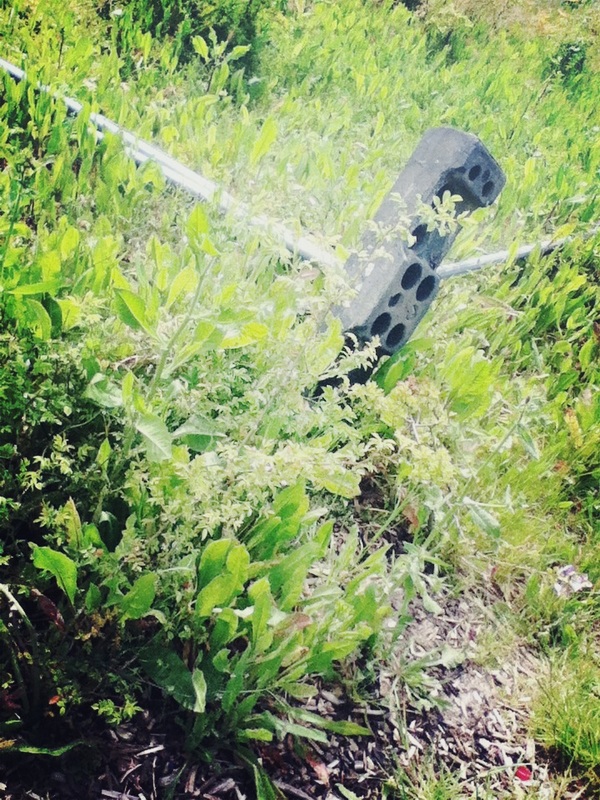
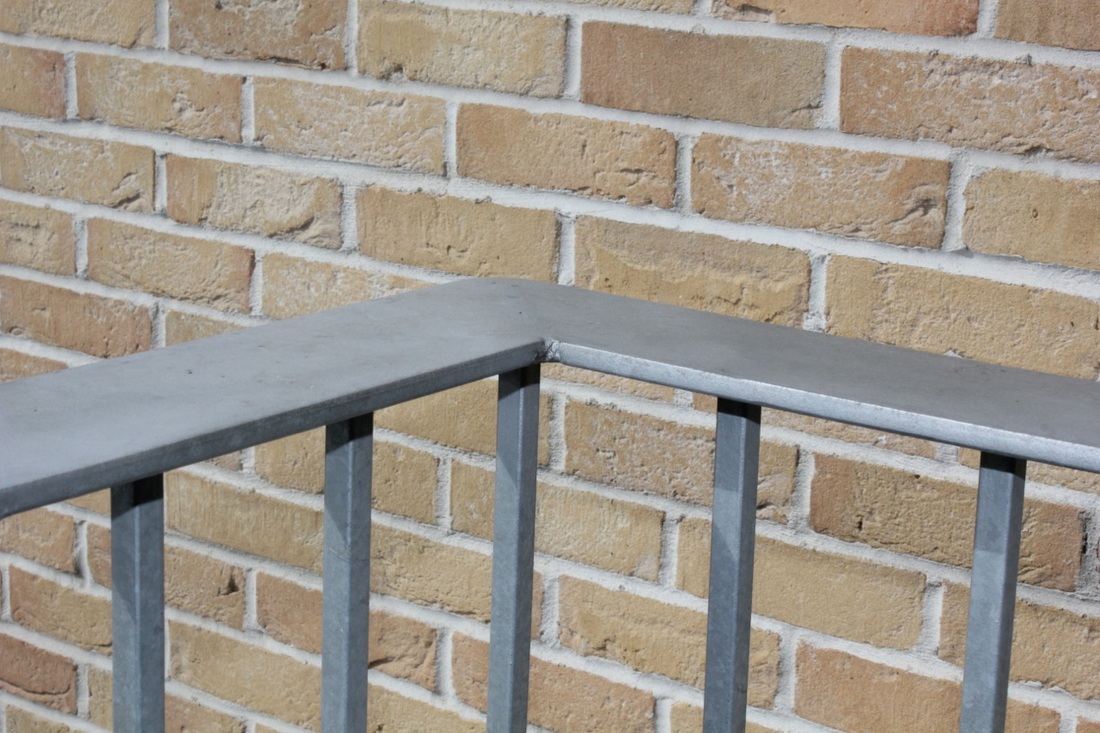
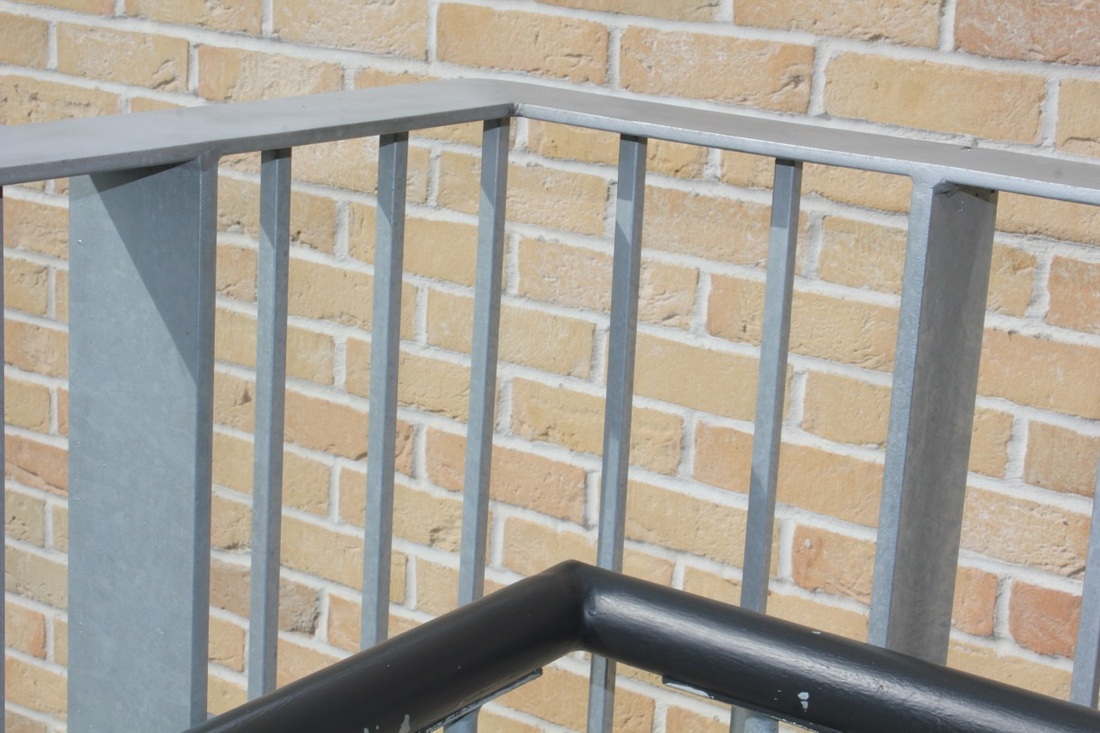
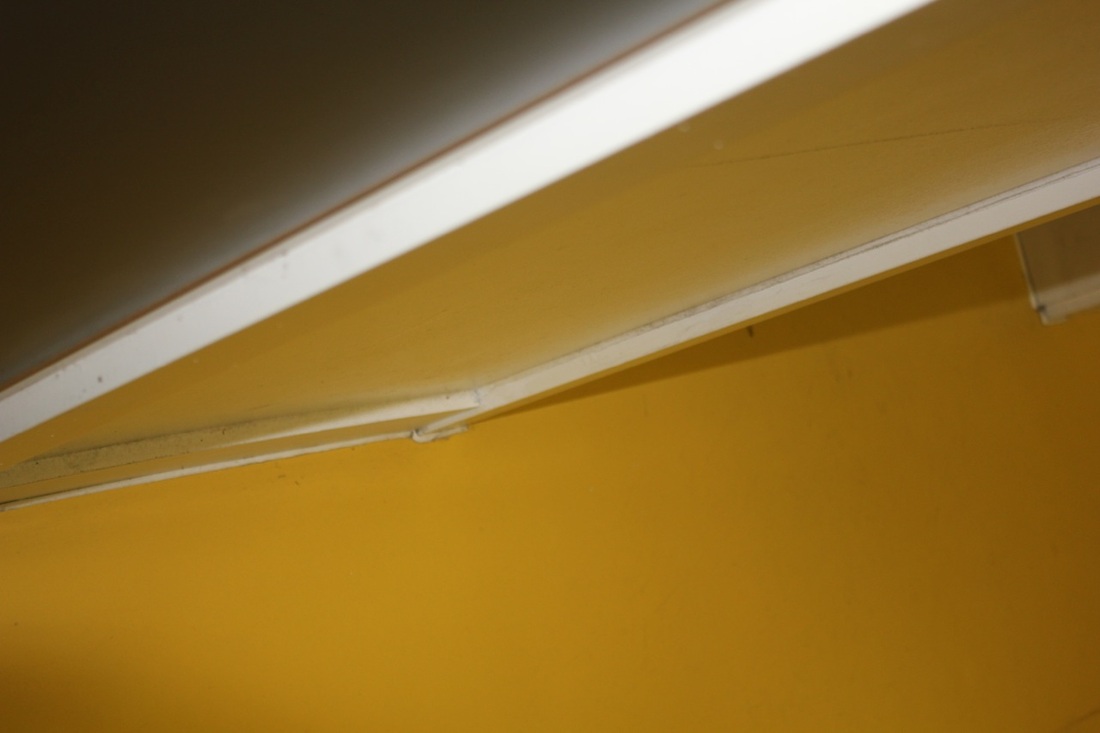
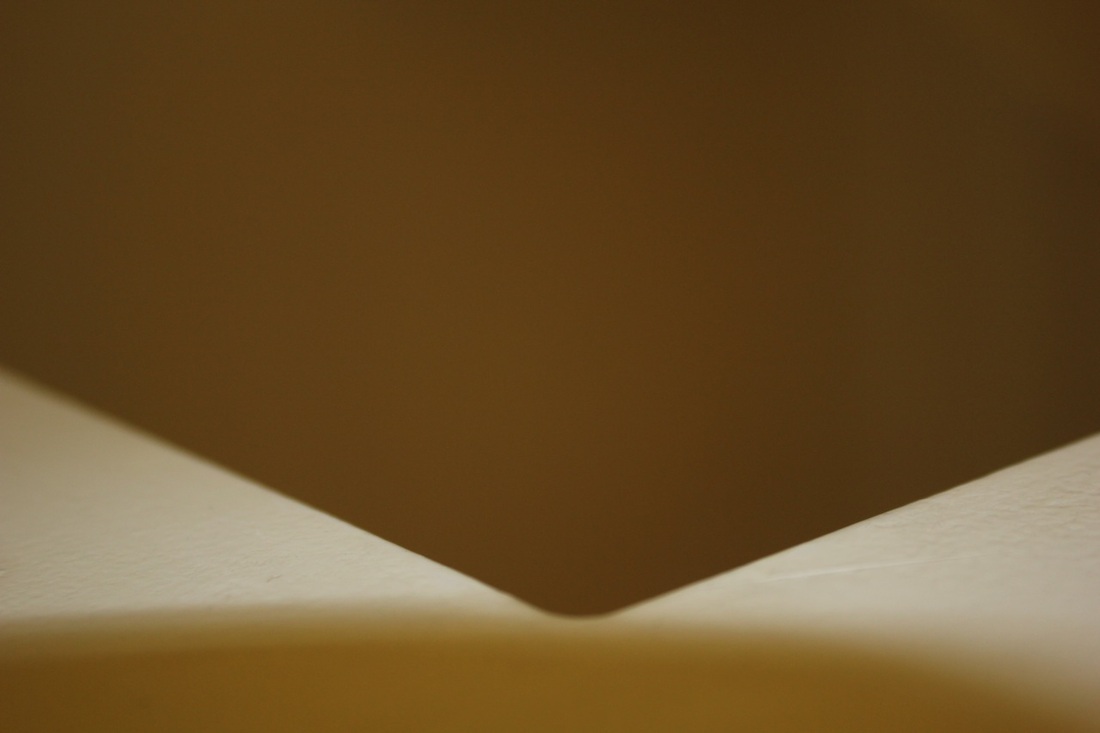
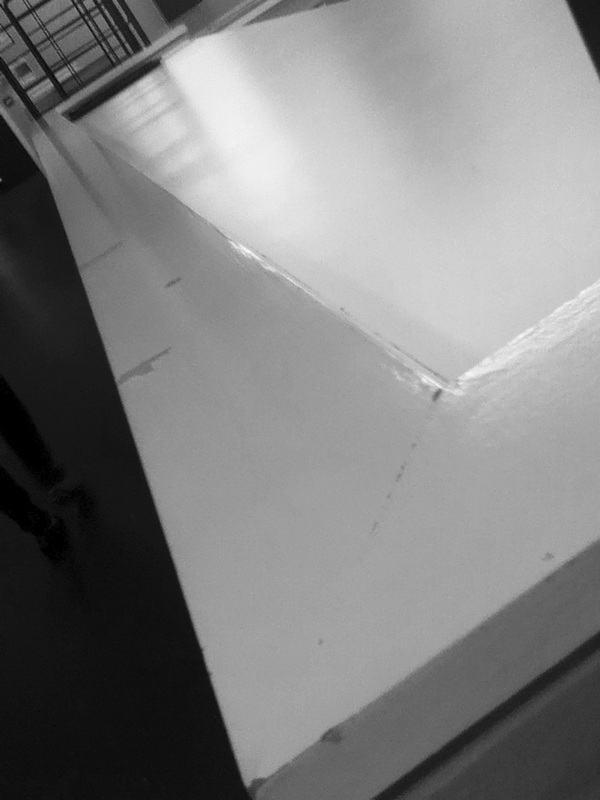
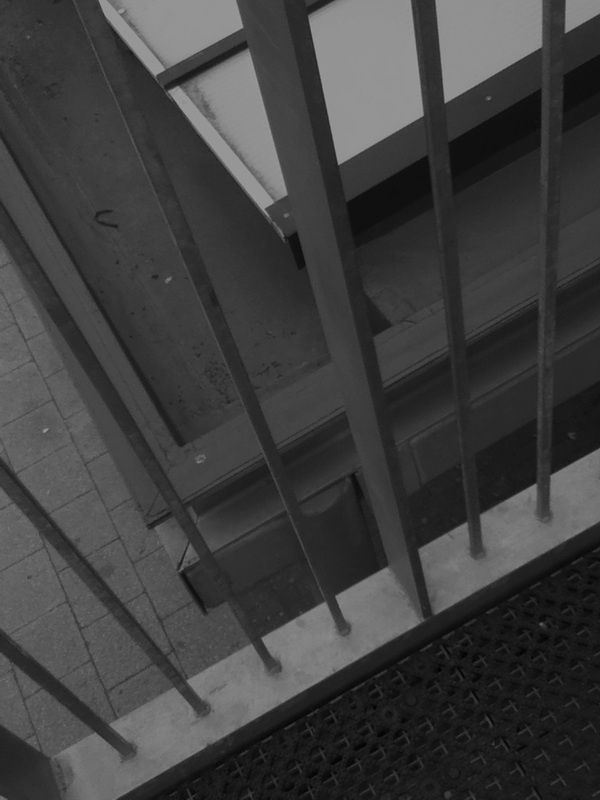
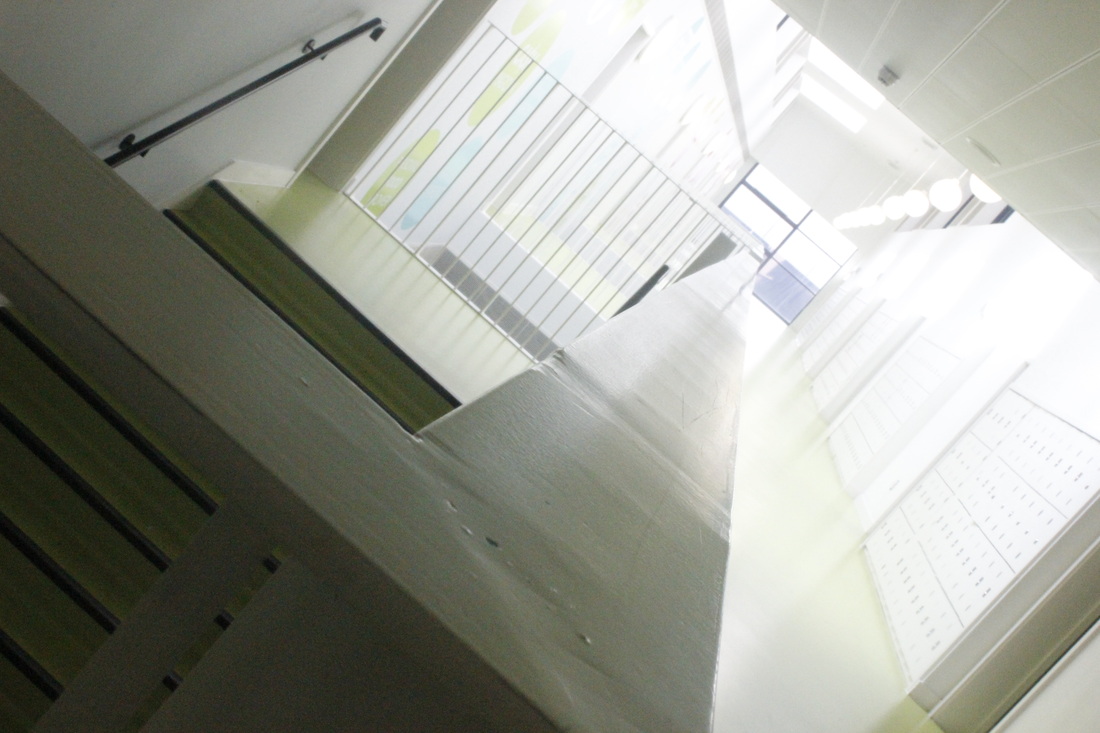
Set 3.
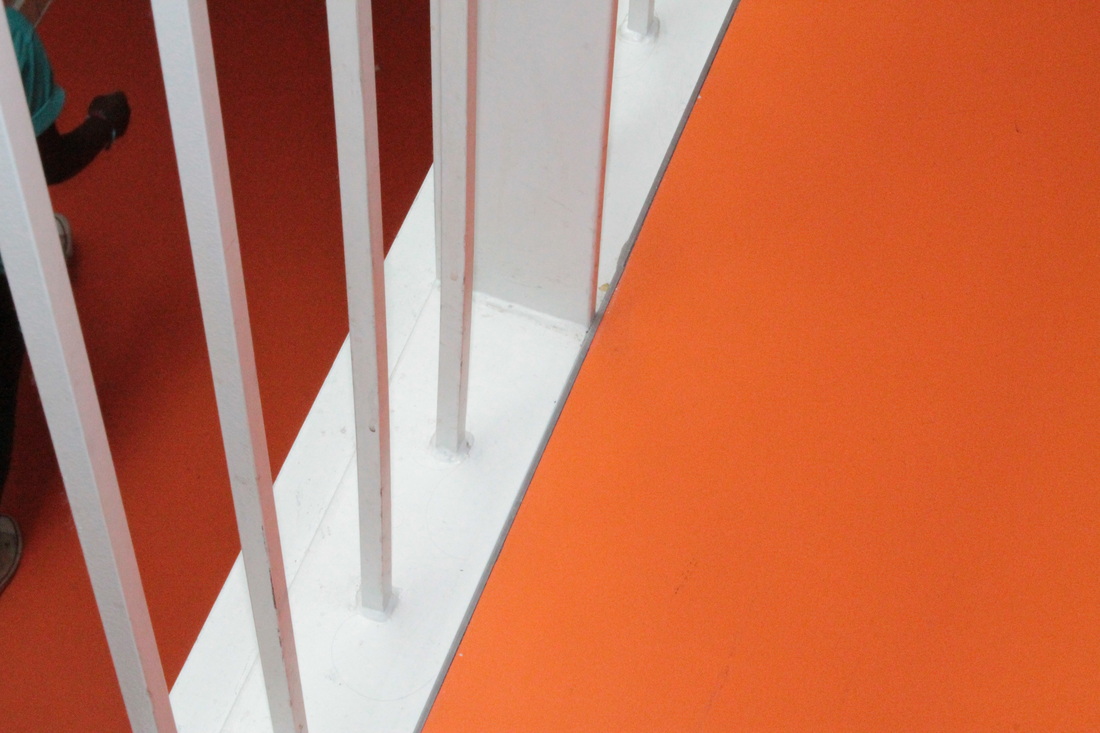
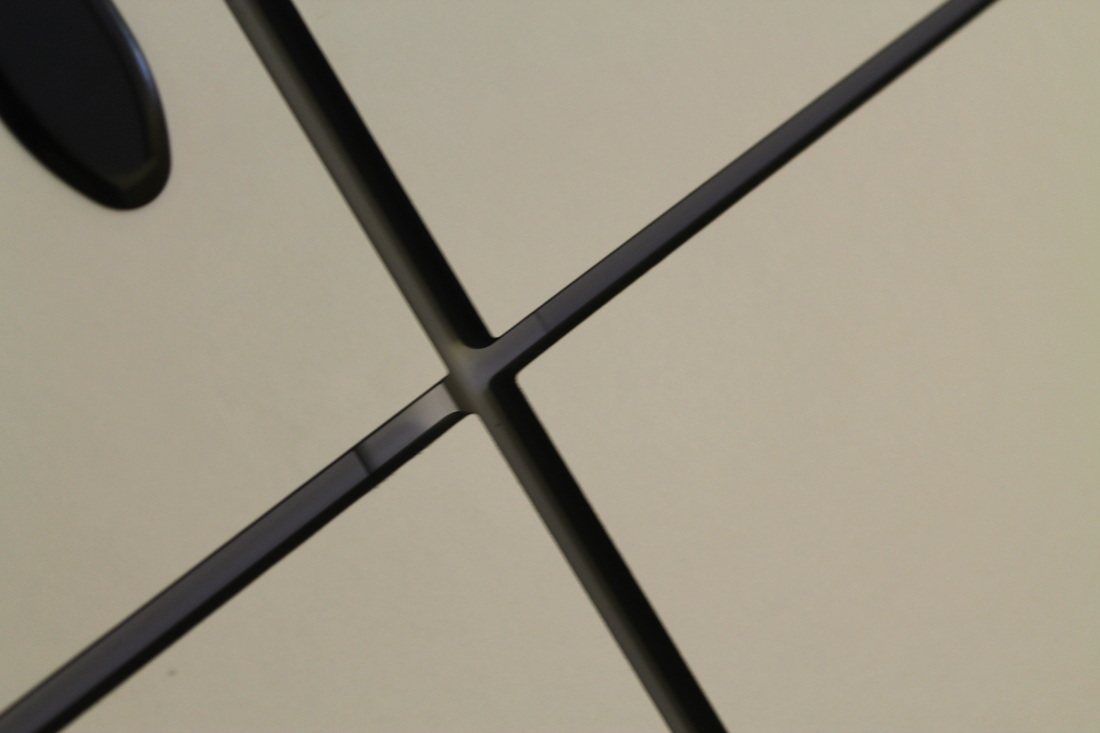

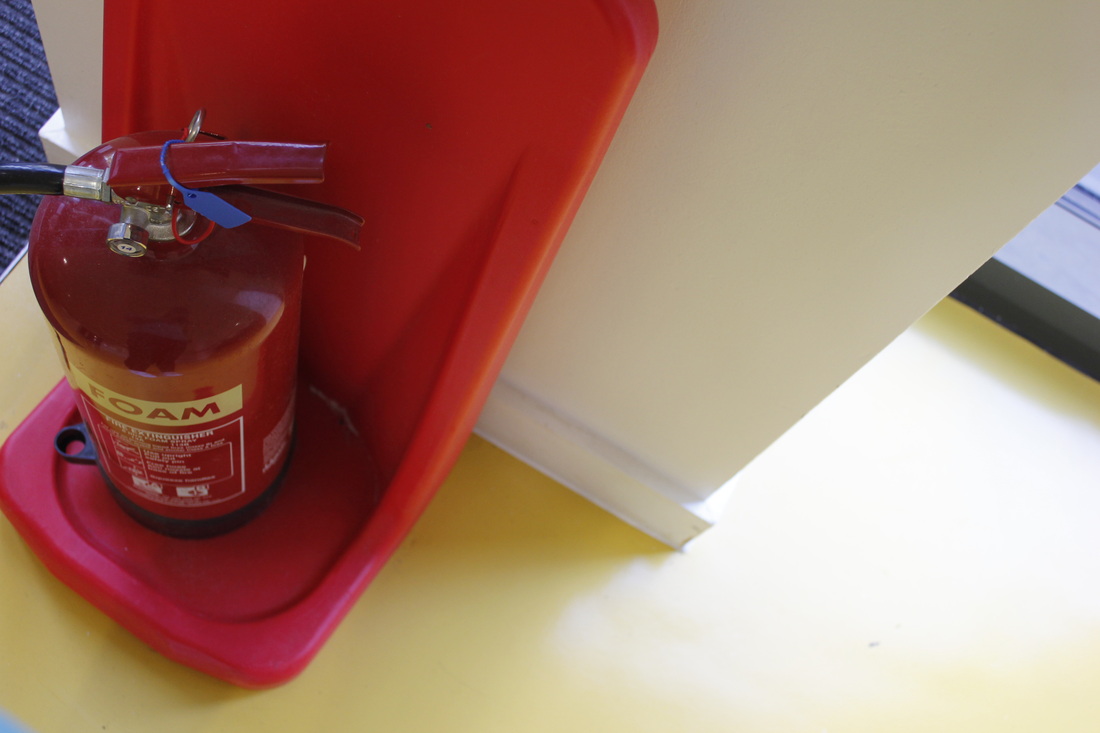
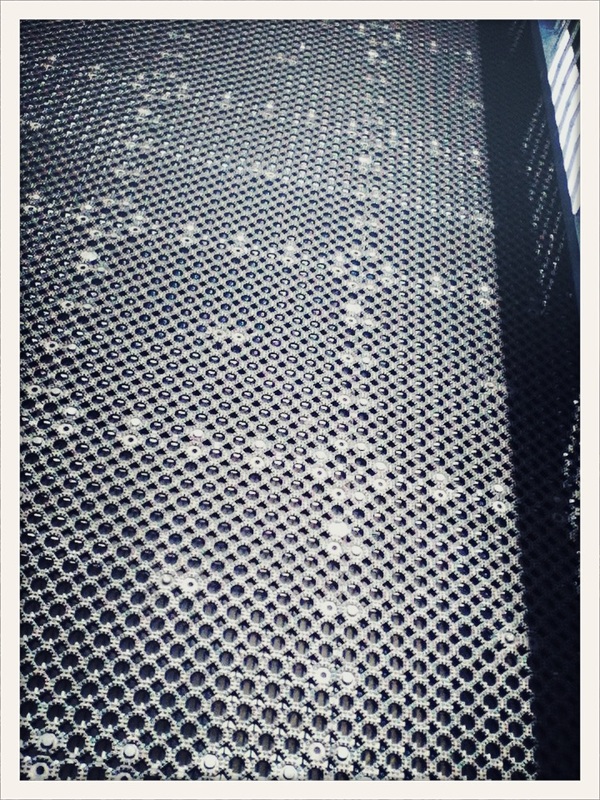
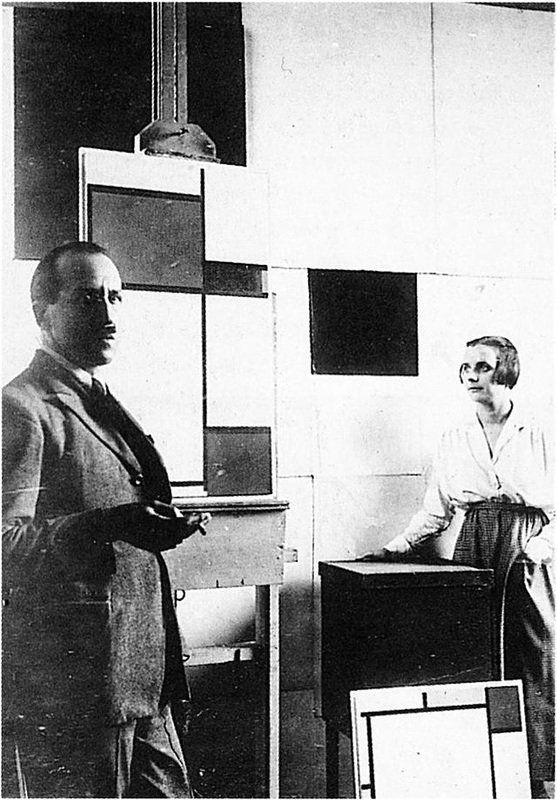
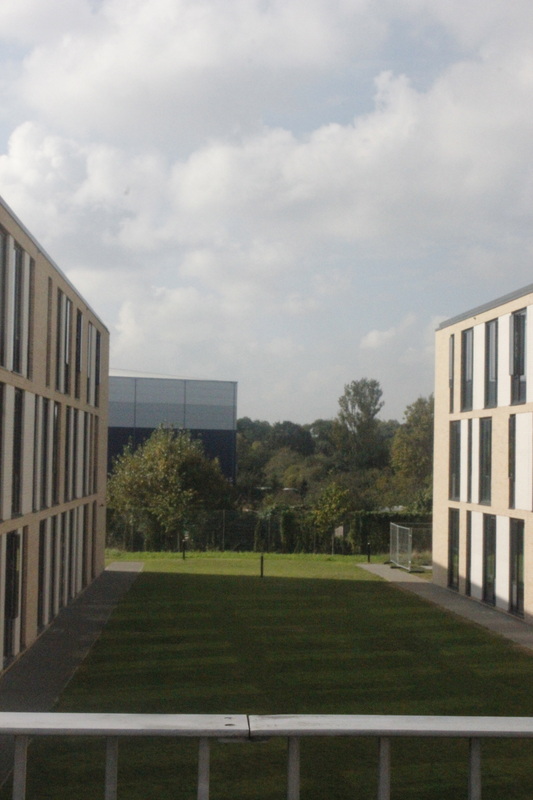
These photos we're taken on a DLSR , some of them are based on the artist called Piet Mondrian. I think this was a successful set of photos considering my theme & my task on that lesson. Some of them are blurry as I took them whilst walking.
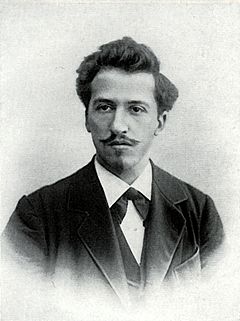
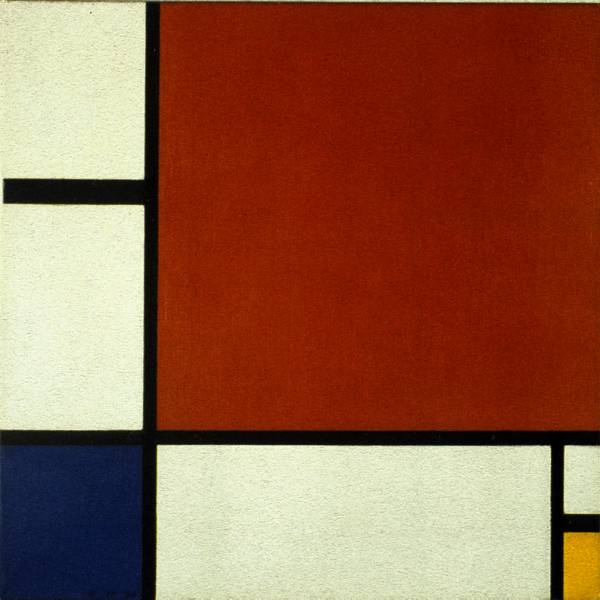
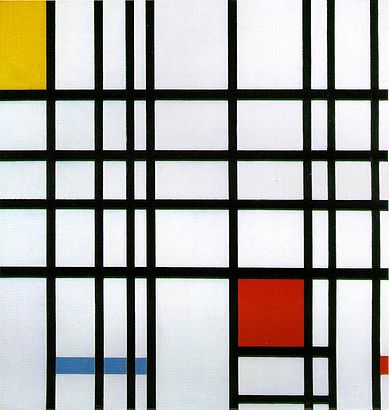
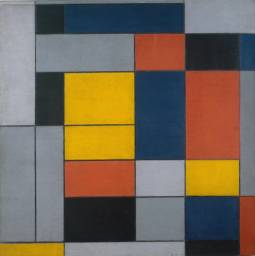
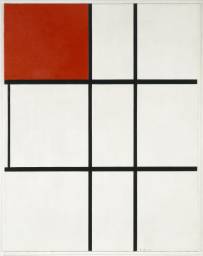
Piet Mondrian Research.
|
Piet Mondrian did painting of abstract art , it developed from early landscape pictures then went on to geometric abstract works. Mondrian was a dutch painter , he was born 1872 & passed away in 1944. Most of his lines we're parallel to the canvas. He was exposed to art from a very young age as his dad was a qualified art instructor. He invented the art-form called neo-plasticism , this is a art form using on primary colours (red , blue & yellow).
|
|

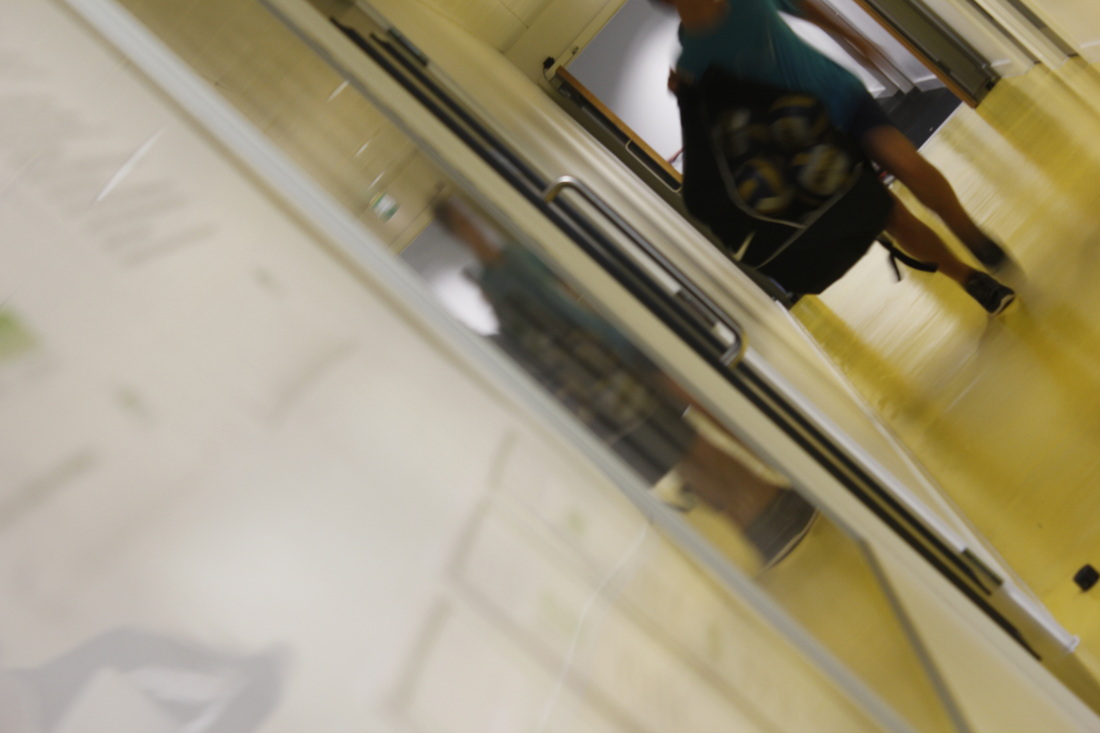
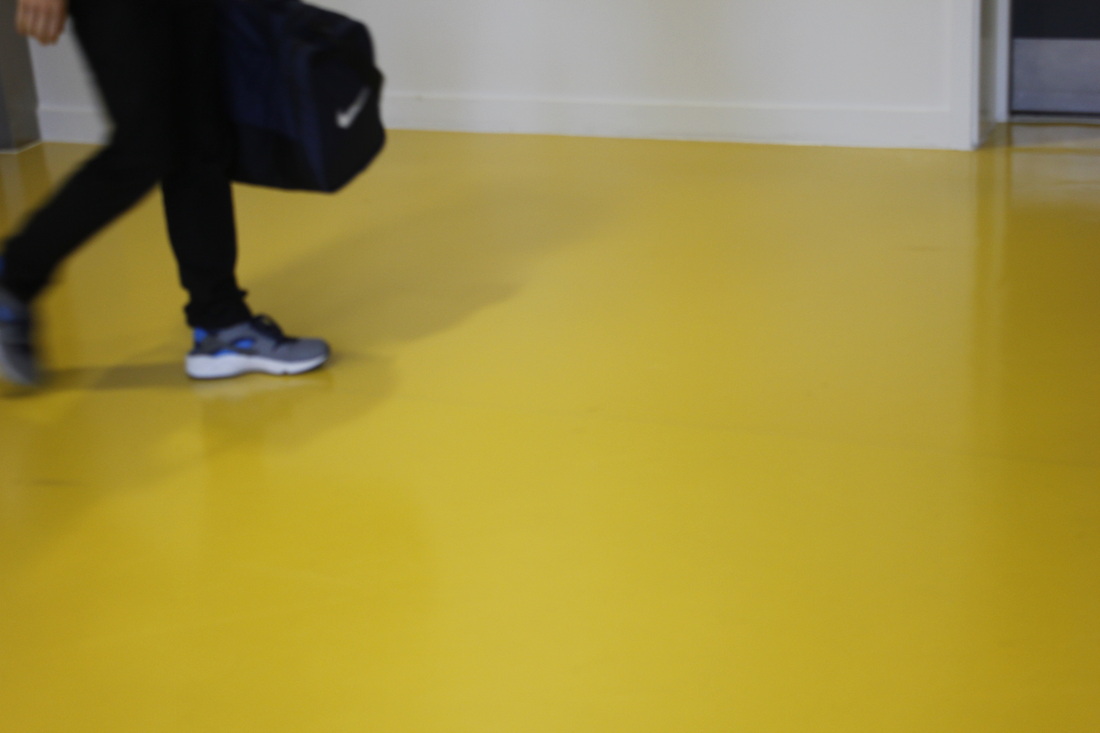
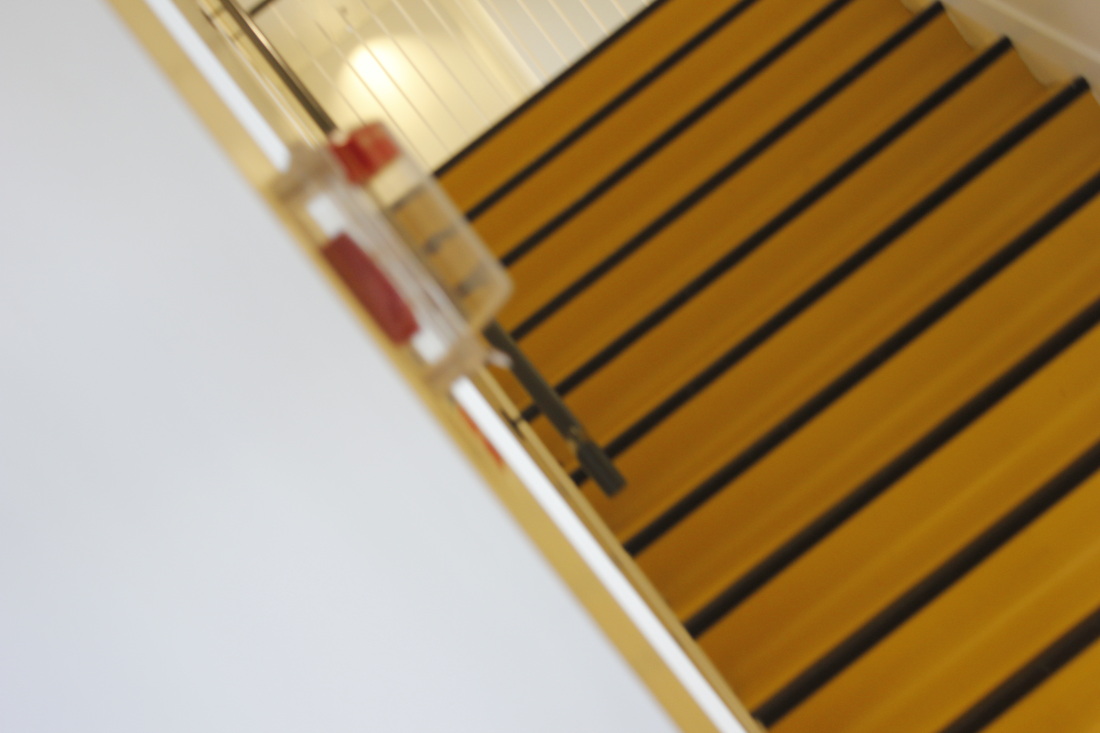
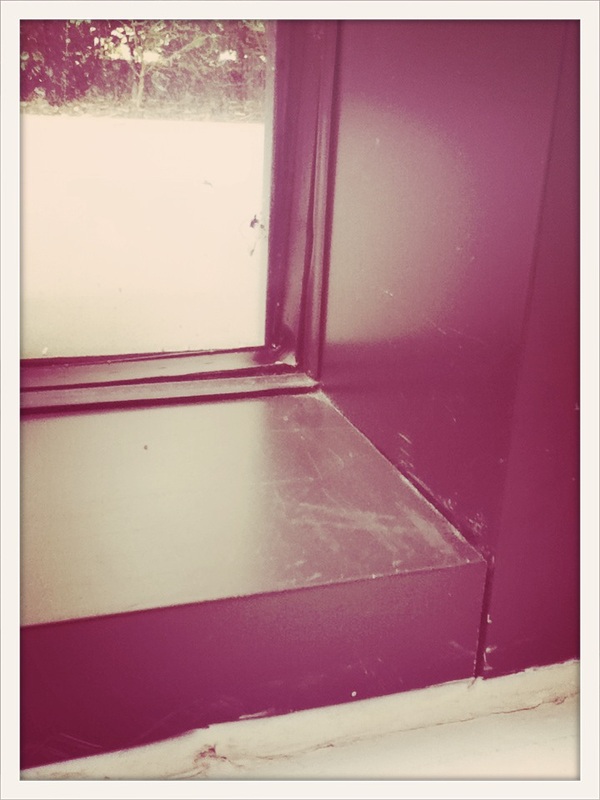
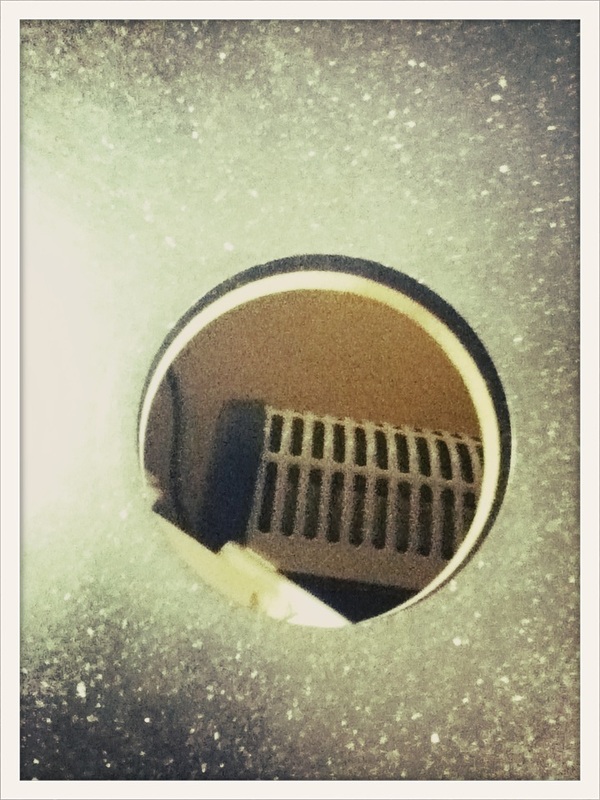
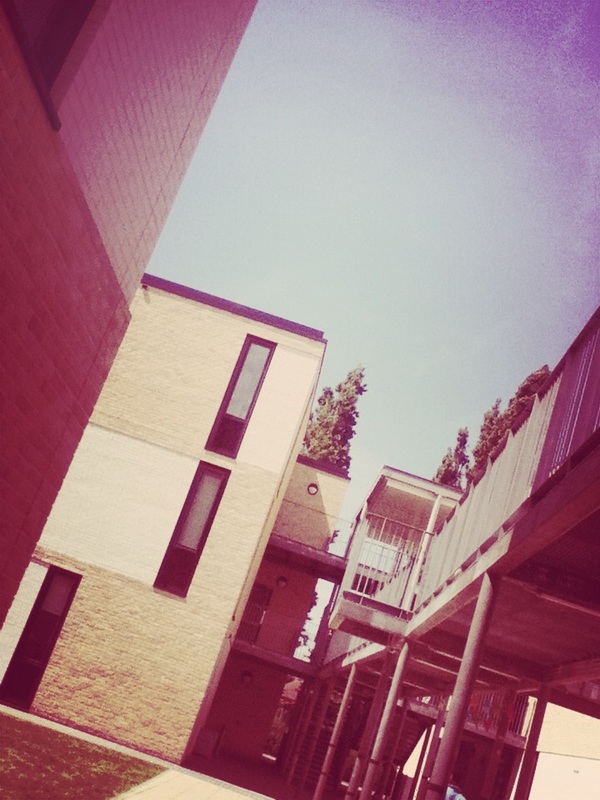
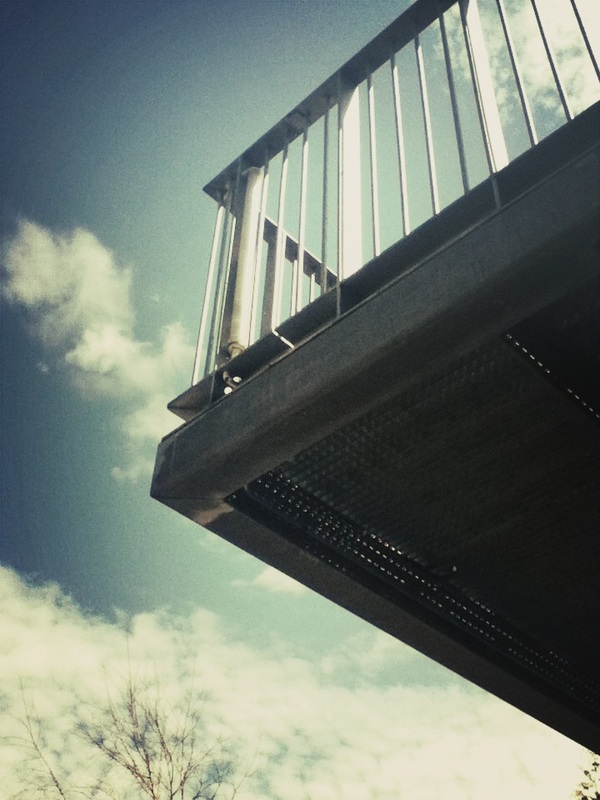
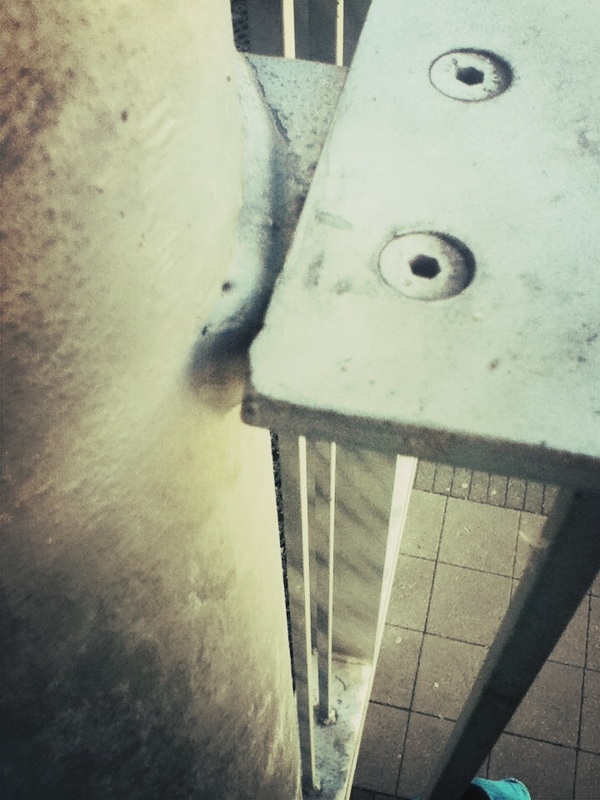
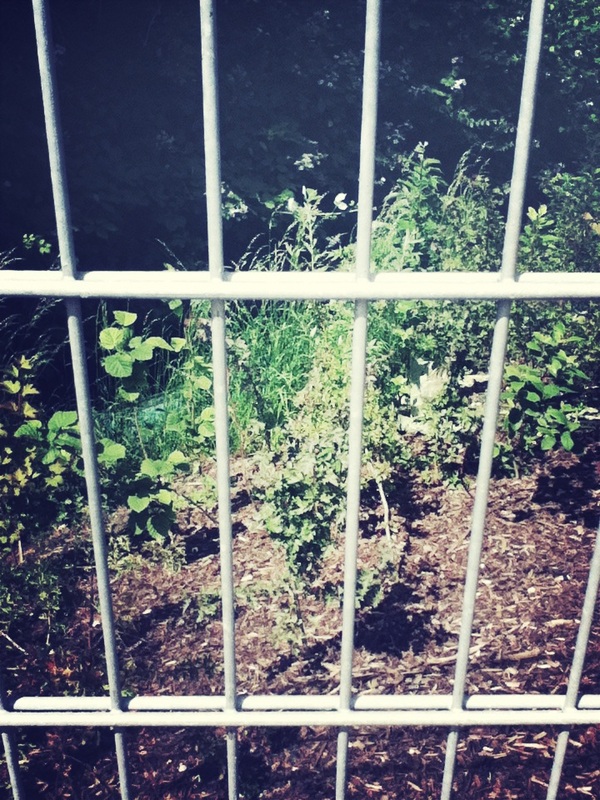
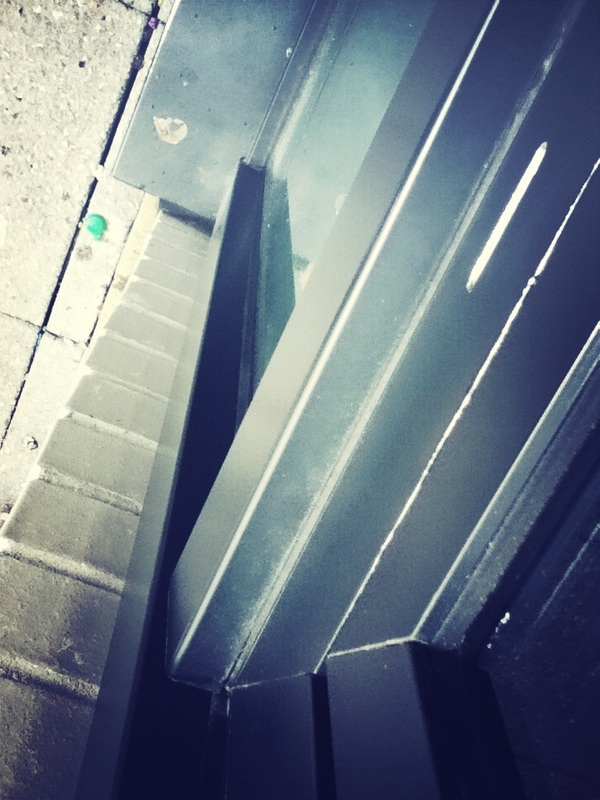
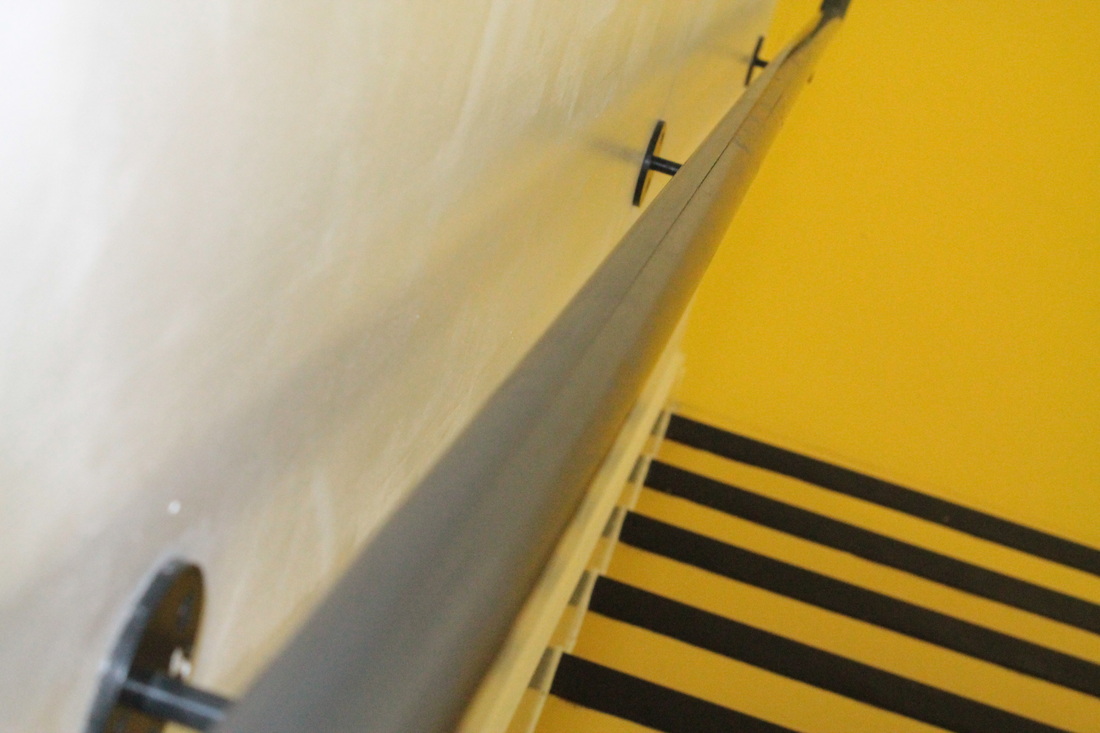
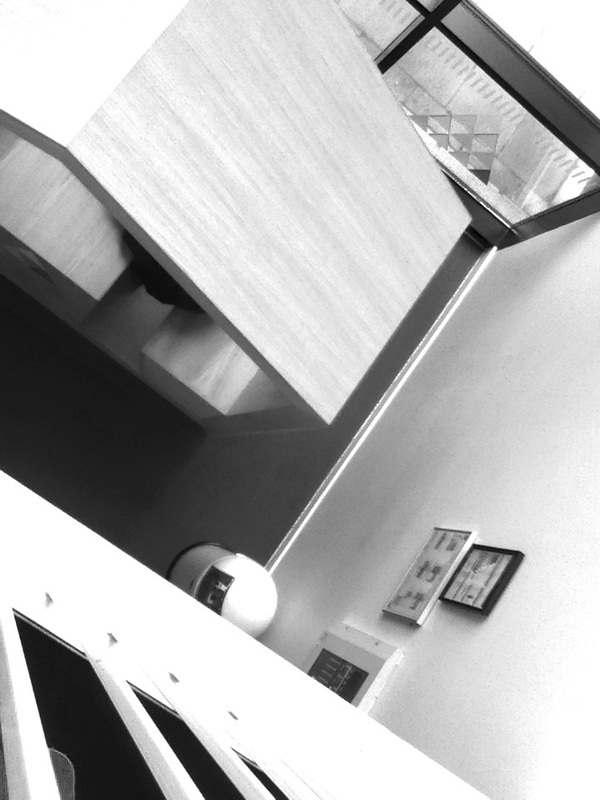
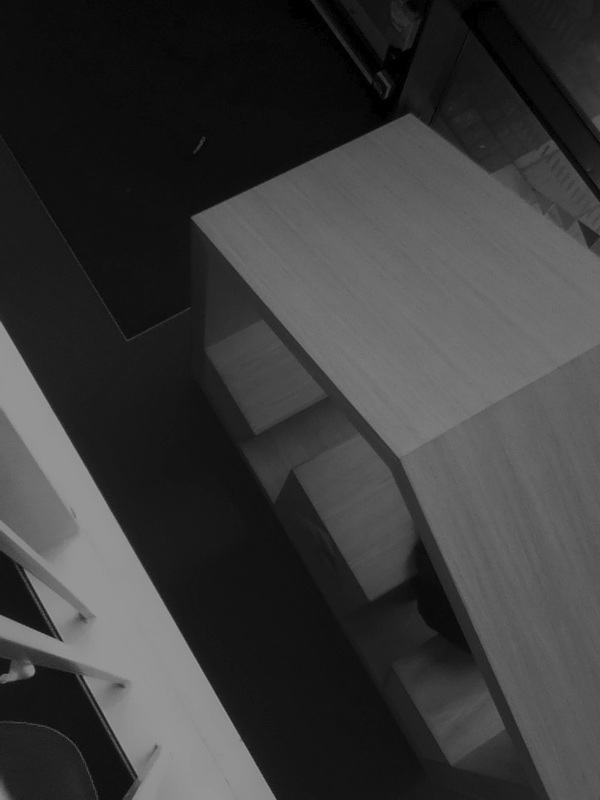
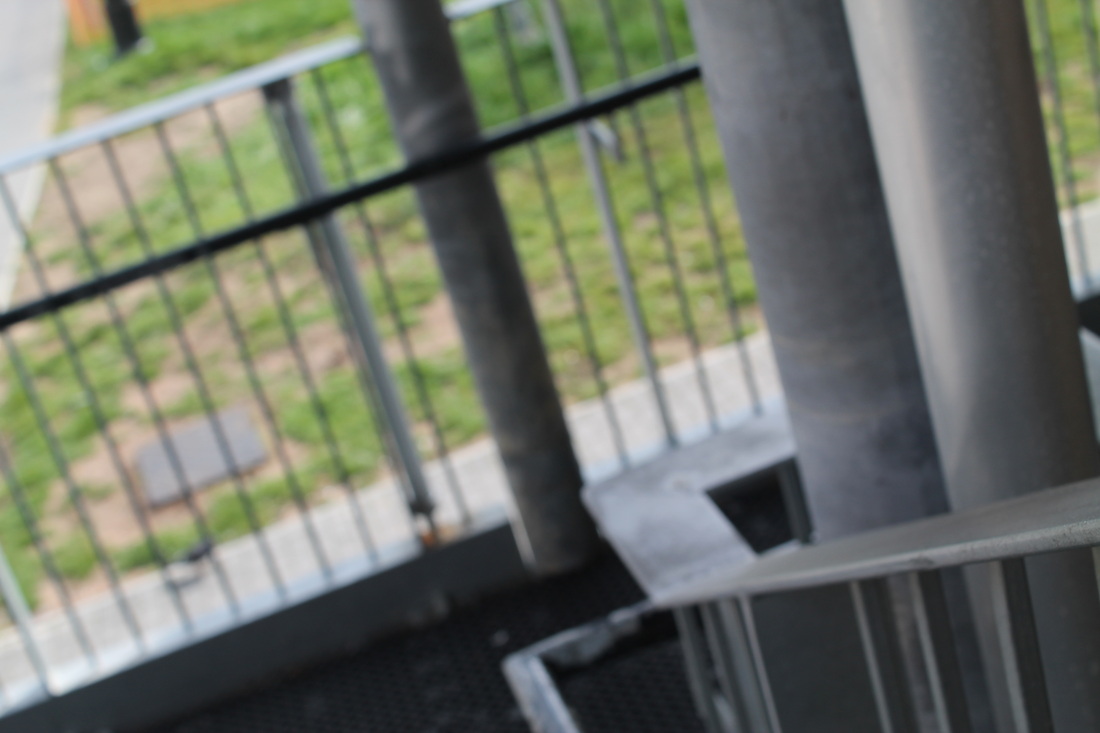
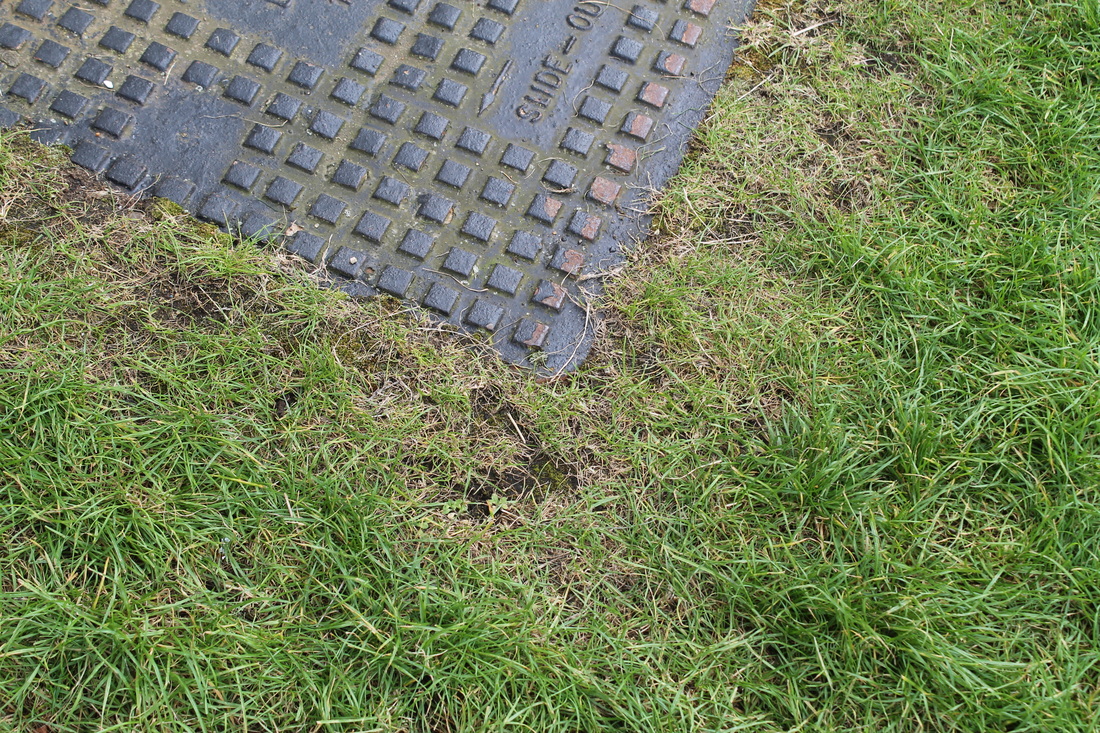
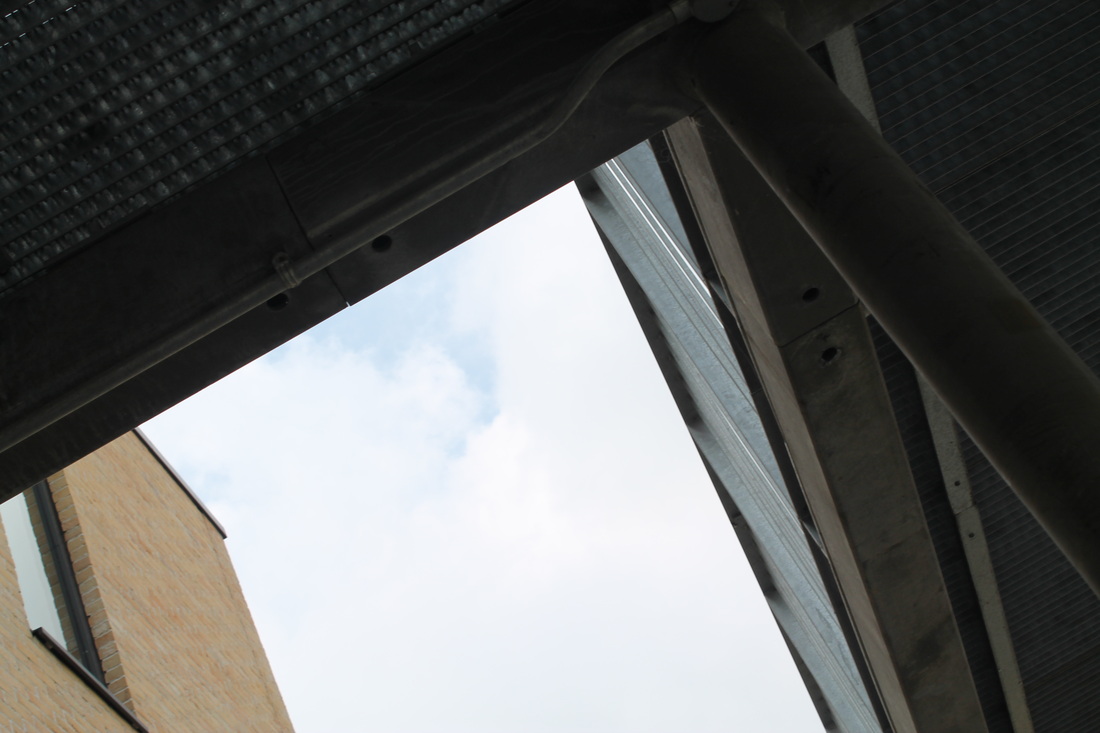
Set 4.
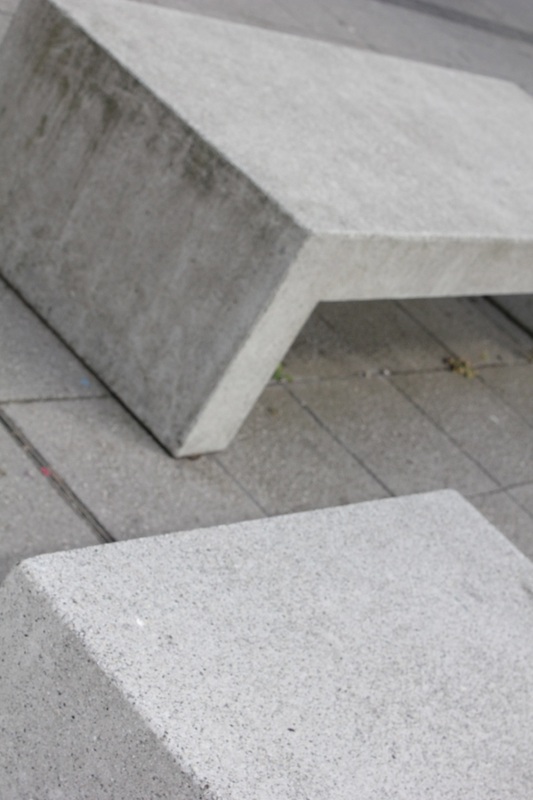
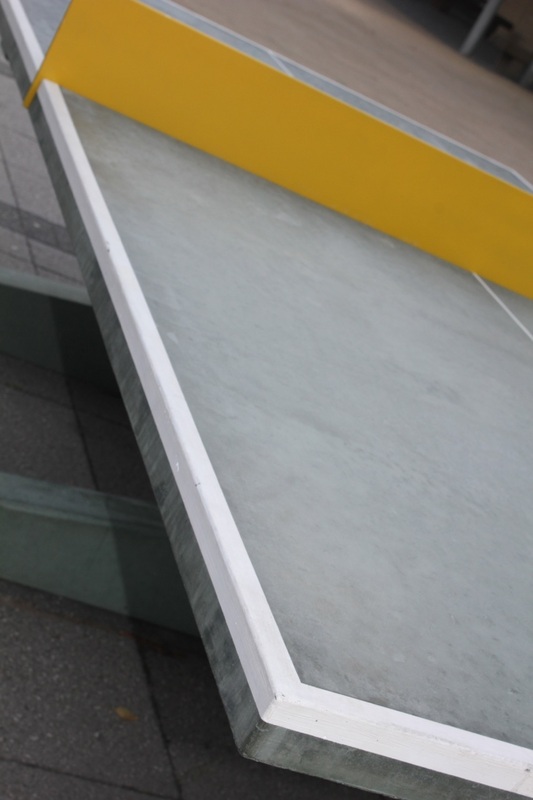

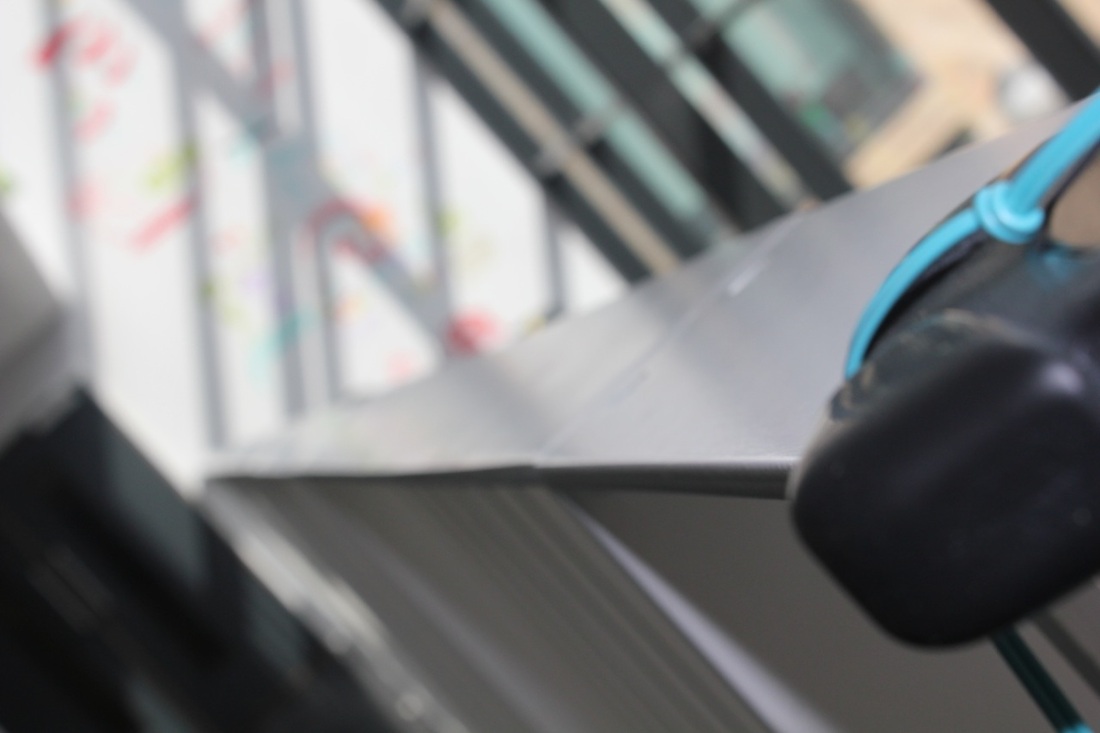
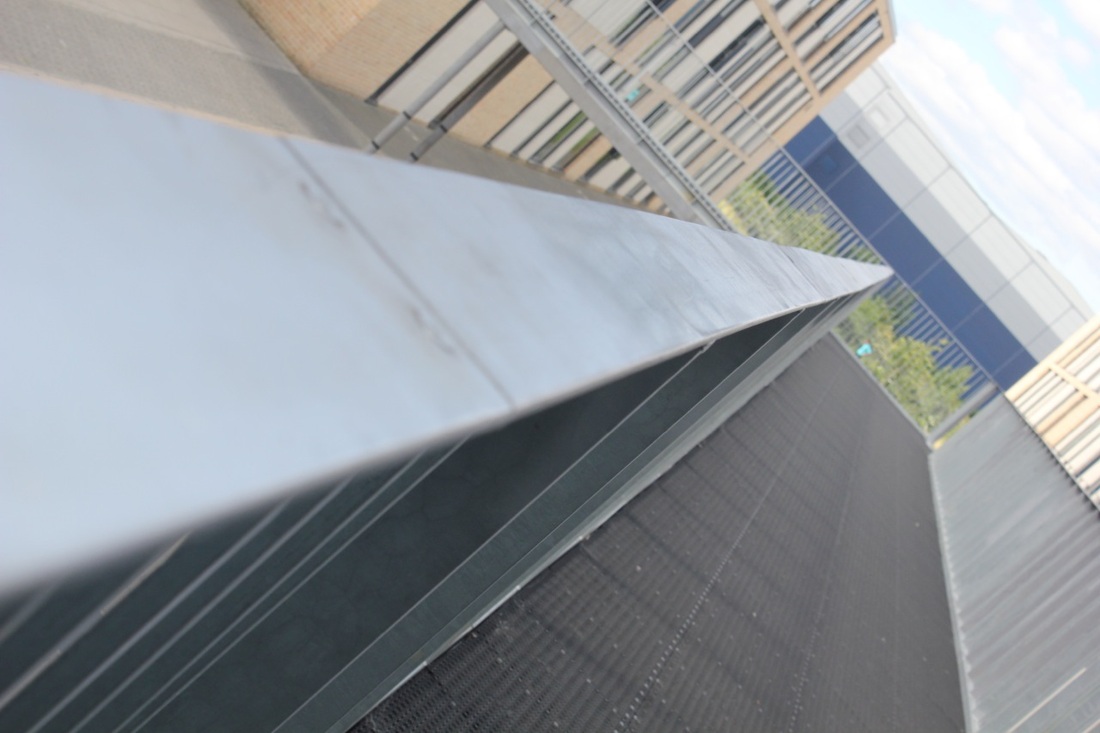
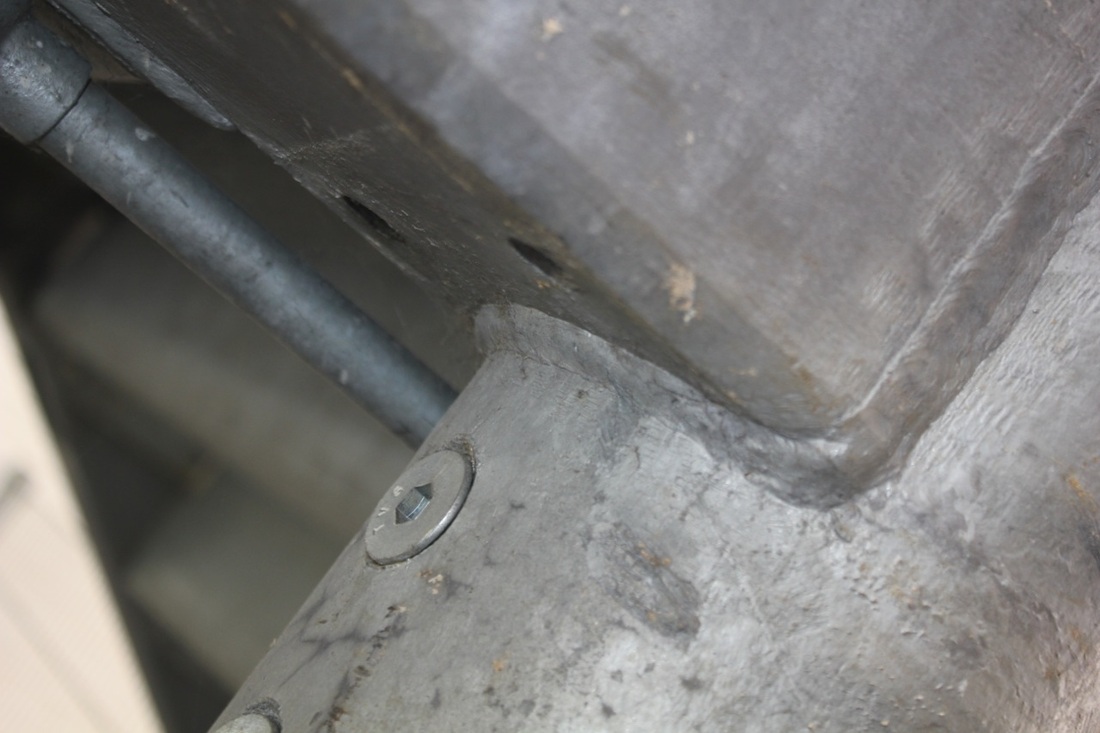

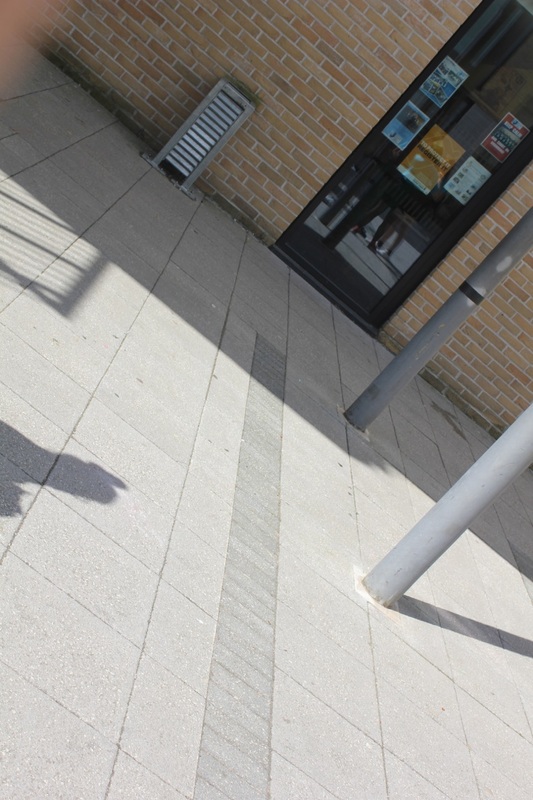
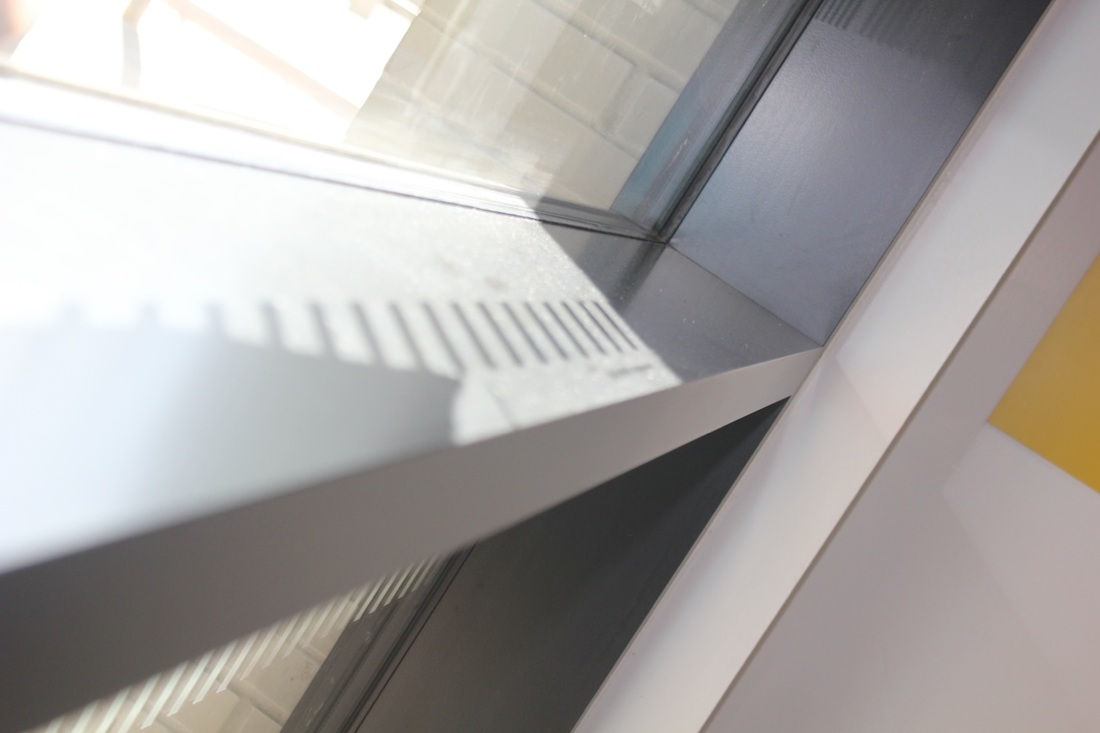
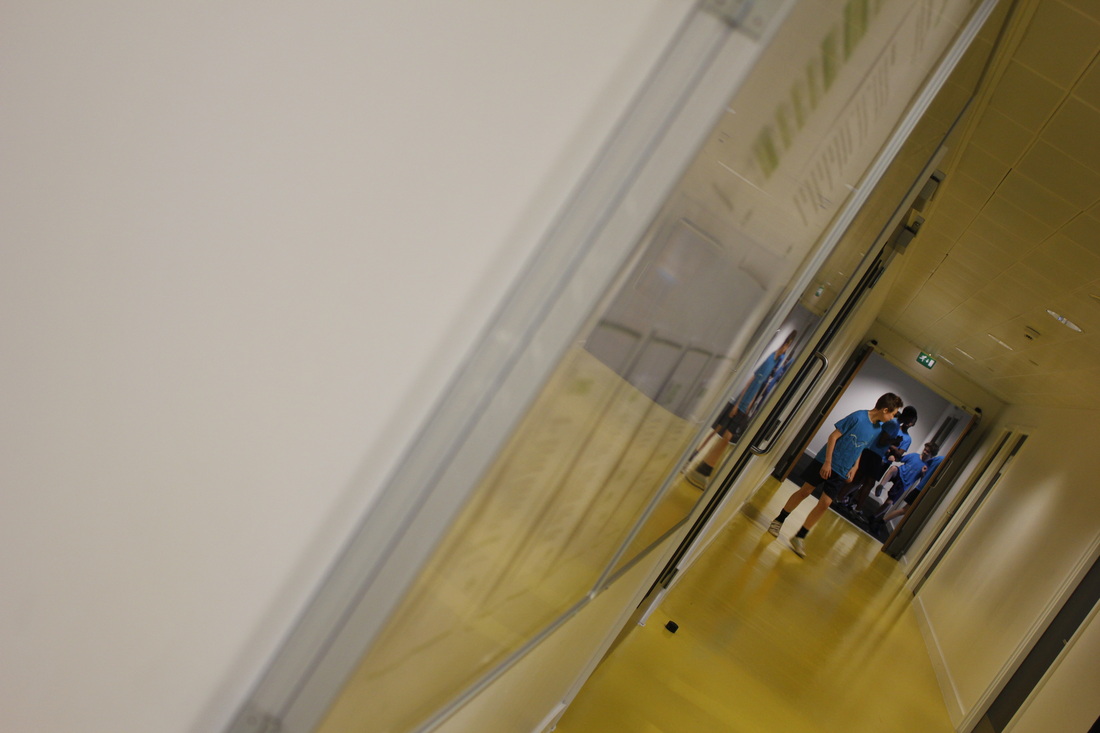
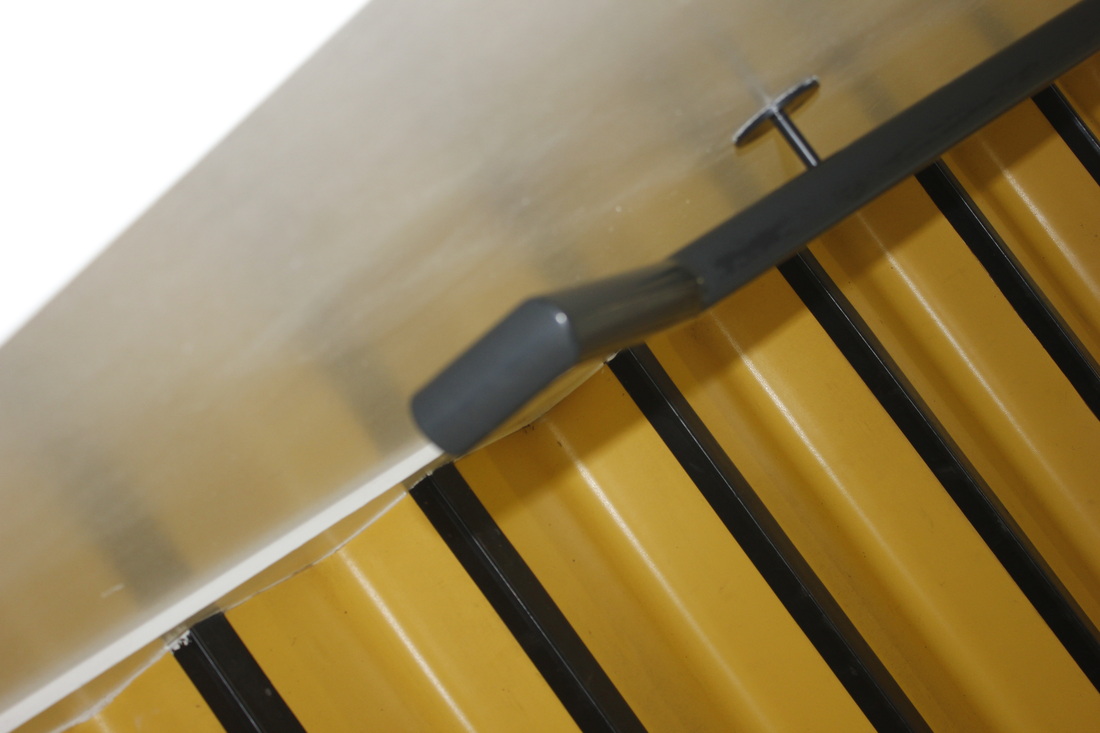
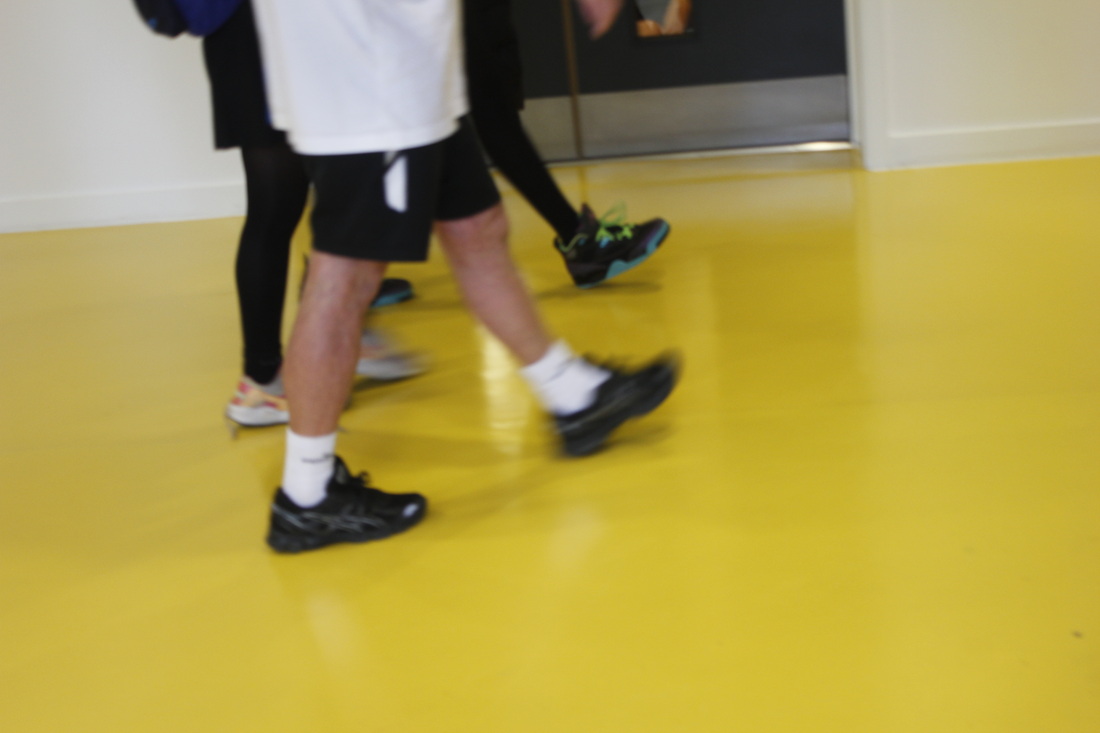
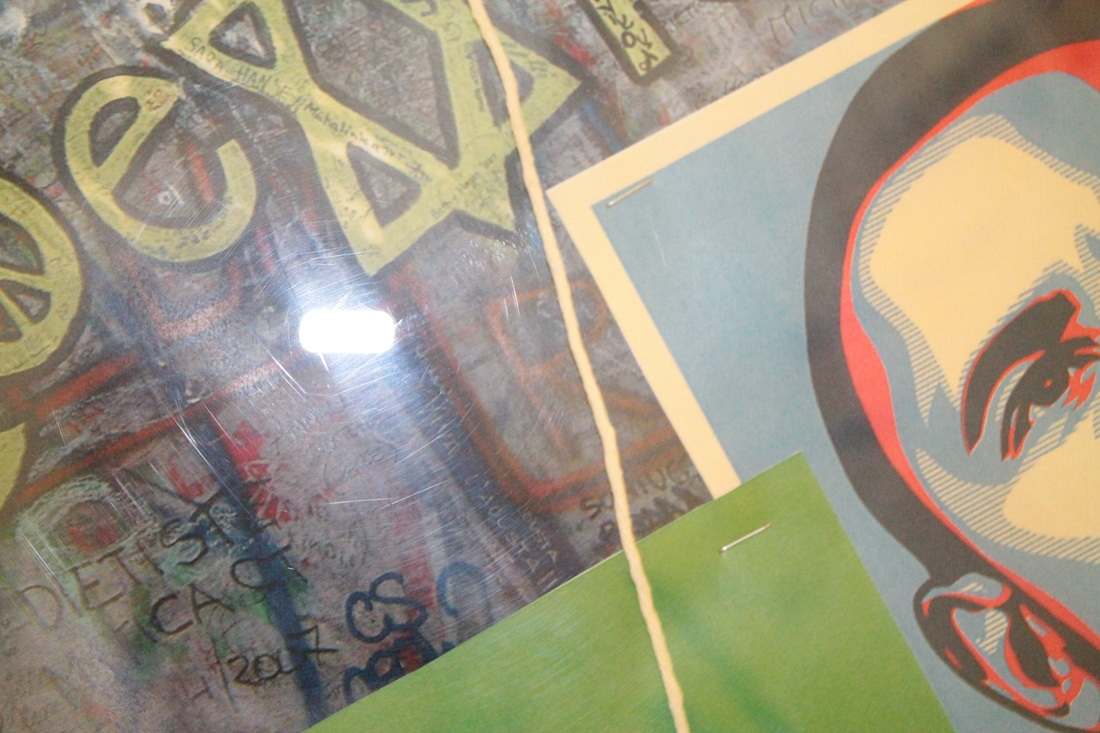
I think set 4 was my best set of photos. The photos from this set have been used for my first final piece(below) These have all been taken on a DLSR , some part of the photos are not focus. However I like them like that , it wasn't intended to do that but when looking back , I noticed what I did with some of the photos but I thunk they look quite good.
|
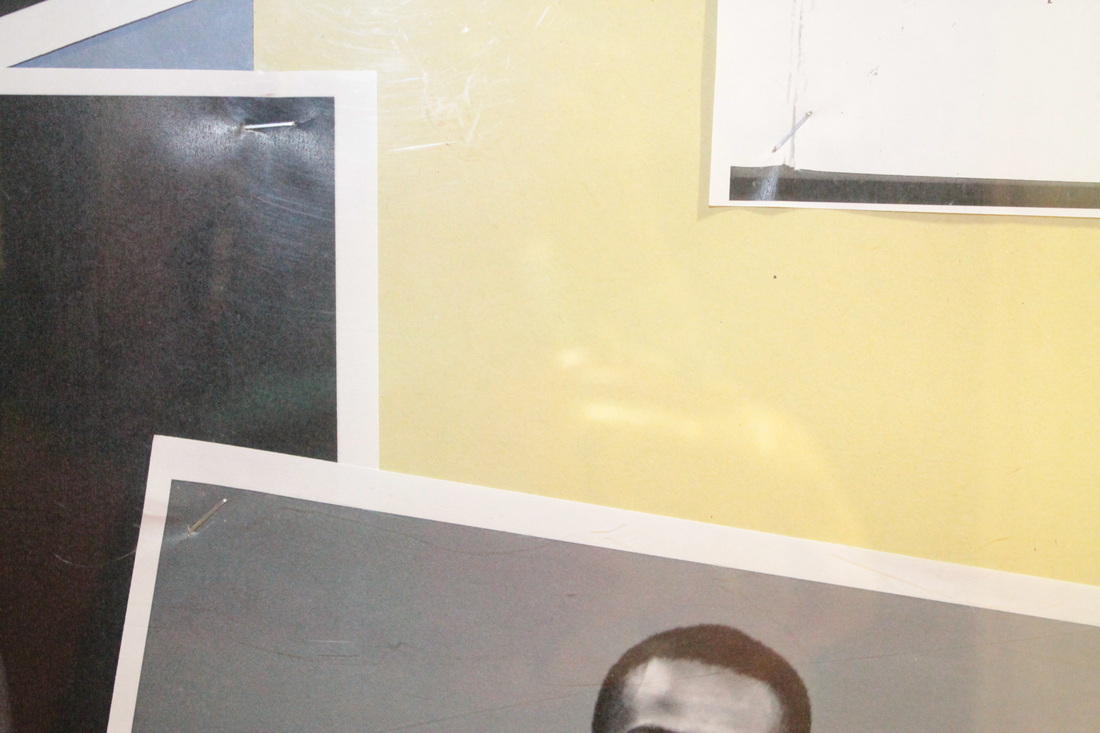
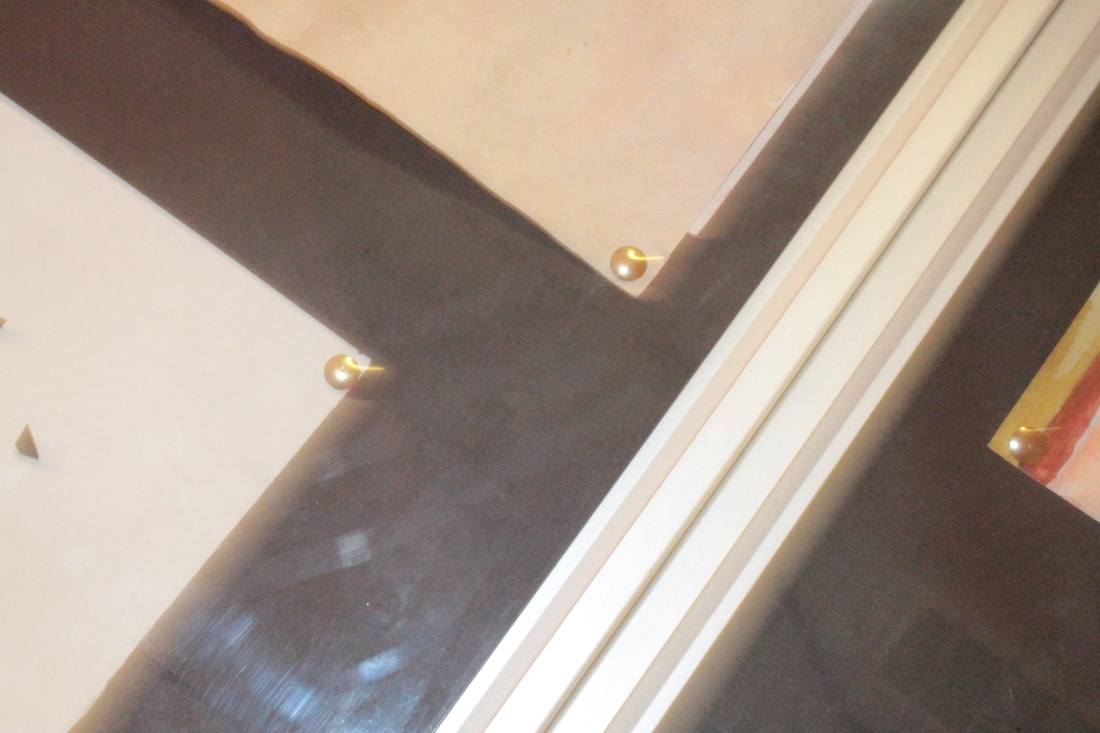
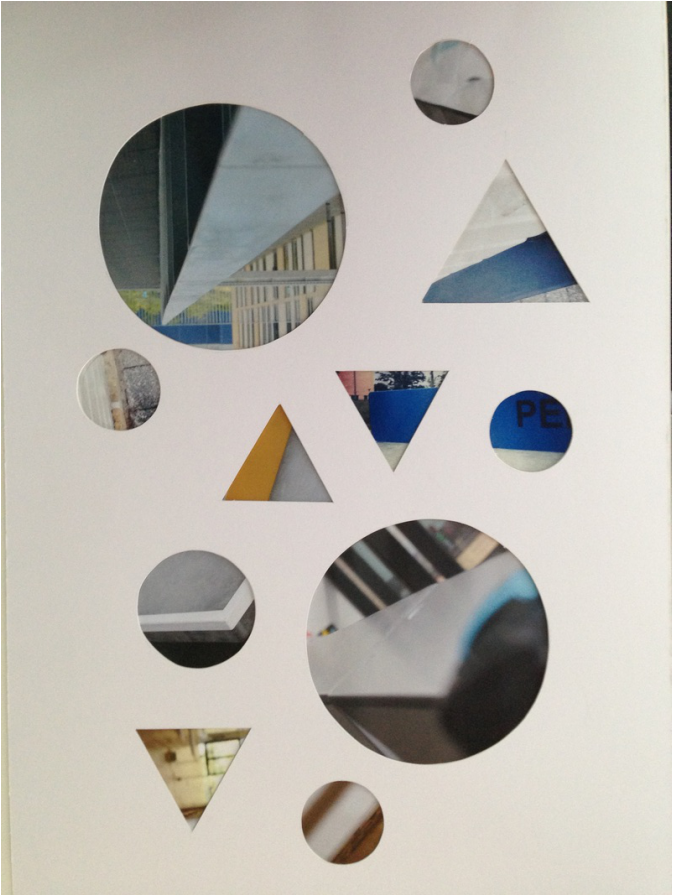
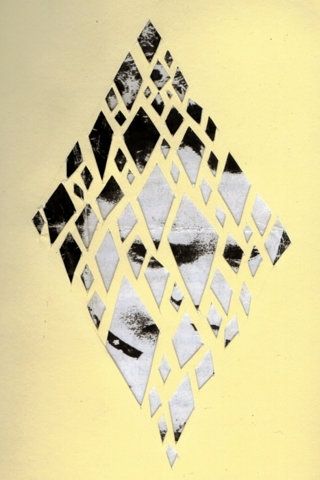
This is my 1st final piece , I just thought it would be interesting to do something different. I cut shapes out with a stanley knife & then stuck my pictures to the back. It was quite challenging as I had to cut the shapes to match the pictures to fit & then I had too guess where about the photos we're as the paper was the other way around. My teacher had to help me cut the shapes out the cardboard because it's quite thick.
|
Artist Research Homework : Charles Harbutt
|
|
I chose Charles because I like black & white photos , although his pictures are black and white i chose them because they have edges in them. I going to take pictures outside school and use high & low contrasts , and leave the filter on black & white for all of them.
There all different egdes in different places but they are unusual ones that I would not think of. However this has gave me a better choice for when I next go out and take photos. My next set of photos are all gonna be in black & white but i'm going to experiment with the contrast. It will be intresting too see what they come out like & i'm gonna see if I can compare my photos too Charles. |


These pictures we're an experiment but I used a ipod , if I used DLSR they would of came out better quality. I tried to do photos like Charles Harbutt but they didn't go too plan. I'm going to use the DLSR next time and see if they look any better , I think if I use the Camera they will come out looking better.

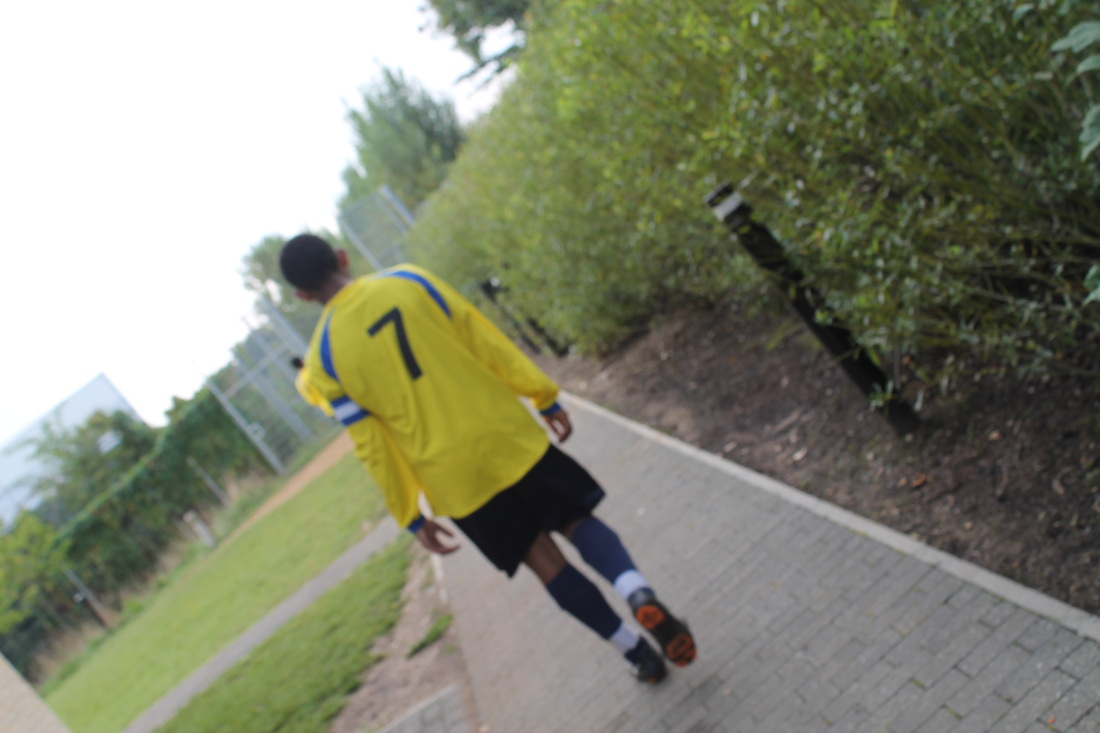

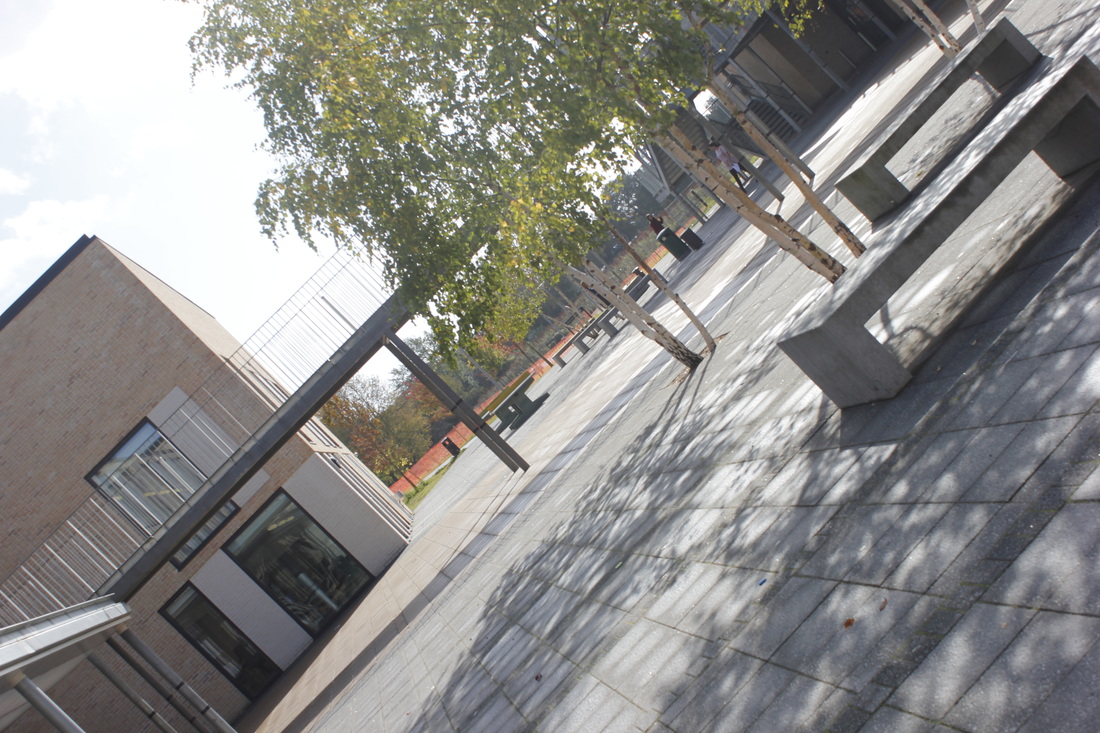
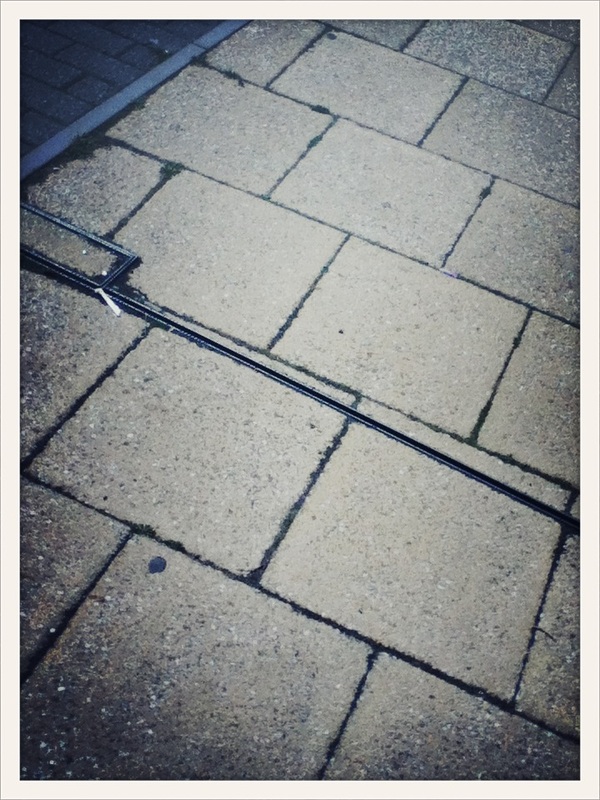
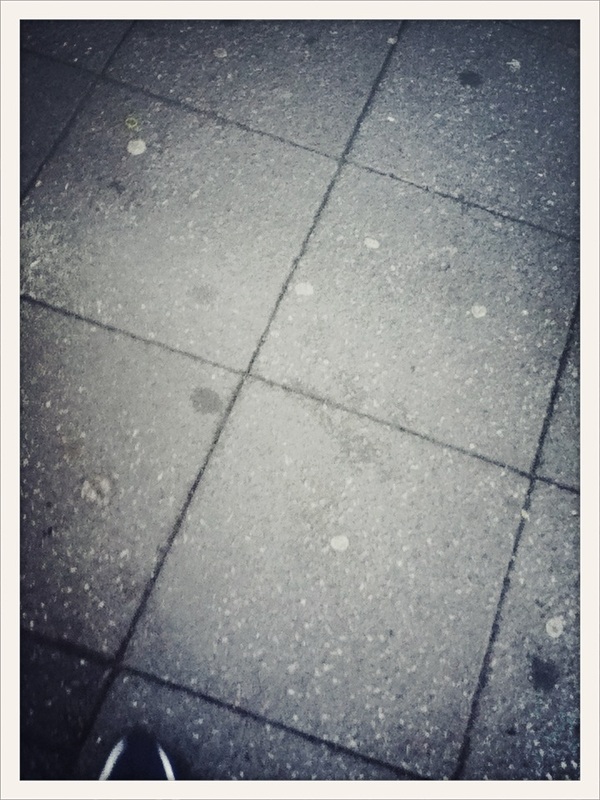
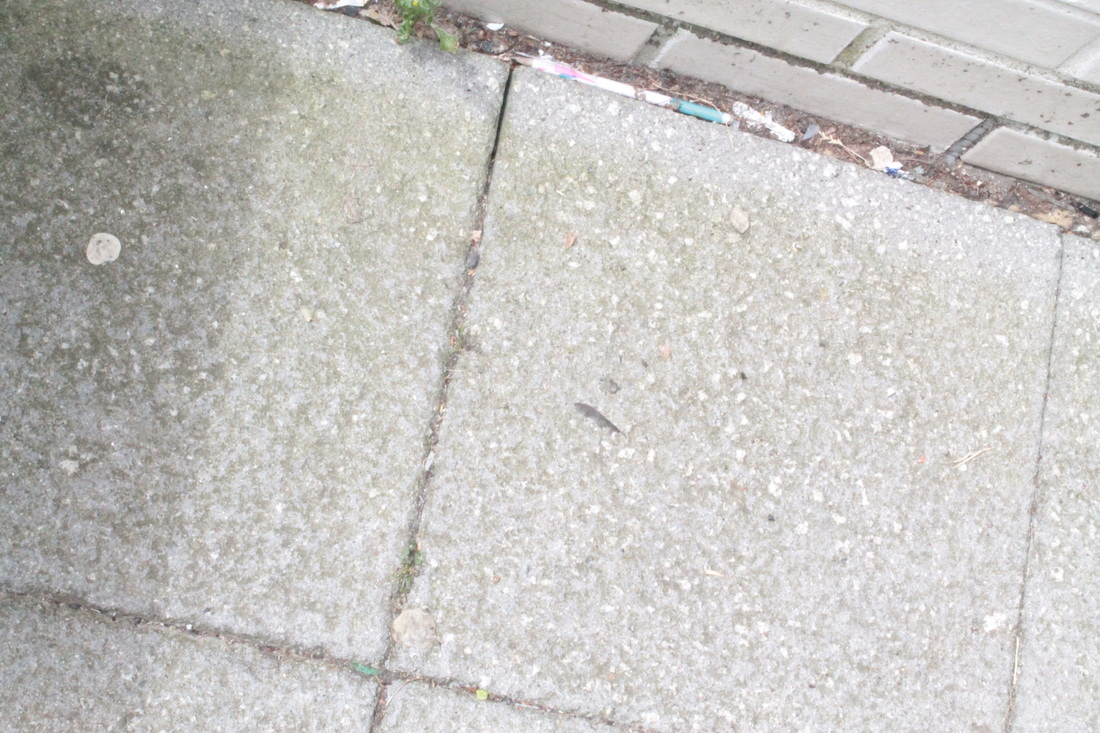
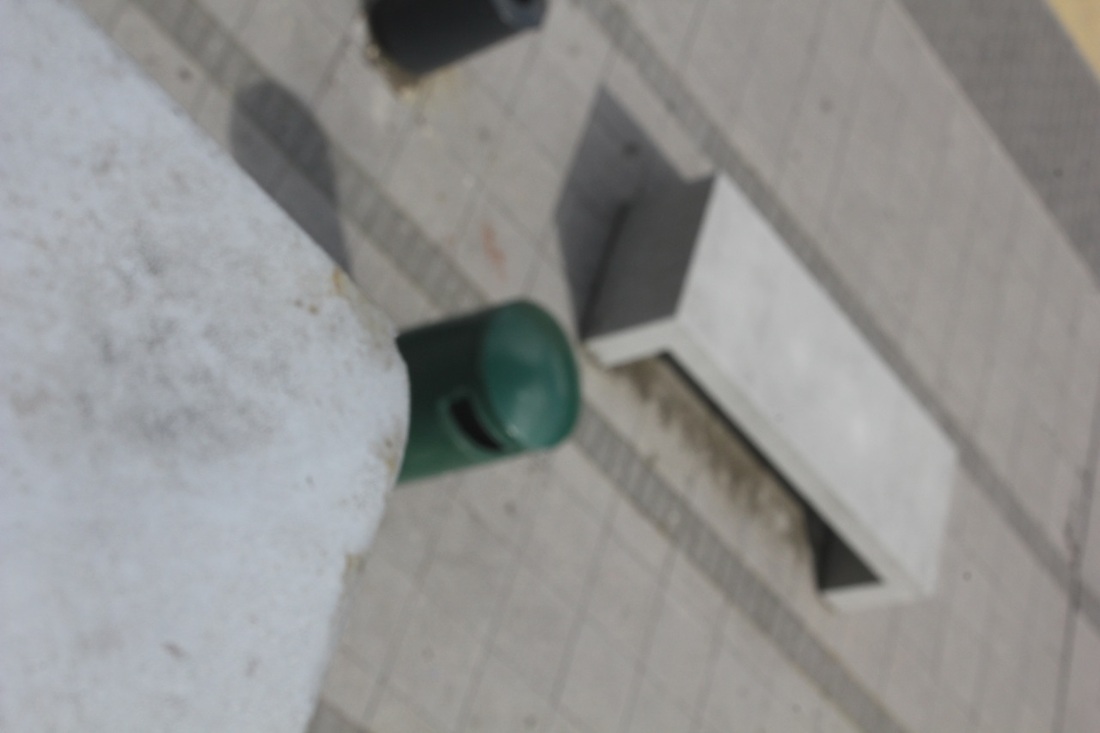
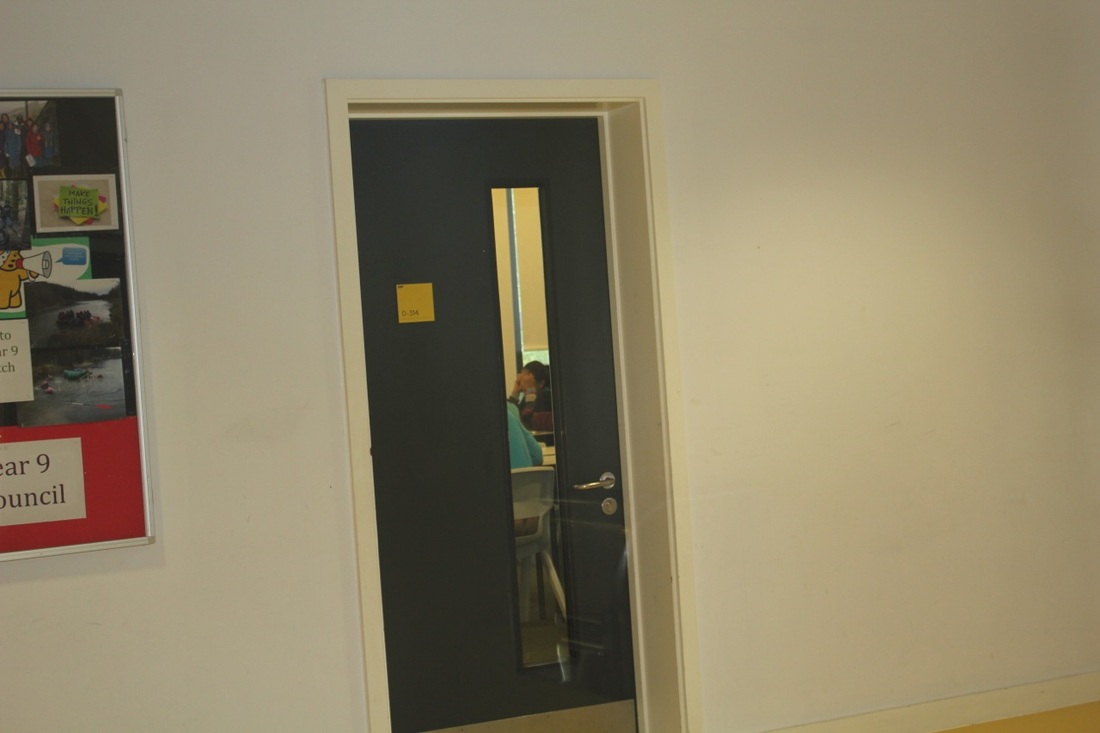
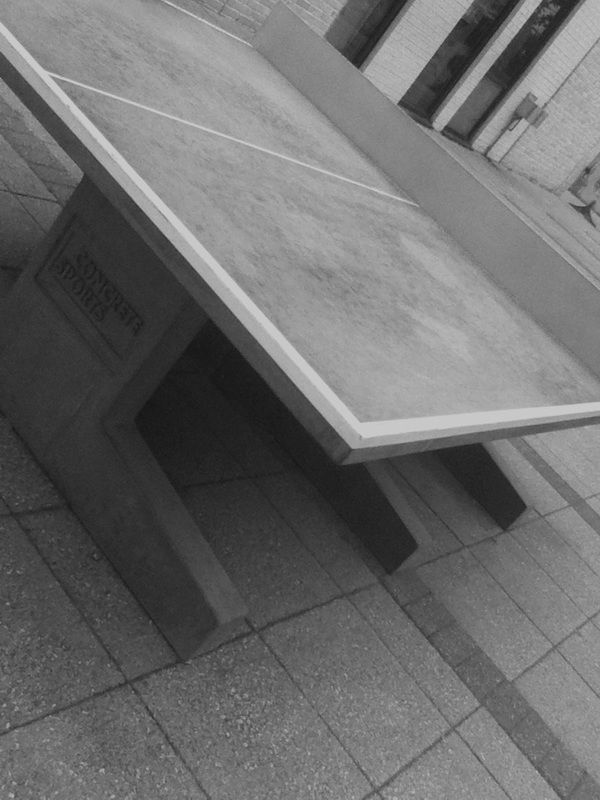
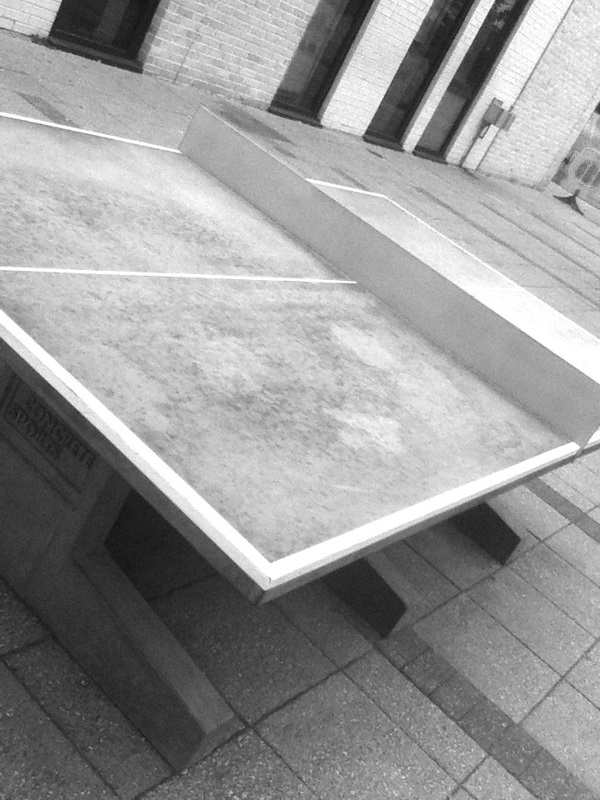
I did these in school on the DLSR , I think they come out fairly well and a good quality. The one of the boy walking is a good one and the concrete covers my project (edges)
|
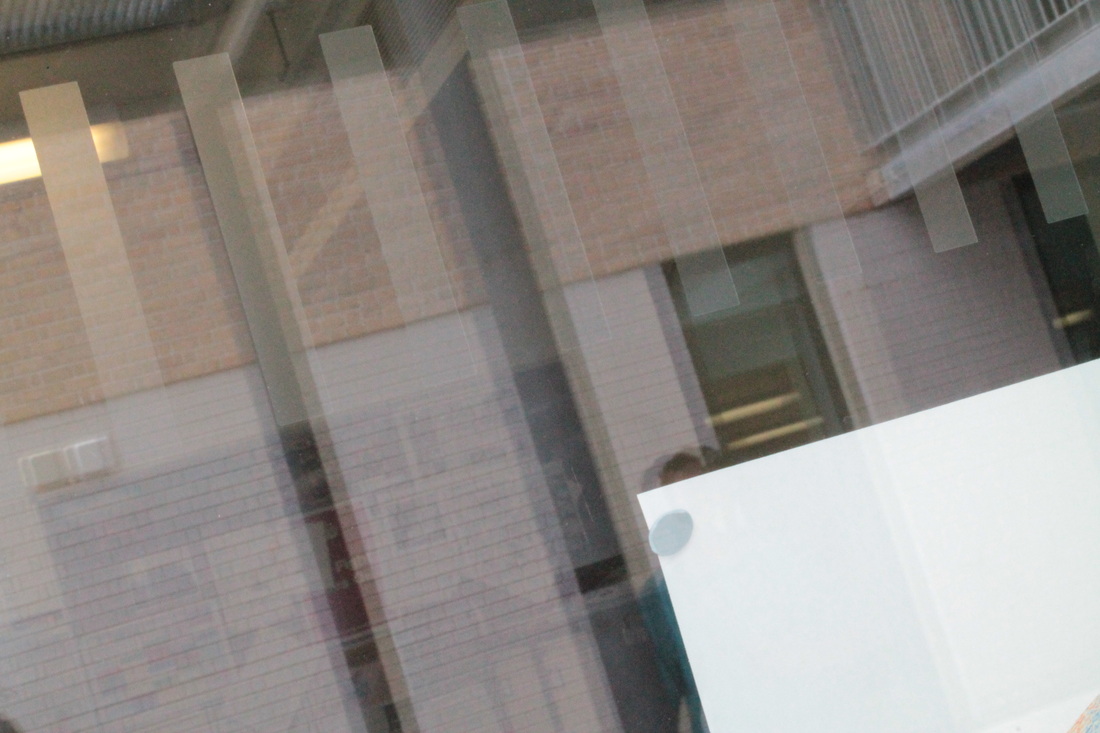
These photos we're a set I took for homework , they need too be cropped & edited too fit my artist research. I took these on my iphone4 with the normal camera & no apps. I'm going too edit these on photoshop when I get time either in lesson or in my own time.
|
|


|
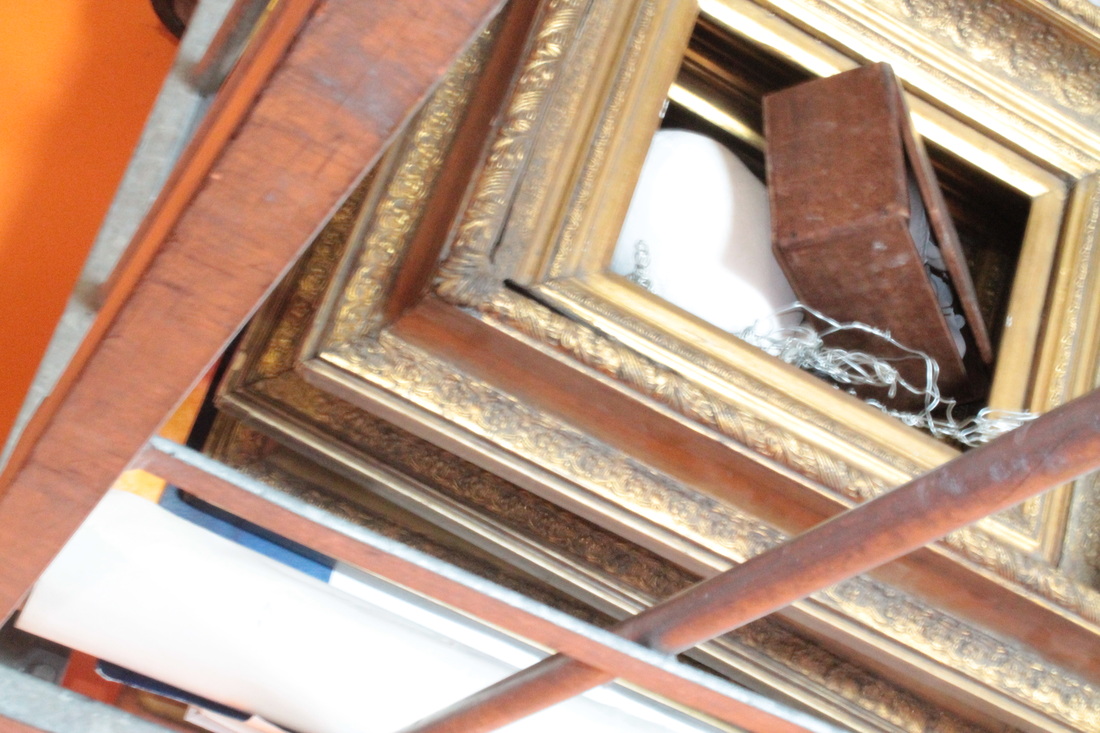
This photo is to inspire me for my 2nd final piece. I might cut up my photos and stick them onto board in different shapes and sizes. Although i'm not too sure if i want to do this as my final piece so i'm gonna carry on looking on website. If i find anything else i like i'm going to mix the 2 ideas up and create something new. i'm going to keep looking on pinterest and see if i see anything interesting to do for another final piece.
|
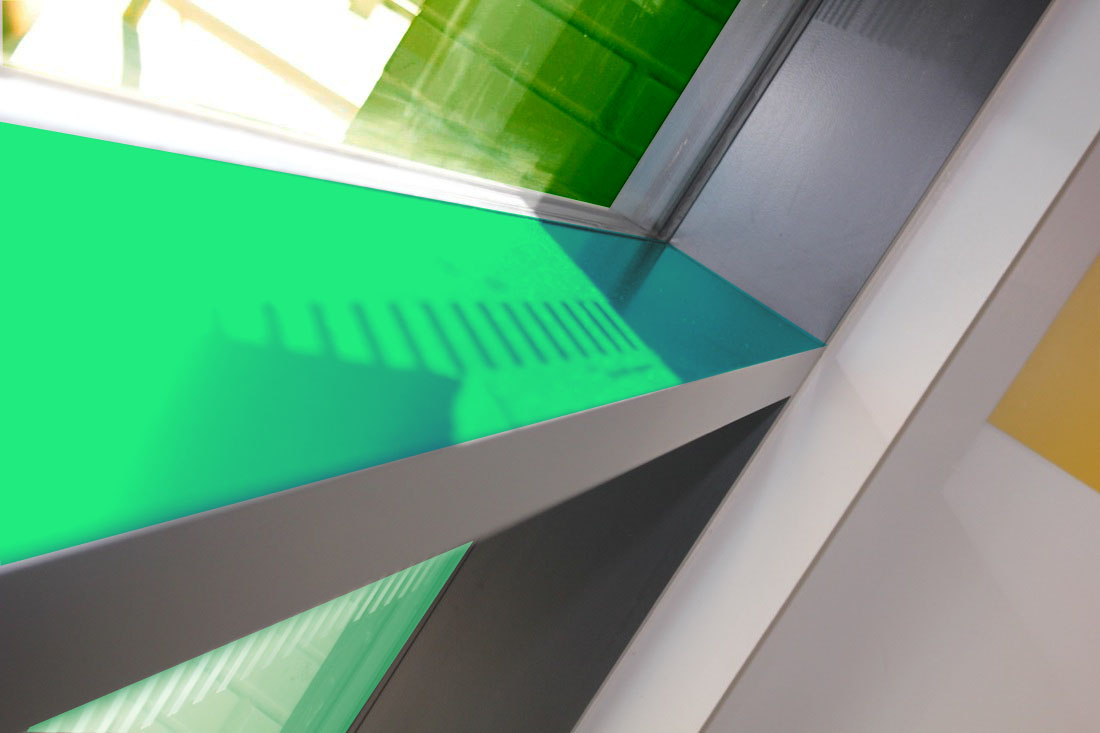
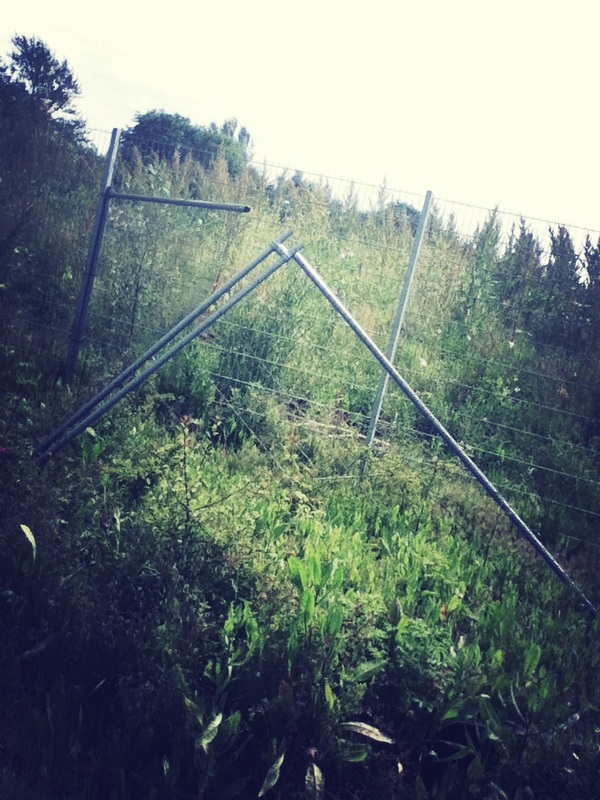
Glitching.
|
|
To glitch you need to choose the photo and put it on your desktop , then you press file , open with , other , text edit. Once you get onto this , it will come up with loads of writing you need to go half way down. When your half way down you can remove , add , put spaces in anywhere you want. Then press save and you will see the outcome. Make sure you use the big image not the little thumbnail. |